How Do You Set Print Area In Excel
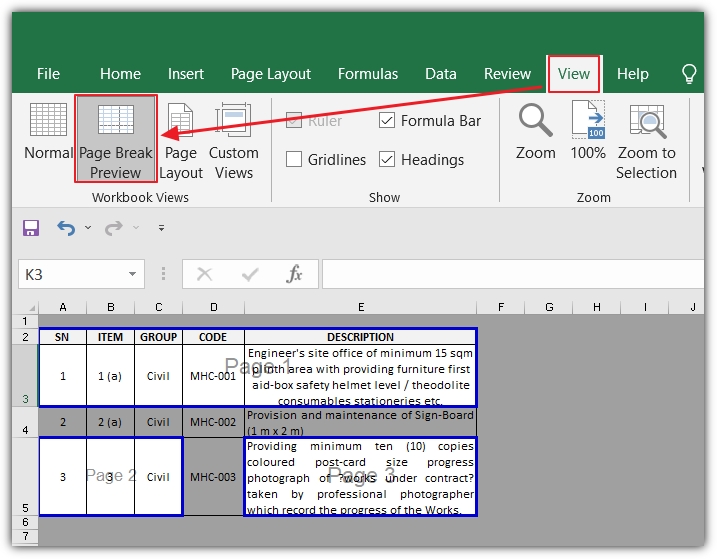
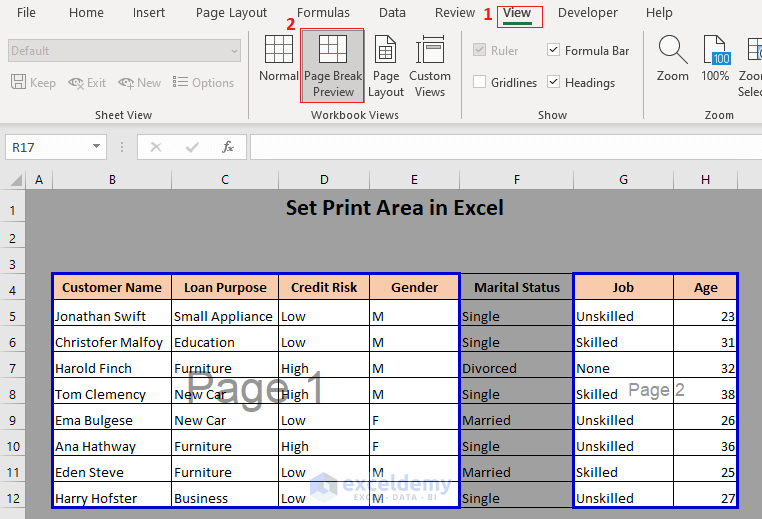
How Do You Set Print Area In Excel - Firstly, select the cells which we want to set as the print area for page 1. The quickest way to set a constant print range is this: As a result, the selected cells will be set as the print area. To check the print area, click “ print preview ” in the “print” menu. Web excel tutorials by easyclick academy.
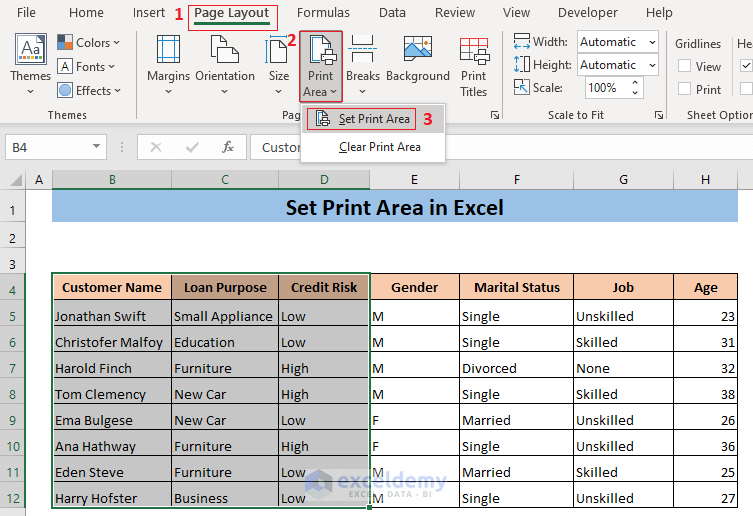
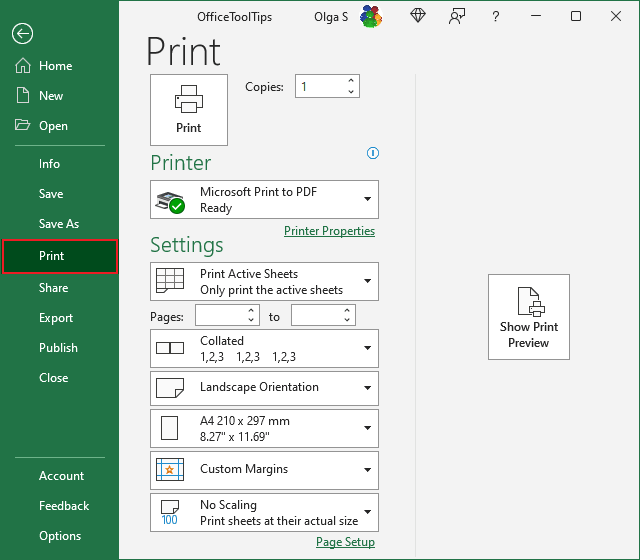
Web on the worksheet, select the cells that you want to define as the print area. Firstly, select the desired data table. In the copies box, enter the number of copies you want to get. Each print area prints on its own page. Secondly, go to page layout > select print area > choose set print area. Web to set a print area, execute the following steps. Web excel tutorials by easyclick academy.
How to set print area in Excel excelwrap
Web fastest way to set print area in excel. Web what to know. On the page layout tab, in the page setup group, click print area > set print area. The specified excel keyboard shortcut.
How to Set Print Area in Excel (5 Methods) ExcelDemy
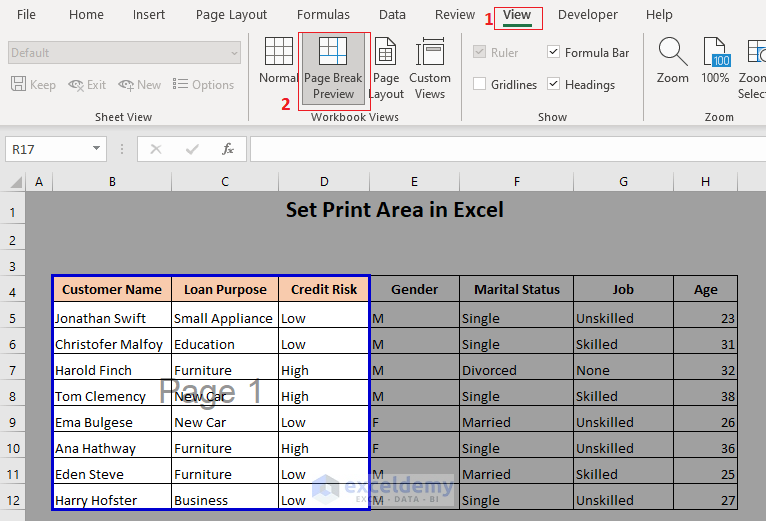
Web first, select the single or multiple cell range using the “control” key to set a print area in the sheet. Now every time you want to print that worksheet, it will only print the.
How to Set Print Area in Excel (5 Methods) ExcelDemy
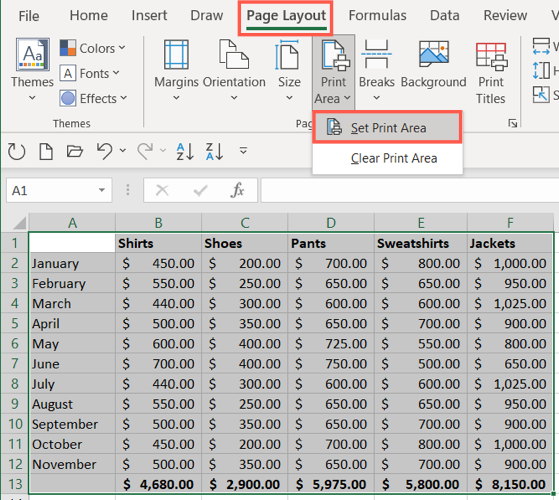
Here, we have selected cells b4:d15 as the print area. Once a print area is set, add additional print areas by selecting the additional cells, clicking the print area button, and selecting add to print.
How to print a large Excel spreadsheet Microsoft Excel undefined
Then, the page setup dialog box will open on the window. Firstly, select the desired data table. On the page layout tab, in the page setup group, click print area. Under settings, specify exactly what.

How to Set the Print Area in MS Excel OfficeBeginner
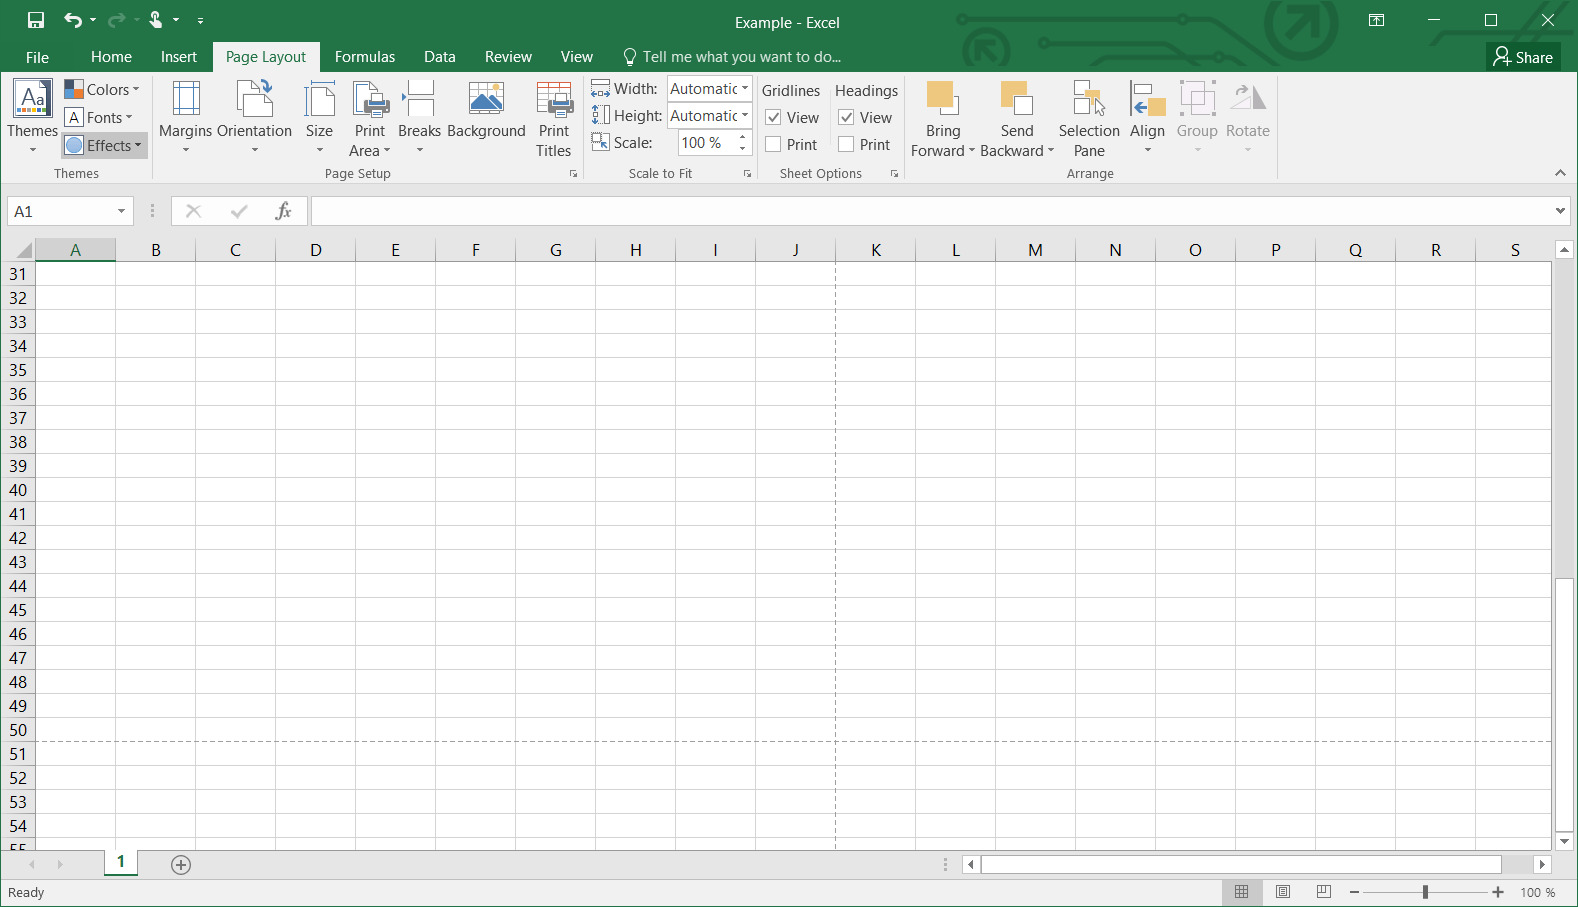
On the page layout tab, in the page setup group, click print area, and then click set print area. The quickest way to set a constant print range is this: Go to the page layout.
Print Area in Excel Tutorial YouTube
Firstly, select the cells which we want to set as the print area for page 1. In the copies box, enter the number of copies you want to get. If you have a large excel.
How to set the print area in Excel IONOS
Select the part of the worksheet that you want to print. As a result, the selected cells will be set as the print area. Secondly, go to page layout > select print area > choose.
:max_bytes(150000):strip_icc()/ExcelSetPrintArea-5c23d199c9e77c0001adc722.jpg)
How to Set Print Area in Excel
After that, go to print layout > print area and select set print area. Only the print area will be printed. Secondly, go to page layout > select print area > choose set print area..
How to Set Print Area in Excel (5 Methods) ExcelDemy
Highlight the area you want to print. Select the part of the worksheet that you want to print. Click the print area button. Web to set a print area, execute the following steps. Web to.
How to Set the Print Area in Microsoft Excel
More informative way to define print area in excel On the page layout tab, in the page setup group, click print area, and then click set print area. The print area button in the page.
How Do You Set Print Area In Excel The print area button in the page setup block of the page layout tab is the default tool for setting a print area in excel. On the page layout tab, in the page setup group, click print area, and then click set print area. Now, to view the print area, Save, close and reopen the excel file. Click the print area button.