Intro
Easily convert datetime to date in Excel using simple formulas and functions, including DATE, INT, and TEXT, to extract dates from datetime values and format cells for better data analysis and management.
Excel is a powerful tool for managing and analyzing data, and one of the most common tasks users face is handling dates and times. When working with datetime values, it's often necessary to extract just the date part, removing the time component. This can be crucial for data analysis, reporting, and even for formatting purposes. In this article, we'll explore how to convert datetime to date in Excel easily, using various methods that cater to different user needs and skill levels.
Converting datetime to date is essential in many scenarios. For instance, if you're tracking project deadlines, you might want to focus solely on the date without considering the time. Similarly, in financial analysis, dates are critical for understanding trends and making predictions, and separating dates from times can simplify your data. Excel provides several straightforward methods to achieve this, from using formulas to leveraging the program's built-in functions.
Understanding Dates and Times in Excel

Before diving into the conversion methods, it's helpful to understand how Excel treats dates and times. Excel stores dates as serial numbers, starting from January 1, 1900, which is considered as day 1. Times are stored as decimal fractions of a day. For example, 12:00 PM (noon) is represented as 0.5, since it's halfway through the day. This system allows for easy date and time calculations but can sometimes lead to confusion when trying to separate dates from times.
Method 1: Using the INT Function
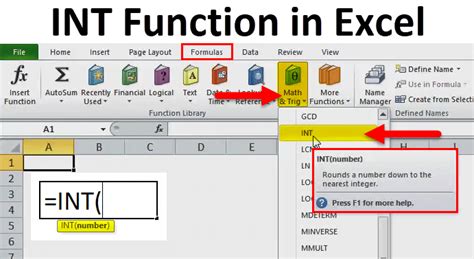
One of the simplest ways to convert datetime to date in Excel is by using the INT function. This function truncates the decimal part of a number, which, in the context of datetime values, effectively removes the time component. Here's how you can do it:
- Assume you have a datetime value in cell A1.
- In another cell, say B1, enter the formula:
=INT(A1). - Press Enter, and you'll see the datetime value converted to a date.
This method is quick and works well for most purposes, but keep in mind that it doesn't format the result as a date. You might need to apply a date format to the cell containing the formula to display it correctly.
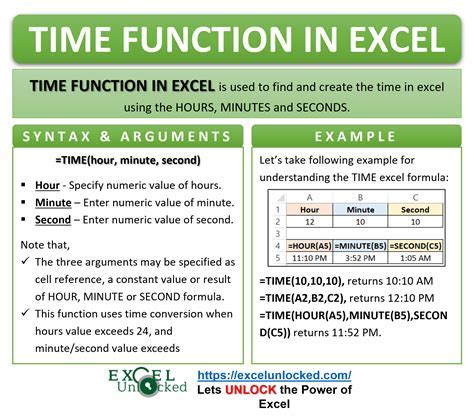
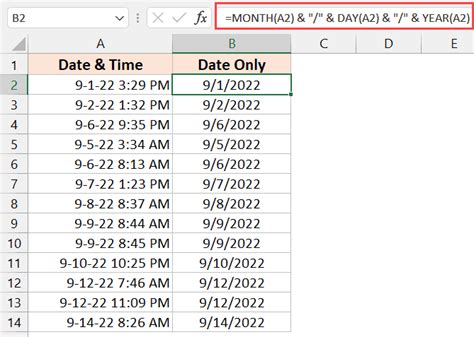
Method 2: Utilizing the DATE Function
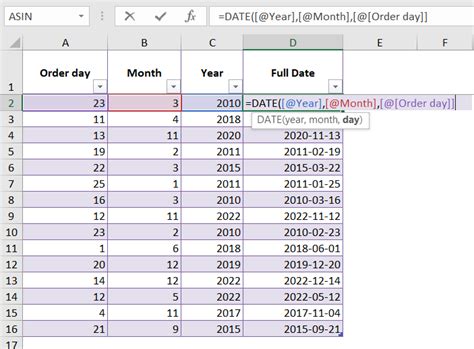
The DATE function is another powerful tool in Excel that can be used to extract the date from a datetime value. This function returns a date value, which can then be formatted as needed. Here's how to use it:
- Assume your datetime value is in cell A1.
- In cell B1, use the formula:
=DATE(YEAR(A1), MONTH(A1), DAY(A1)). - Press Enter, and the result will be the date part of the original datetime value.
This method provides a clean way to extract the date and can be particularly useful when you need to perform further date-related calculations.
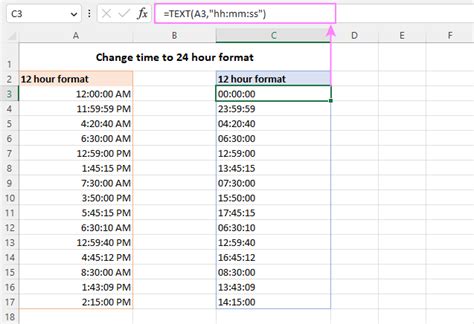
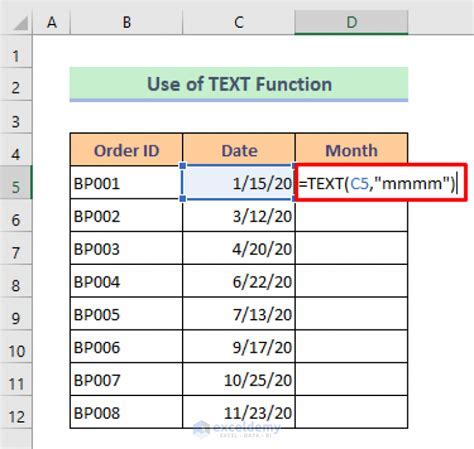
Method 3: Using the TEXT Function
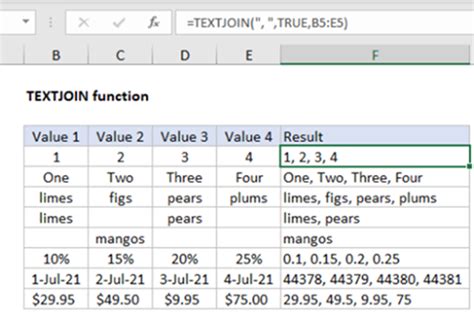
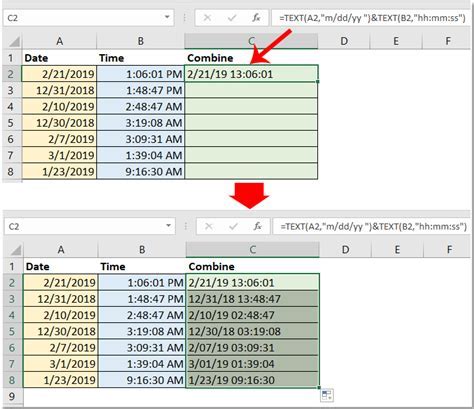
For situations where you want to convert datetime to date and simultaneously apply a specific date format, the TEXT function is very handy. Here's how you can use it:
- With your datetime value in cell A1, go to cell B1.
- Enter the formula:
=TEXT(A1, "yyyy-mm-dd"). - Press Enter, and the datetime value will be converted to a date in the specified format.
This method is excellent for reporting purposes or when you need to ensure that your dates are displayed consistently across your spreadsheet.
Method 4: Changing the Cell Format
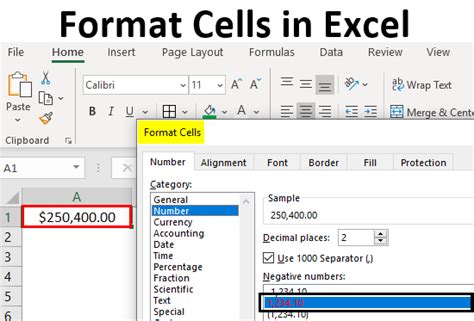
Sometimes, the simplest approach is to change the cell format to display the date part of the datetime value without altering the underlying value. Here's how:
- Select the cell containing the datetime value.
- Right-click on the cell and select "Format Cells..."
- In the Format Cells dialog box, go to the "Number" tab.
- Select "Custom" in the Category list.
- In the "Type" field, enter a date format, such as
yyyy-mm-dd. - Click OK.
This method doesn't change the cell's value but only how it's displayed, which can be useful for quick analyses or presentations.
Method 5: Using VBA for Bulk Conversion
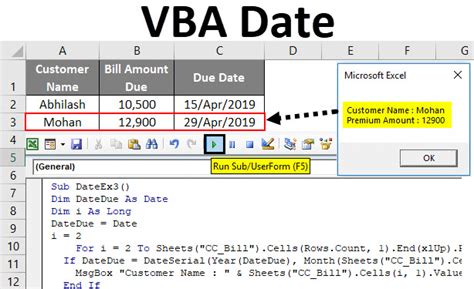
For users comfortable with VBA (Visual Basic for Applications), Excel's programming language, you can create a macro to convert datetime to date for multiple cells or an entire range. Here's a simple example:
- Open the Visual Basic Editor (VBE) by pressing
Alt + F11or navigating to Developer > Visual Basic. - In the VBE, insert a new module by right-clicking on any of the objects for your workbook in the "Project" window and choosing "Insert" > "Module".
- Paste the following code into the module window:
Sub ConvertDateTimeToDate()
    Dim rng As Range
    Set rng = Selection
    For Each cell In rng
        cell.Value = Int(cell.Value)
    Next cell
End Sub
- Close the VBE and select the range of cells you want to convert.
- Press
Alt + F8to open the Macro dialog box, selectConvertDateTimeToDate, and click "Run".
This VBA method is particularly useful for large datasets where manual conversion would be time-consuming.
Gallery of Excel Datetime Conversion Methods:
Excel Datetime Conversion Methods


Frequently Asked Questions
What is the easiest way to convert datetime to date in Excel?
+The easiest way is often using the INT function, as it simply truncates the time part, leaving you with the date.
How do I format a cell to display only the date part of a datetime value?
+You can right-click the cell, select "Format Cells...", go to the "Number" tab, choose "Custom", and enter a date format like "yyyy-mm-dd" in the "Type" field.
Can I use VBA to convert datetime to date for an entire column at once?
+Yes, you can write a VBA script to loop through each cell in a column and apply the conversion. The example provided in the article demonstrates how to do this.
In conclusion, converting datetime to date in Excel is a straightforward process that can be achieved through various methods, each with its own advantages. Whether you prefer using built-in functions like INT, DATE, or TEXT, changing cell formats, or even leveraging VBA for more complex tasks, Excel provides the flexibility to manage your datetime values efficiently. By mastering these techniques, you'll be better equipped to handle date and time data in your spreadsheets, leading to more accurate analyses and presentations. Feel free to explore these methods further and find the one that best suits your needs. Don't hesitate to reach out or share your experiences with datetime conversions in Excel.