Intro
Learn how to control Excel tab order on protected sheets, including locking cells, worksheet protection, and customizing tab navigation to enhance spreadsheet security and usability.
When working with Excel, protecting sheets is a common practice to prevent unauthorized changes or data corruption. However, this protection can sometimes interfere with the user experience, particularly when it comes to navigating through the worksheet using the tab order. The tab order refers to the sequence in which cells are selected as you press the Tab key. Understanding and managing the Excel tab order on protected sheets is crucial for efficient data entry and navigation.
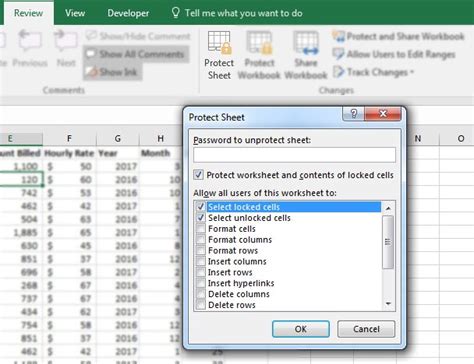
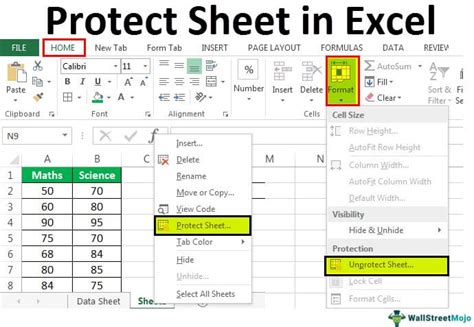
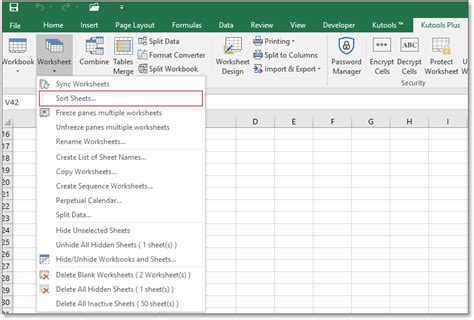
Protecting sheets in Excel is a straightforward process that involves going to the Review tab, clicking on Protect Sheet, and then selecting the permissions you want to allow or deny. This can include formatting cells, inserting or deleting rows and columns, and editing objects, among others. While protection is beneficial for maintaining data integrity, it can limit the flexibility of the worksheet, especially if not properly configured.
The importance of managing the tab order lies in its impact on user productivity. A well-structured tab order can significantly reduce the time spent on data entry by ensuring that the cursor moves logically from one cell to the next. This is particularly important in forms or templates where data is entered in a specific sequence. On protected sheets, however, the default tab order might not always align with the intended workflow, leading to frustration and inefficiency.
To address this issue, Excel provides several tools and techniques for customizing the tab order, even on protected sheets. One approach is to use the "Tab Order" feature in the Protection tab of the Format Cells dialog box. Although this feature is not directly accessible when a sheet is protected, you can unlock cells that require frequent editing and then protect the sheet again, allowing more flexible navigation.
Another strategy involves clever use of Excel's grouping and locking features. By grouping related cells together and locking only those that should not be edited, you can create a more user-friendly tab order. This method requires careful planning but can lead to a more intuitive and efficient data entry process.
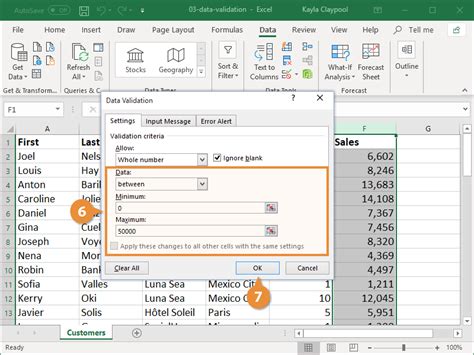
Furthermore, Excel's built-in features like Data Validation can also play a role in managing the tab order. By applying data validation rules to specific cells, you can control not only the type of data that can be entered but also influence the tab order by restricting access to certain cells until prerequisites are met.
In addition to these built-in tools, Excel add-ins and macros can offer more advanced solutions for customizing the tab order on protected sheets. These solutions can automate the process of setting up a logical tab order, especially in complex worksheets with numerous protected areas. However, they require a certain level of proficiency in Excel programming and may introduce compatibility issues if not properly tested.
Understanding Excel Protection
Understanding how Excel protection works is key to effectively managing the tab order. Protection in Excel can be applied at two main levels: workbook and sheet. Workbook protection prevents changes to the workbook structure, such as adding or removing worksheets, while sheet protection controls access to data and formatting within a specific sheet. Each level of protection offers various permissions that can be allowed or denied, giving you fine-grained control over what users can and cannot do.
Types of Protection in Excel
There are several types of protection available in Excel, each serving a different purpose: - **Workbook Protection:** This prevents users from making changes to the structure of the workbook, such as adding, deleting, or renaming worksheets. - **Sheet Protection:** As mentioned, this controls access to data and formatting within a sheet, allowing you to protect formulas, lock specific ranges, and more. - **Range Protection:** While not a standard protection type, you can achieve similar results by locking specific ranges within a sheet and then protecting the sheet.Customizing Tab Order
Customizing the tab order in Excel involves a few steps, especially when dealing with protected sheets. The process typically starts with identifying which cells need to be editable and in what sequence. Once you have determined the desired tab order, you can begin to apply protection settings that support this workflow.
Steps to Customize Tab Order
Here are the general steps to follow: 1. **Plan Your Tab Order:** Determine the logical sequence in which users should navigate through your worksheet. 2. **Unlock Necessary Cells:** Before protecting the sheet, ensure that all cells that need to be editable are unlocked. 3. **Apply Protection:** Protect the sheet, allowing or denying permissions as necessary. 4. **Test the Tab Order:** Navigate through the worksheet using the Tab key to ensure it follows the intended sequence. 5. **Adjust as Necessary:** If the tab order does not meet your requirements, you may need to adjust the locked status of certain cells or apply additional protection settings.Advanced Techniques for Managing Tab Order

For more complex worksheets or specific requirements, Excel offers several advanced techniques for managing the tab order. These include using Visual Basic for Applications (VBA) to create custom navigation paths, utilizing Excel's built-in navigation features like the "Go To" command, and creatively applying data validation rules to control the flow of data entry.
VBA and Custom Navigation
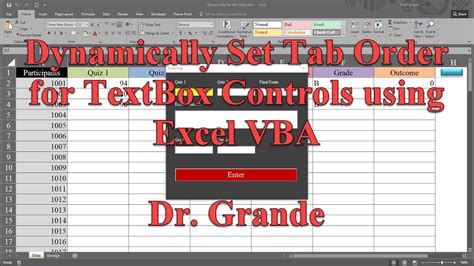
VBA can be a powerful tool for customizing the user experience in Excel, including the tab order. By writing macros that respond to specific events, such as the selection change event, you can programmatically control the cursor's movement through the worksheet. This approach requires familiarity with VBA programming but offers unparalleled flexibility in designing custom workflows.Best Practices for Protected Sheets
When working with protected sheets, following best practices can significantly enhance the user experience and maintain data integrity. This includes clearly documenting protected areas and their purposes, regularly reviewing protection settings to ensure they remain relevant, and providing alternative methods for users to interact with protected data when necessary.
Documenting Protection Settings
Documentation is key to maintaining protected worksheets. By keeping a record of which areas are protected, why they are protected, and how users can navigate these protections, you can ensure that knowledge is retained even as team members change. This documentation can also serve as a guide for new users, helping them understand the workflow and any restrictions in place.Gallery of Excel Tab Order Management
Excel Tab Order Image Gallery


Frequently Asked Questions
How do I protect a sheet in Excel?
+To protect a sheet in Excel, go to the Review tab, click on Protect Sheet, and then select the permissions you want to allow or deny.
Can I customize the tab order on a protected sheet?
+Yes, you can customize the tab order by unlocking necessary cells before protecting the sheet and using Excel's built-in features or VBA for more complex customizations.
What is the purpose of protecting sheets in Excel?
+Protecting sheets in Excel is used to prevent unauthorized changes or data corruption, maintaining the integrity and security of your worksheets.
In conclusion, managing the tab order on protected sheets in Excel is a crucial aspect of creating user-friendly and secure worksheets. By understanding Excel's protection features, customizing the tab order, and following best practices, you can enhance productivity and maintain data integrity. Whether you're working with simple spreadsheets or complex data entry forms, mastering the art of tab order management can significantly improve your overall Excel experience. We invite you to share your experiences, tips, and questions regarding Excel tab order management in the comments below, and don't forget to share this article with anyone who might benefit from learning more about this important Excel feature.