Intro
Learn how to copy row heights in Excel using simple shortcuts and formulas, adjusting cell sizes and spreadsheet layouts with ease, including auto-fit and manual methods.
Copying row heights in Excel can be a bit tricky, but it's a useful skill to have, especially when working with large spreadsheets or templates. Row heights can greatly impact the readability and overall appearance of your Excel sheets. In this article, we'll delve into the various methods you can use to copy row heights in Excel, exploring both manual and automated approaches.
Excel is a powerful tool used for data analysis, budgeting, and more, offering a wide range of functionalities that can simplify your work. One of these functionalities is the ability to adjust row and column sizes to better fit your data. However, when you need to apply the same row height settings to multiple rows or even across different worksheets, doing it manually can be time-consuming and prone to errors.
Understanding how to efficiently manage row heights can save you a significant amount of time and improve your productivity. Whether you're working on a personal budget, a business report, or any data-intensive project, mastering Excel's row height adjustment features is essential.
Understanding Row Heights in Excel

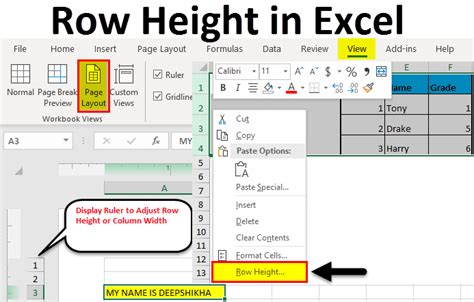
Before diving into the methods for copying row heights, it's crucial to understand how row heights work in Excel. Row height is measured in points, with one point equal to 1/72 of an inch. You can adjust row heights manually by dragging the border of the row header or by using the "Row Height" command in the "Home" tab of the ribbon.
Manual Method to Copy Row Heights
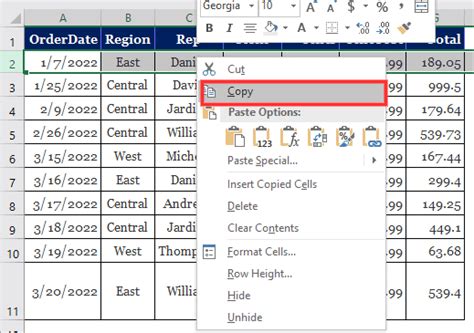
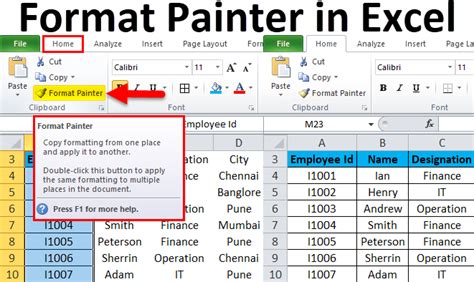
The manual method involves selecting the row(s) with the desired height and then using the "Format Painter" tool to apply that height to other rows. Here's how you can do it:
- Select the row or rows that have the height you want to copy.
- Go to the "Home" tab on the ribbon.
- Click on the "Format Painter" button in the "Clipboard" group.
- With the Format Painter activated, select the row(s) where you want to apply the copied height.
This method is straightforward and works well for small-scale adjustments. However, for larger spreadsheets or when you need to apply the same row height across multiple worksheets or workbooks, a more automated approach might be necessary.
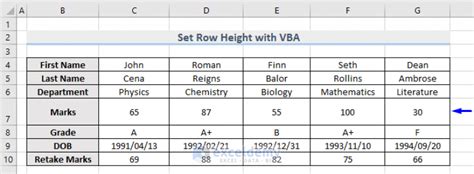
Automated Method Using VBA
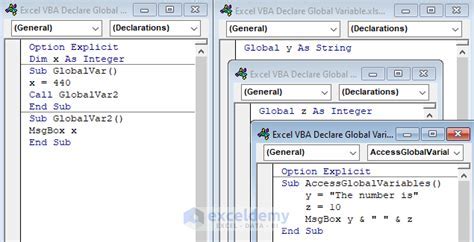
For those comfortable with Visual Basic for Applications (VBA), you can create a macro to copy row heights. This involves opening the VBA editor, inserting a new module, and then writing or pasting the appropriate code.
Here's an example of how you might write a VBA script to copy row heights from one range to another:
Sub CopyRowHeights()
    Dim sourceRange As Range
    Dim targetRange As Range
    Dim i As Long

    Set sourceRange = Range("A1:A10") 'Range with desired row heights
    Set targetRange = Range("B1:B10") 'Range to apply heights to

    For i = 1 To sourceRange.Rows.Count
        targetRange.Rows(i).RowHeight = sourceRange.Rows(i).RowHeight
    Next i
End Sub
This script copies the row heights from the range "A1:A10" to "B1:B10". You can adjust the ranges as needed for your specific task.
Using Excel Formulas
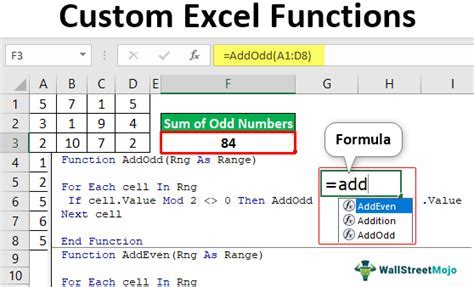
While Excel formulas don't directly copy row heights, you can use them to calculate and apply heights based on the content of cells. For example, if you want rows to automatically adjust their height based on the number of lines of text in a cell, you can use the Wrap Text feature in combination with adjusting row heights manually or through VBA.
Steps to Apply Wrap Text
- Select the cells you want to apply wrap text to. - Go to the "Home" tab on the ribbon. - In the "Alignment" group, click on the "Wrap Text" button.This doesn't copy row heights per se, but it helps in managing row heights dynamically based on content.
Best Practices for Managing Row Heights
- Consistency: Maintain consistent row heights throughout your spreadsheet to improve readability.
- Automation: Use VBA macros or formulas to automate tasks whenever possible to reduce manual labor and minimize errors.
- Dynamic Adjustments: Use features like "Wrap Text" to dynamically adjust row heights based on cell content.
Common Issues and Solutions

- Inconsistent Row Heights: Often due to manual adjustments. Solution: Use the "AutoFit" feature or VBA to standardize row heights.
- Row Heights Not Copying: Ensure that you're using the correct method for copying formats. If using VBA, check your code for errors.
Gallery of Excel Row Height Management
Excel Row Height Management Image Gallery


How do I copy row heights in Excel using the Format Painter?
+To copy row heights using the Format Painter, select the row with the desired height, click on the Format Painter button in the Home tab, and then select the rows where you want to apply the height.
Can I use VBA to automate the process of copying row heights in Excel?
+Yes, you can use VBA to automate the copying of row heights. This involves writing a macro that specifies the source and target ranges and then applies the row heights from the source to the target.
How do I dynamically adjust row heights based on the content of cells in Excel?
+You can use the Wrap Text feature in combination with adjusting row heights manually or through VBA to dynamically adjust row heights based on cell content. This ensures that rows automatically expand to fit the text within cells.
In conclusion, managing row heights in Excel is a crucial aspect of spreadsheet management that can significantly impact the readability and professionalism of your work. Whether you're using manual methods, VBA macros, or dynamic adjustments based on cell content, understanding how to efficiently copy and manage row heights can save you time and enhance your productivity. If you have any further questions or would like to share your own tips on managing row heights in Excel, please don't hesitate to comment below. Your insights could help others in the community, and together, we can explore more ways to make the most out of Excel's powerful features.