Intro
Master Excels print range with B3:D11, learning to set and manage print areas, page breaks, and scaling for precise document printing, including formatting and layout techniques.
Printing a specific range of cells in Excel, such as B3 to D11, can be a common task for various purposes, including reports, presentations, and data analysis. Excel provides several ways to achieve this, and the method you choose might depend on your specific needs, such as whether you want to print the data as it appears on the screen or if you need to adjust the print settings for a more customized output.
The importance of printing specific ranges in Excel lies in its ability to help users focus on critical data, reduce unnecessary printing, and enhance the presentation of information. This feature is particularly useful in professional settings where reports, budgets, and performance metrics need to be shared with colleagues, managers, or clients. By printing only the required data, you can improve the clarity and impact of your reports, making it easier for your audience to understand the key points.
Printing specific ranges can also be beneficial for personal projects, such as managing household budgets, tracking personal finance, or organizing events. The ability to select and print only the relevant information allows for a more streamlined and efficient process, saving time and resources. Furthermore, the option to customize the print settings enables users to tailor their output according to their needs, whether it's for a formal presentation or a personal record.
To begin printing a specific range like B3 to D11 in Excel, it's essential to understand the basic steps involved in this process. Excel's print functionality is designed to be intuitive, allowing users to quickly select and print their desired range. However, for those who are new to Excel or need a refresher, the following steps will guide you through the process.
Basic Steps to Print a Range in Excel

The first step is to select the range of cells you wish to print. In this case, you would select cells B3 through D11. You can do this by clicking on cell B3, holding down the mouse button, and then dragging the cursor to cell D11. Once the range is selected, you can proceed to the print options.
Selecting the Print Range
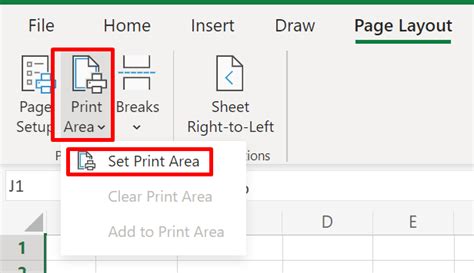
To specify the print range, go to the "Page Layout" tab in the ribbon, find the "Page Setup" group, and click on the "Print Area" button. From the dropdown menu, select "Set Print Area." This tells Excel that you only want to print the selected range.
Setting the Print Area
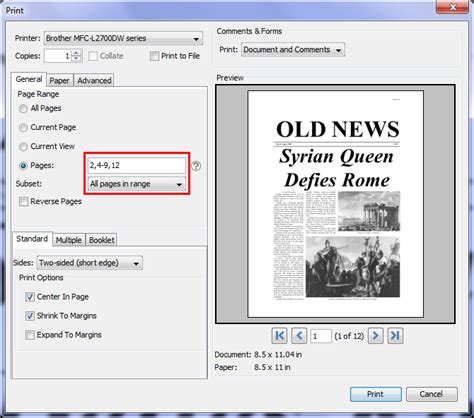
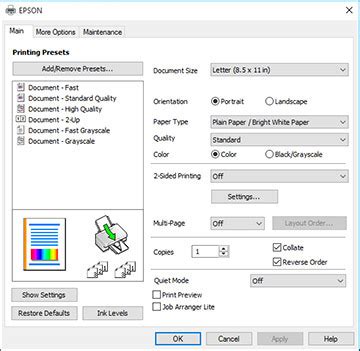
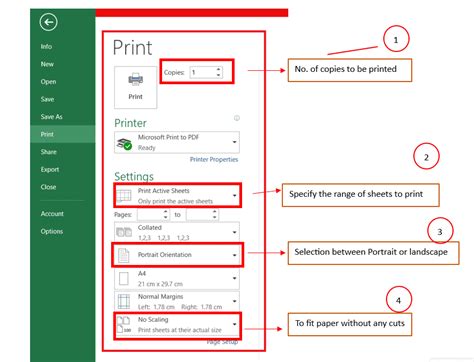
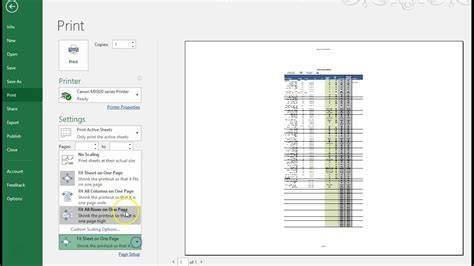
Next, you'll want to preview how your printout will look. You can do this by going to the "File" tab and selecting "Print" or by using the keyboard shortcut Ctrl+P. In the print preview pane, you can adjust the print settings, such as the orientation, margins, and scaling, to ensure your printout looks as desired.
Print Preview and Settings
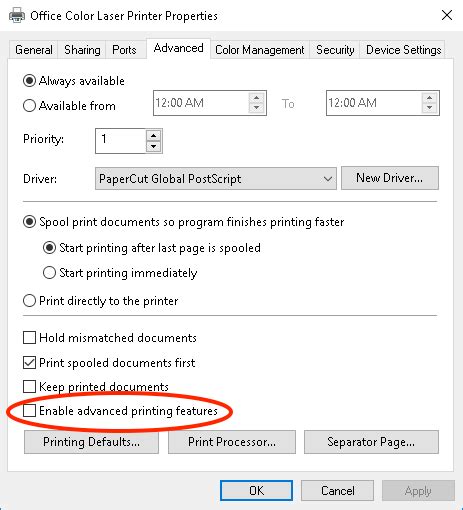
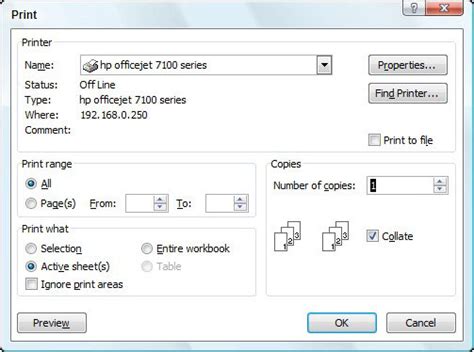
If you need more advanced control over the printing process, you can use the "Page Setup" dialog box. This can be accessed from the "Page Layout" tab by clicking on the "Page Setup" button in the "Page Setup" group. The "Page Setup" dialog box allows you to make detailed adjustments to the print settings, including the header and footer, margins, and paper size.
Advanced Print Settings
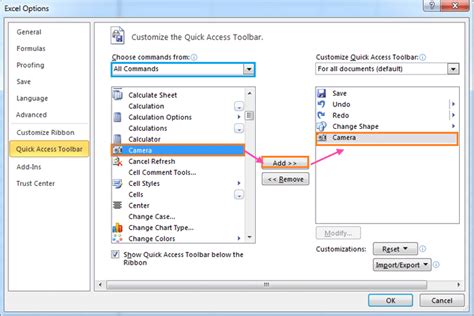
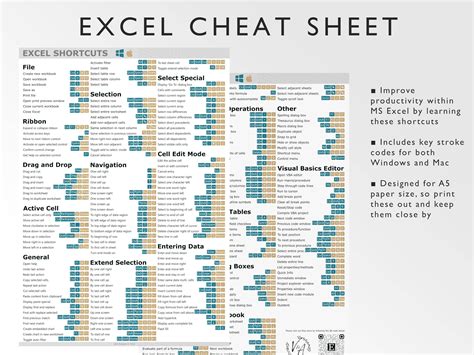
For users who frequently need to print specific ranges, Excel's "Quick Print" feature can be a time-saver. However, keep in mind that "Quick Print" uses the default print settings, so you may need to adjust these settings beforehand to ensure your output meets your requirements.
Using Quick Print
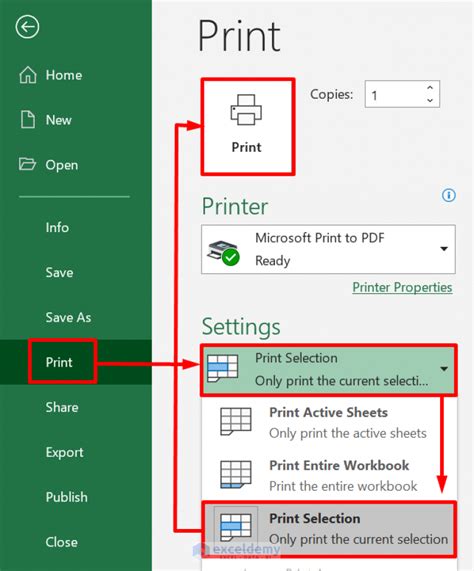
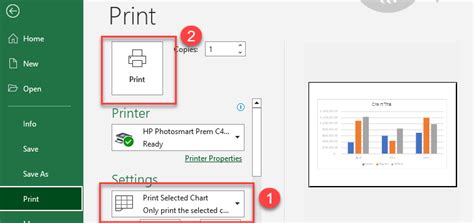
In addition to the standard print options, Excel offers various shortcuts and tips that can enhance your printing experience. For example, you can use the "Print Selection" feature by right-clicking on the selected range and choosing "Print" from the context menu. This method allows for a quick print of the selected cells without having to go through the print dialog box.
Printing Tips and Shortcuts
When printing in Excel, it's also important to consider the environmental impact. By printing only the necessary ranges and using both sides of the paper when possible, you can reduce waste and contribute to a more sustainable office practice.
Sustainable Printing Practices

In conclusion, printing a specific range like B3 to D11 in Excel is a straightforward process that can be customized to meet your specific needs. By understanding the basic steps, utilizing the print preview, and adjusting the print settings as necessary, you can efficiently print your desired range. Remember to explore Excel's shortcuts and tips for printing, and consider adopting sustainable printing practices to minimize your environmental footprint.
Gallery of Excel Printing Tips
Excel Printing Tips Image Gallery

How do I select a range to print in Excel?
+To select a range to print, click on the first cell of the range, hold down the mouse button, and drag the cursor to the last cell of the range.
Can I print a selected range quickly without going through the print dialog box?
+Yes, you can use the "Quick Print" feature or right-click on the selected range and choose "Print" from the context menu.
How do I set the print area in Excel?
+To set the print area, go to the "Page Layout" tab, find the "Page Setup" group, click on the "Print Area" button, and select "Set Print Area" from the dropdown menu.
We hope this guide has been helpful in explaining how to print a specific range in Excel, such as B3 to D11. Whether you're a seasoned Excel user or just starting out, mastering the art of printing specific ranges can significantly enhance your productivity and the clarity of your reports. If you have any further questions or need additional assistance, please don't hesitate to reach out. Share your experiences or tips on printing in Excel in the comments below, and consider sharing this article with others who might find it useful.