Intro
Understanding and visualizing data is crucial in today's data-driven world. One of the tools that can help in achieving this is the violin plot, a visualization method that displays the distribution of numerical data. While violin plots are commonly associated with programming languages like Python and R, Excel also offers various ways to create these plots. In this article, we'll delve into five ways to create a violin plot in Excel, exploring the benefits and steps involved in each method.
The importance of data visualization cannot be overstated. It helps in identifying patterns, trends, and correlations within the data, making it easier to draw meaningful conclusions. Among the various types of plots, violin plots stand out for their ability to compare the distribution of data across different categories. They are particularly useful when dealing with large datasets, as they provide a clear and concise visual representation of the data distribution.
Violin plots are an advancement over traditional box plots. While box plots show the median, quartiles, and outliers, violin plots display the kernel density estimation of the data, providing a more detailed view of the data distribution. This makes violin plots an invaluable tool for data analysis, as they offer insights that might not be immediately apparent from other types of plots.
Introduction to Violin Plots in Excel

Before diving into the methods of creating violin plots in Excel, it's essential to understand the basics of what a violin plot is and how it can be used. A violin plot is a combination of a box plot and a kernel density plot. The box plot part displays the median and the interquartile range (IQR), while the kernel density plot shows the distribution of the data. This combination makes violin plots highly effective for comparing the distribution of data across different groups.
Method 1: Using Built-in Excel Functions

Excel offers a variety of built-in functions that can be used to create a violin plot. However, since Excel does not have a direct function for creating violin plots, we have to rely on a combination of other functions and some manual adjustments. One approach is to use the histogram function in conjunction with the box plot feature. By layering these two types of plots, you can create a visualization that resembles a violin plot.
Steps to Create a Violin Plot Using Built-in Functions
- Prepare Your Data: Ensure your data is organized in a way that makes it easy to create histograms and box plots. Typically, this means having your data in columns.
- Create a Histogram: Use the "Analysis ToolPak" add-in to create a histogram of your data. This will give you the distribution part of the violin plot.
- Create a Box Plot: Use Excel's built-in box plot feature to create a box plot of your data. This will provide the median and IQR.
- Overlay the Plots: Manually adjust the size and position of the box plot so it overlays the histogram, creating a makeshift violin plot.
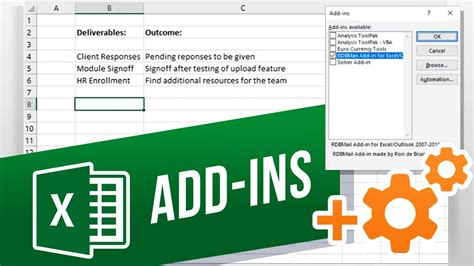
Method 2: Using Excel Add-ins

Another way to create violin plots in Excel is by using add-ins. There are several add-ins available that can enhance Excel's data visualization capabilities, including the creation of violin plots. One popular add-in for data analysis and visualization is the "Analysis ToolPak" mentioned earlier, but for more advanced visualizations like violin plots, you might need to look into third-party add-ins.
Steps to Create a Violin Plot Using Add-ins
- Install the Add-in: Download and install an Excel add-in that supports the creation of violin plots. Ensure it's compatible with your version of Excel.
- Access the Add-in: Once installed, access the add-in through Excel's ribbon or by loading it as an add-in.
- Select Your Data: Choose the data range you want to visualize.
- Create the Violin Plot: Follow the add-in's instructions to create a violin plot. The exact steps will depend on the add-in you're using.
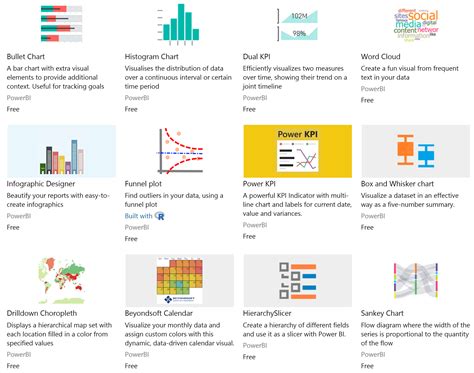
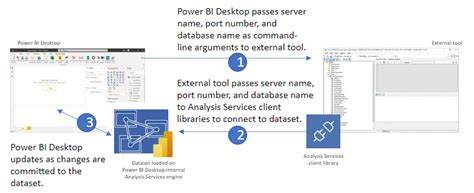
Method 3: Using Power BI
Power BI is a business analytics service by Microsoft that allows you to connect to various data sources, create interactive visualizations, and share insights across your organization. It offers more advanced visualization options than Excel, including the ability to create violin plots.
Steps to Create a Violin Plot in Power BI
- Import Your Data: Load your data into Power BI.
- Create a New Visualization: Go to the "Visualizations" pane and select the custom visualizations option.
- Add a Violin Plot: If available, directly select a violin plot visualization. If not, you might need to import a custom visualization from the Microsoft AppSource.
- Configure the Plot: Drag your data fields into the appropriate areas (e.g., values, category) to configure the violin plot.
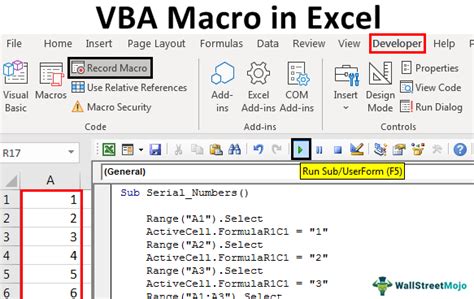
Method 4: Using VBA Macros
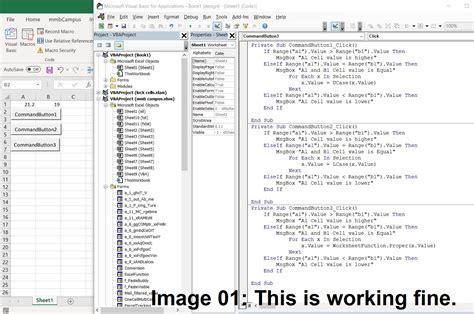
For those comfortable with programming, VBA (Visual Basic for Applications) macros can be used to create complex visualizations in Excel, including violin plots. This method involves writing code to generate the plot, which can be time-consuming but offers a high degree of customization.
Steps to Create a Violin Plot Using VBA Macros
- Open the VBA Editor: Press "Alt + F11" in Excel to open the VBA Editor.
- Write the Macro: You'll need to write VBA code that calculates the kernel density and then plots it along with a box plot. This can be complex and may require referencing external libraries or using advanced Excel functions.
- Run the Macro: Once written, run the macro to generate the violin plot.
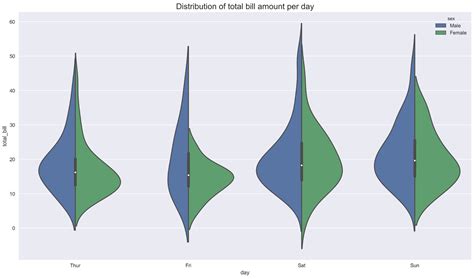
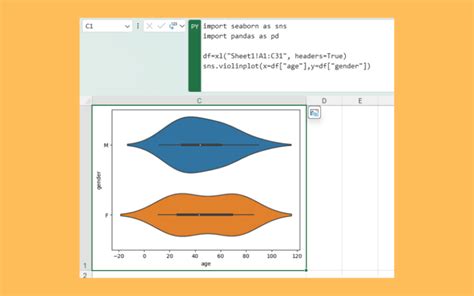
Method 5: Using External Tools and Importing to Excel

Sometimes, the easiest way to create a violin plot is by using external tools designed for data visualization, such as Python libraries (e.g., matplotlib, seaborn) or R, and then importing the plot into Excel. This method requires familiarity with these tools but can offer the most straightforward path to creating complex visualizations.
Steps to Create a Violin Plot Using External Tools
- Prepare Your Data: Export your data from Excel into a format that can be easily read by your chosen tool (e.g., CSV for Python or R).
- Create the Violin Plot: Use your chosen tool to create the violin plot. For example, in Python, you could use seaborn's
violinplotfunction. - Import to Excel: Save the plot as an image and import it into Excel, or if possible, directly link the data to Excel for a dynamic visualization.
Violin Plot Image Gallery


What is a violin plot?
+A violin plot is a method of visualizing the distribution of numerical data. It is a combination of a box plot and a kernel density plot, providing a detailed view of the data distribution.
How do I create a violin plot in Excel?
+There are several ways to create a violin plot in Excel, including using built-in functions, Excel add-ins, Power BI, VBA macros, and external tools. The method you choose depends on your specific needs and comfort level with different tools and programming.
What are the benefits of using violin plots?
+Violin plots offer a detailed view of data distribution, making them particularly useful for identifying patterns, trends, and correlations within the data. They are also effective for comparing the distribution of data across different categories.
In conclusion, creating violin plots in Excel is achievable through various methods, each with its own set of benefits and challenges. Whether you're using built-in functions, add-ins, Power BI, VBA macros, or external tools, the key is to choose the method that best fits your needs and skill level. By leveraging violin plots, you can enhance your data analysis capabilities, gaining deeper insights into your data and making more informed decisions. We invite you to explore these methods further, share your experiences with creating violin plots, and ask any questions you may have about this powerful data visualization tool.