Intro
Master Charting Time In Excel with ease, using timelines, dates, and time-series data to create interactive charts and graphs, enhancing data visualization and analysis.
The ability to effectively chart time in Excel is a crucial skill for anyone looking to analyze and present data that involves time-based trends, patterns, or comparisons. Excel, being one of the most powerful and widely used spreadsheet programs, offers a variety of tools and features that can help users create informative and engaging time-based charts. Whether you're tracking changes over time, comparing different time periods, or forecasting future trends, Excel's charting capabilities can help you communicate your data insights more clearly and effectively.
Understanding the importance of time-based analysis, many professionals and individuals rely on Excel to visualize data such as sales figures, website traffic, stock prices, and more, all of which can fluctuate significantly over time. By charting these changes, users can identify key milestones, seasonal variations, and long-term trends that might not be immediately apparent from raw data alone. Furthermore, the ability to customize charts in Excel allows users to tailor their visualizations to their specific needs, making it easier to focus on the most relevant aspects of their data.
The process of creating effective time-based charts in Excel involves several steps, from preparing your data to selecting the appropriate chart type and customizing its appearance. It's essential to ensure that your data is organized in a way that Excel can understand as time-based, typically with dates in one column and corresponding values in another. This setup allows Excel to automatically recognize the time axis and apply appropriate scaling and labeling, making your charts more intuitive and easier to understand.
Preparing Your Data for Time-Based Charts
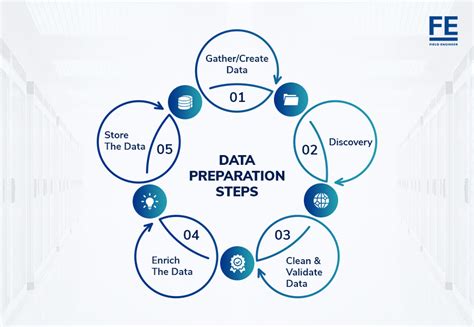
Before diving into the creation of time-based charts, it's crucial to prepare your data properly. This involves organizing your data into columns, with one column dedicated to dates and another to the values you wish to chart. Excel is highly versatile and can work with data in various formats, but for time-based charts, ensuring your dates are in a recognizable format is key. Using Excel's built-in date formats can help avoid issues with date recognition, especially when dealing with data from different regions or systems.
Step-by-Step Data Preparation
To prepare your data: 1. **Ensure Date Consistency**: Make sure all dates are in the same format. Excel can automatically recognize most date formats, but consistency helps in avoiding potential issues. 2. **Use Separate Columns**: Keep your dates and values in separate columns. This makes it easier for Excel to identify the data type and apply the correct chart settings. 3. **Clean Your Data**: Remove any unnecessary or redundant data that might clutter your chart. Focus on the data points that are crucial for your analysis. 4. **Sort Your Data**: Sorting your data by date can make it easier to visualize trends and patterns over time.Creating Time-Based Charts in Excel
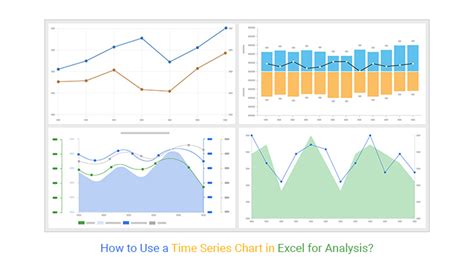
With your data prepared, the next step is to create your time-based chart. Excel offers a variety of chart types, but for time-based data, line charts, area charts, and scatter plots are often the most effective. These chart types allow for the clear visualization of trends over time and can be easily customized to highlight specific aspects of your data.
Selecting the Right Chart Type
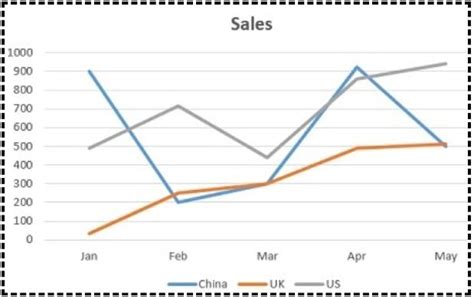
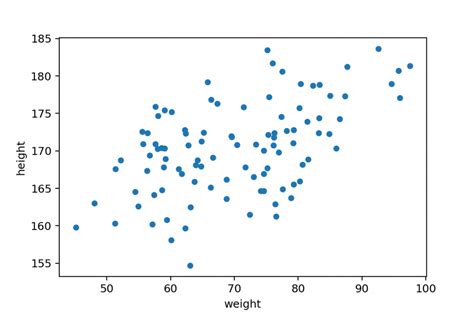
- **Line Charts**: Ideal for showing trends over time. They are simple and effective, making them perfect for presentations and reports. - **Area Charts**: Similar to line charts but fill the area under the line with color, which can help emphasize the magnitude of trends. - **Scatter Plots**: Useful for comparing two sets of data over time, especially when you want to see the relationship between them.Customizing Your Time-Based Chart
Once you've created your chart, customizing it to better communicate your data insights is essential. This can involve changing the chart title, adding axis labels, modifying the color scheme, and more. Excel provides a wide range of customization options, allowing you to tailor your chart to your specific needs and preferences.
Customization Tips
- **Use Clear Titles and Labels**: Ensure your chart title and axis labels are clear and descriptive, making it easy for viewers to understand what they're looking at. - **Adjust the Time Axis**: You might need to adjust the scaling of the time axis to better show the trends in your data. This could involve changing the date format or the interval between tick marks. - **Apply Conditional Formatting**: For more advanced customizations, consider using conditional formatting to highlight specific data points or trends in your chart.Advanced Techniques for Time-Based Charts

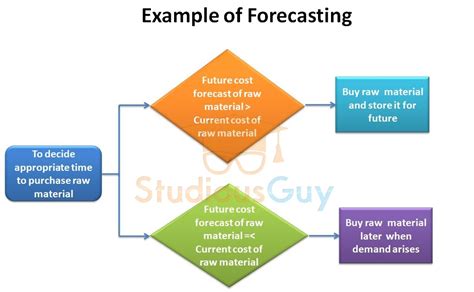
Beyond the basics, Excel offers several advanced techniques for creating more sophisticated time-based charts. These can include using pivot tables to dynamically update your chart based on filtered data, applying advanced formatting options to highlight specific trends, and even using Excel's built-in forecasting tools to predict future trends based on historical data.
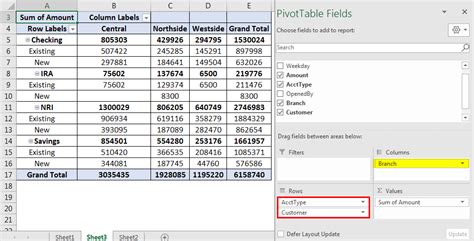
Using Pivot Tables for Dynamic Charts
Pivot tables can be a powerful tool for creating dynamic charts that update automatically based on changes to your data. By linking your chart to a pivot table, you can easily filter your data by different criteria, such as date range, category, or region, and see how these changes affect your trends over time.Best Practices for Effective Time-Based Charting

To ensure your time-based charts are effective and communicate your data insights clearly, follow these best practices:
- Keep It Simple: Avoid cluttering your chart with too much data or unnecessary details. Focus on the key trends and insights you want to convey.
- Use Color Effectively: Color can be a powerful tool for highlighting trends and differentiation in your chart. Use it sparingly but effectively to draw attention to important aspects of your data.
- Ensure Consistency: Consistency in formatting and design can make your charts easier to read and understand. Establish a standard for your charts and stick to it.
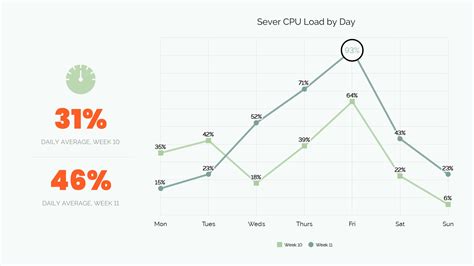
Gallery of Time-Based Chart Examples
Time-Based Chart Gallery


Frequently Asked Questions
What is the best chart type for showing trends over time?
+Line charts and area charts are typically the best for showing trends over time, as they clearly illustrate how values change from one time period to another.
How do I ensure Excel recognizes my dates correctly?
+Using Excel's built-in date formats and ensuring consistency in your date formatting can help Excel recognize your dates correctly.
Can I use pivot tables to create dynamic time-based charts?
+In conclusion, charting time in Excel is a powerful way to analyze and present data that involves trends, patterns, or comparisons over time. By understanding how to prepare your data, select the right chart type, and customize your charts effectively, you can unlock deeper insights into your data and communicate them more clearly to your audience. Whether you're a professional analyst, a student, or simply someone looking to better understand your personal data, mastering the art of time-based charting in Excel can be a valuable skill that opens up new possibilities for data analysis and presentation. We invite you to share your experiences, tips, and questions about creating time-based charts in Excel, and to explore how this versatile tool can help you achieve your goals.