Intro
Discover how to delete hidden rows in Excel with 5 easy methods, including shortcut keys, filtering, and formatting tricks to reveal concealed data and improve spreadsheet visibility and organization.
The presence of hidden rows in spreadsheets can often lead to confusion and inaccuracies in data analysis and manipulation. These hidden rows might contain outdated information, irrelevant data, or even errors that can affect the overall integrity of the spreadsheet. Deleting these hidden rows is essential for maintaining data cleanliness and ensuring that calculations and analyses are performed on the correct dataset. Here are five ways to delete hidden rows in spreadsheets, focusing on Microsoft Excel as the primary application, but also touching upon methods that can be applied in other spreadsheet software like Google Sheets.
Deleting hidden rows is a straightforward process once you know where to look and how to manipulate the visibility and selection of cells in your spreadsheet. The methods outlined below range from simple selection and deletion techniques to using formulas and macros for more complex scenarios. Whether you're working with a small dataset or a large, complex spreadsheet, these methods will help you manage your data more effectively.
Firstly, understanding why hidden rows appear is crucial. Rows can become hidden for various reasons, such as accidental hiding by the user, intentional hiding to remove clutter or sensitive information, or as a result of filtering data. Regardless of the reason, identifying and removing these hidden rows when necessary is a key part of spreadsheet maintenance.
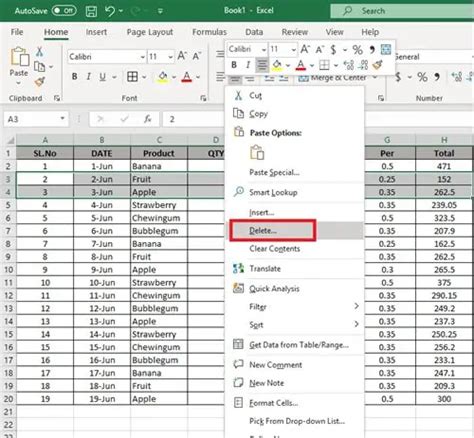
Method 1: Select and Delete
Method 2: Using Conditional Formatting

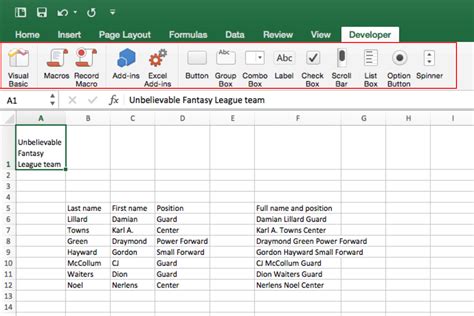
Method 3: Filtering

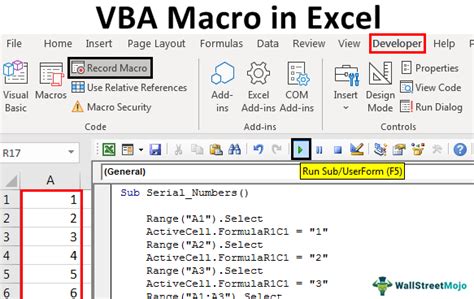
Method 4: Using VBA Macros
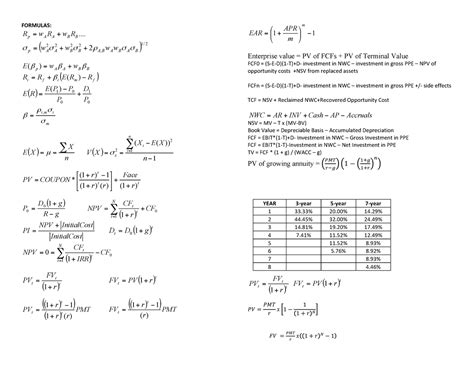
Method 5: Using Formulas to Identify
Gallery of Spreadsheet Management
Spreadsheet Management Image Gallery


How do I permanently delete hidden rows in Excel?
+To permanently delete hidden rows, first, unhide all rows by selecting the entire sheet and using "Ctrl+A" then "Home" > "Format" > "Hide & Unhide" > "Unhide Rows." Then, select the rows you wish to delete and press "Ctrl+-" (minus sign).
Can I use filtering to delete hidden rows?
+Filtering can help identify hidden rows, especially if they were hidden due to filtering. Remove filters by going to the "Data" tab and clicking on "Filter" to select all and make rows visible again. You can then manually delete unnecessary rows.
How do I identify hidden rows in Google Sheets?
+In Google Sheets, you can identify hidden rows by going to the "View" menu and selecting "Hidden rows." This will show you where hidden rows are located in your sheet, allowing you to unhide and review them.
In conclusion, managing hidden rows is an essential part of spreadsheet maintenance, ensuring data accuracy and reducing potential errors. Whether you're using simple selection methods, conditional formatting, filtering, VBA macros, or formulas, there's a suitable approach for every user's needs. By applying these methods and exploring the resources provided in the gallery and FAQ sections, you'll be well-equipped to handle hidden rows effectively, enhancing your overall productivity and data management skills. Feel free to share your experiences or ask further questions in the comments below, and don't forget to share this article with anyone who might benefit from learning more about efficient spreadsheet management.