Intro
Highlighting a row in a table or spreadsheet can be incredibly useful for drawing attention to specific data, whether it's for personal use, professional presentations, or educational purposes. There are several methods to achieve this, depending on the software or platform you're using. Here, we'll explore five different ways to highlight a row, focusing on popular tools like Microsoft Excel, Google Sheets, and even web development contexts.
The ability to highlight rows is not just aesthetically pleasing but also serves as a powerful tool for data analysis and communication. It can help in quickly identifying trends, outliers, or key information within a large dataset. Whether you're a student trying to make your notes more engaging, a professional aiming to make your reports more understandable, or a developer looking to enhance user experience, highlighting rows can be a simple yet effective technique.
Highlighting rows can also be automated based on conditions, such as values exceeding a certain threshold, containing specific text, or falling within a particular date range. This conditional formatting not only saves time but also ensures that your data analysis is dynamic and responsive to changes in the data.
Given the versatility and utility of row highlighting, it's essential to understand the various methods and tools available. From basic manual selection and formatting to more advanced conditional formatting and programming approaches, the options are diverse and cater to different needs and skill levels.
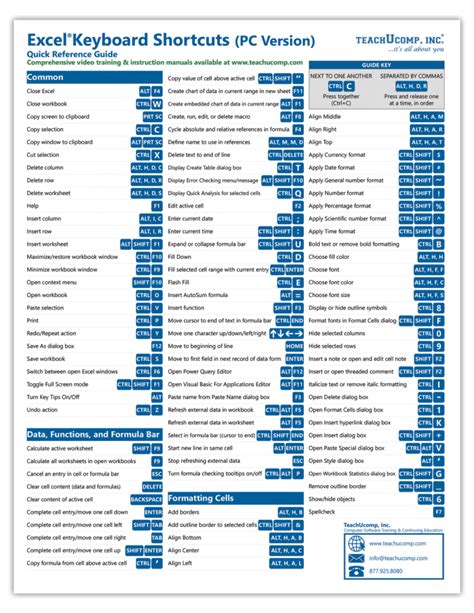
Method 1: Manual Highlighting in Microsoft Excel
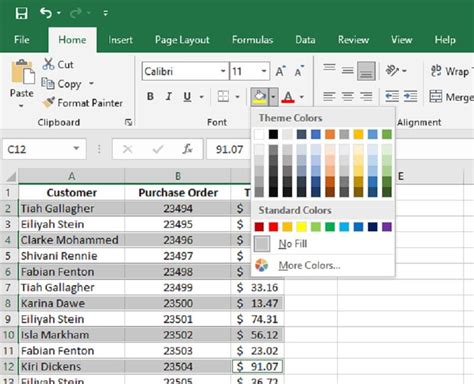
Steps for Manual Highlighting:
- Select the row you want to highlight. - Go to the Home tab in the Excel ribbon. - Click on the fill color button in the Font group and select a color. - Optionally, change the text color by clicking on the font color button. - Apply any additional formatting as desired, such as borders.Method 2: Conditional Formatting in Google Sheets

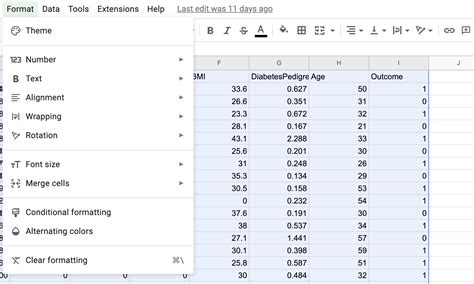
Steps for Conditional Formatting:
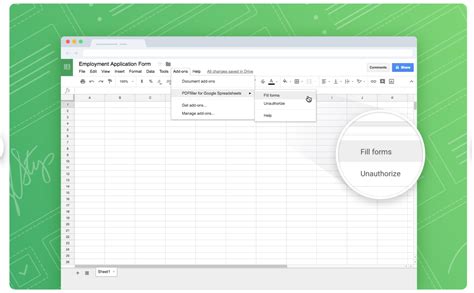
- Select the range of cells you want to apply the formatting to. - Go to the Format tab, then select Conditional formatting. - Choose the condition from the format cells if dropdown menu. - Select the formatting you want to apply. - Click Done to apply the formatting.Method 3: Using Formulas for Dynamic Highlighting
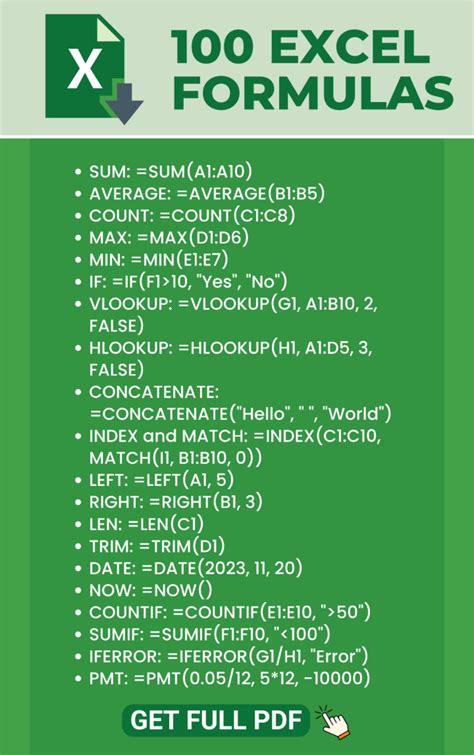
Example Formula:
The formula might look something like `=A1>10`, where A1 is the cell being evaluated, and the formatting is applied if the value in A1 is greater than 10.Method 4: Highlighting Rows with VBA in Excel

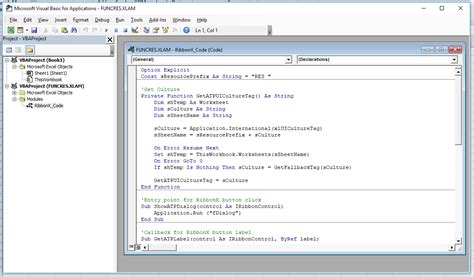
Basic VBA Script:
A simple VBA script might loop through each row in a range, check a condition, and apply highlighting accordingly. For example, `For Each row In Range("A1:A100").Rows: If row.Cells(1).Value > 10 Then row.Interior.ColorIndex = 6: Next row`.Method 5: CSS for Web Development

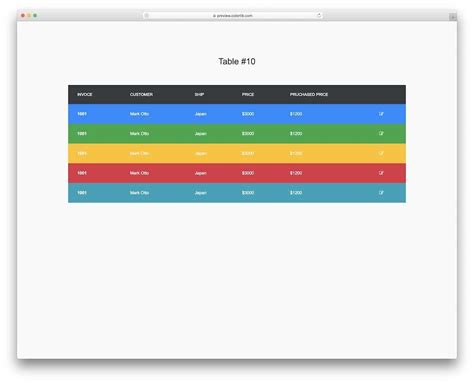
CSS Example:
Using the `:nth-child` pseudo-class, you can highlight every other row, for example: `tr:nth-child(odd) {background-color: #f2f2f2;}`. For more specific highlighting based on data, JavaScript can be used to dynamically apply CSS classes to table rows.Highlighting Rows Image Gallery

What is the easiest way to highlight a row in Excel?
+The easiest way is to select the row and use the fill color option in the Home tab of the Excel ribbon.
How do I highlight rows in Google Sheets based on a condition?
+Use the Conditional formatting option in the Format tab, selecting the condition and the formatting you want to apply.
Can I automate row highlighting in Excel using VBA?
+Yes, VBA allows you to write scripts that can automatically highlight rows based on specific conditions or as part of a larger macro.
To summarize, highlighting rows is a versatile tool with applications across various platforms, from spreadsheet software like Excel and Google Sheets to web development with CSS and JavaScript. Whether manual, conditional, or automated through formulas or programming, the ability to draw attention to specific data can significantly enhance data analysis, presentation, and communication. By exploring and mastering these different methods, users can tailor their approach to best suit their needs, ensuring that their data is not just presented but also understood and acted upon effectively. We invite you to share your experiences, tips, and questions about highlighting rows in the comments below, and don't forget to share this article with anyone who might find it useful.