Intro
Master Excel with 5 ways to create a floating table, including dynamic arrays, pivot tables, and formulas, to enhance data analysis and visualization skills.
In the world of Excel, tables are an essential tool for organizing and analyzing data. However, there are times when you need to take your tables to the next level by making them floating. A floating table in Excel is a table that can be moved around the worksheet without being tied to a specific cell or range. This feature can be incredibly useful for creating interactive dashboards, reports, and presentations. In this article, we will explore five ways to create a floating table in Excel.
When it comes to creating a floating table, there are several methods you can use, each with its own advantages and disadvantages. From using Excel's built-in features to leveraging third-party add-ins, the possibilities are endless. Whether you're a seasoned Excel user or just starting out, this article will provide you with the knowledge and skills you need to create stunning floating tables that will take your data analysis to new heights.
One of the key benefits of using floating tables is that they can be easily moved and resized without affecting the underlying data. This makes them perfect for creating interactive dashboards that can be customized to meet the needs of different users. Additionally, floating tables can be used to create visually appealing reports and presentations that are sure to impress your audience.
Method 1: Using Excel's Built-in Table Feature

Step-by-Step Instructions
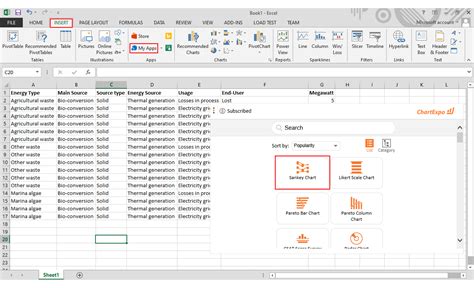
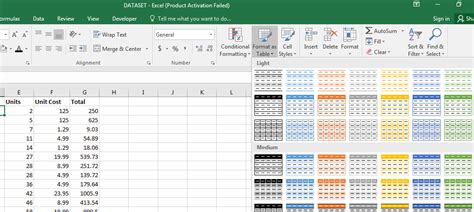
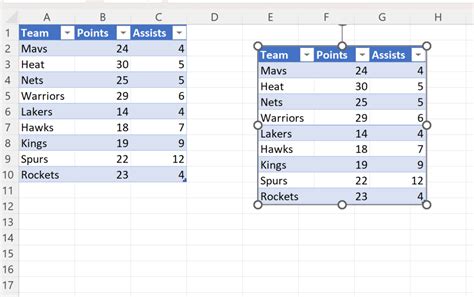
To create a floating table using Excel's built-in table feature, follow these steps: * Select the range of cells that you want to convert into a table * Go to the "Insert" tab and click on the "Table" button * Click and drag on the table's border to move it around the worksheet * Use the "Table Tools" tab to customize the table's appearance and behaviorMethod 2: Using Excel's Drawing Tools
Step-by-Step Instructions
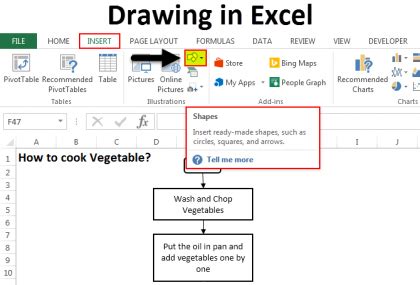
To create a floating table using Excel's drawing tools, follow these steps: * Go to the "Insert" tab and click on the "Shapes" button * Select the "Table" shape from the dropdown menu * Click and drag on the shape's border to move it around the worksheet * Use the "Format" tab to customize the shape's appearance and behaviorMethod 3: Using a Third-Party Add-In
Step-by-Step Instructions
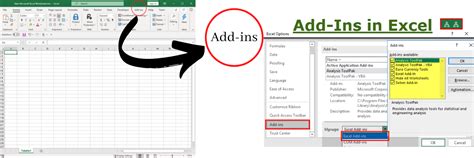
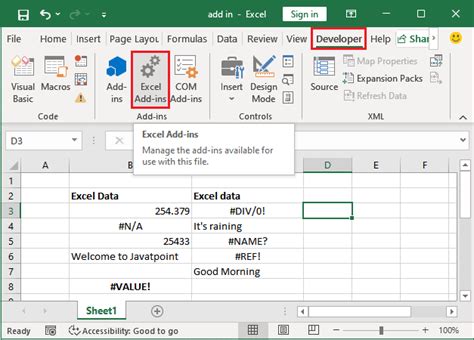
To create a floating table using a third-party add-in, follow these steps: * Research and select a suitable add-in * Download and install the add-in * Follow the add-in's instructions for creating a floating table * Use the add-in's features to customize the table's appearance and behaviorMethod 4: Using Excel's PivotTable Feature
Step-by-Step Instructions
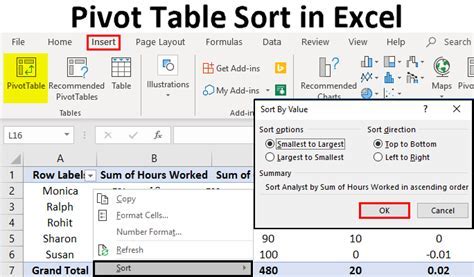
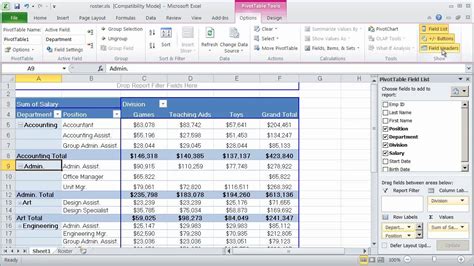
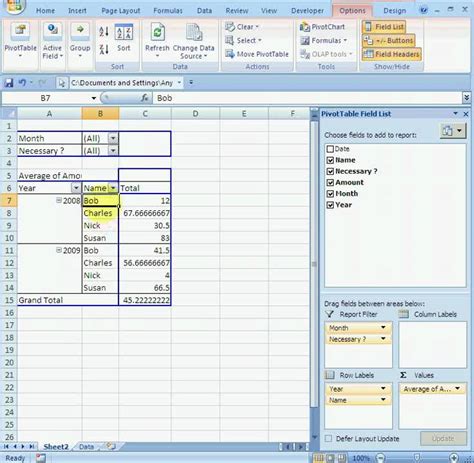
To create a floating table using Excel's PivotTable feature, follow these steps: * Select the range of cells that you want to convert into a PivotTable * Go to the "Insert" tab and click on the "PivotTable" button * Click and drag on the PivotTable's border to move it around the worksheet * Use the "PivotTable Tools" tab to customize the PivotTable's appearance and behaviorMethod 5: Using Excel's Power Query Feature
Step-by-Step Instructions
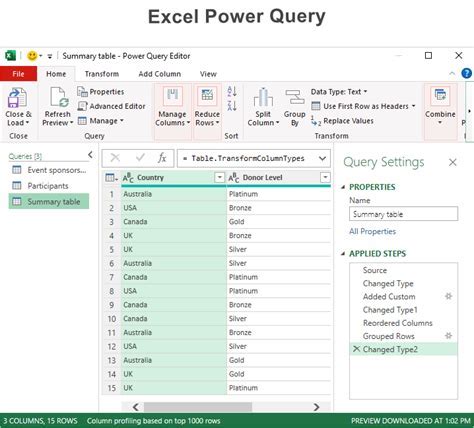
To create a floating table using Excel's Power Query feature, follow these steps: * Select the range of cells that you want to convert into a table * Go to the "Data" tab and click on the "From Table/Range" button * Click and drag on the table's border to move it around the worksheet * Use the "Query Tools" tab to customize the table's appearance and behaviorFloating Table Excel Image Gallery


What is a floating table in Excel?
+A floating table in Excel is a table that can be moved around the worksheet without being tied to a specific cell or range.
How do I create a floating table in Excel?
+There are several methods for creating a floating table in Excel, including using the program's built-in table feature, drawing tools, and third-party add-ins.
What are the benefits of using a floating table in Excel?
+The benefits of using a floating table in Excel include the ability to easily move and resize the table, as well as customize its appearance and behavior.
In conclusion, creating a floating table in Excel can be a powerful way to enhance your data analysis and visualization capabilities. By using one of the five methods outlined in this article, you can create a floating table that meets your specific needs and helps you to better understand and communicate your data. Whether you're a seasoned Excel user or just starting out, we hope that this article has provided you with the knowledge and skills you need to create stunning floating tables that will take your data analysis to new heights. So why not give it a try and see what you can achieve with floating tables in Excel? Share your experiences and tips with us in the comments below, and don't forget to share this article with your friends and colleagues who may be interested in learning more about this powerful feature.