Intro
Learn to create a report card in Excel with ease. Discover templates, formulas, and grading scales to generate student progress reports, transcripts, and scorecards efficiently.
Creating a report card in Excel can be a straightforward and efficient way to track student progress and performance. With its versatile features and formulas, Excel allows you to design a customized report card that suits your specific needs. In this article, we will guide you through the process of creating a report card in Excel, covering the essential steps, formulas, and tips to help you get started.
The importance of report cards cannot be overstated. They provide a comprehensive overview of a student's academic performance, highlighting strengths and weaknesses, and serving as a valuable tool for parents, teachers, and students to track progress. By creating a report card in Excel, you can easily manage and analyze student data, identify areas for improvement, and make informed decisions to support student success.
In today's digital age, using Excel to create report cards offers numerous benefits. For one, it saves time and reduces paperwork, allowing teachers to focus on what matters most – teaching and supporting students. Additionally, Excel report cards can be easily shared with parents and students, promoting transparency and collaboration. With the ability to automate calculations and formatting, Excel report cards can also help reduce errors and improve accuracy.
Getting Started with Report Card Creation in Excel
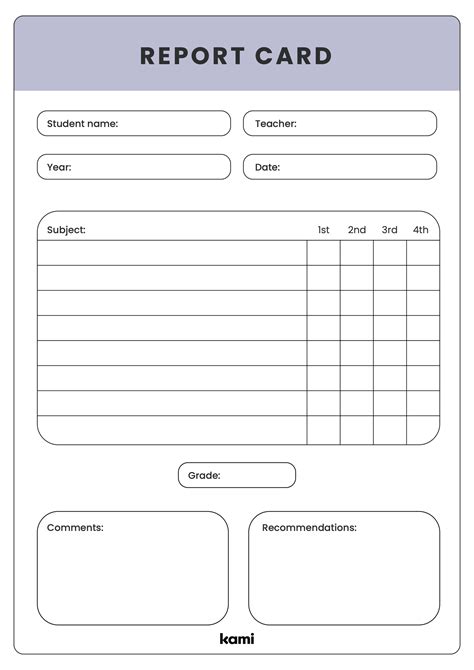
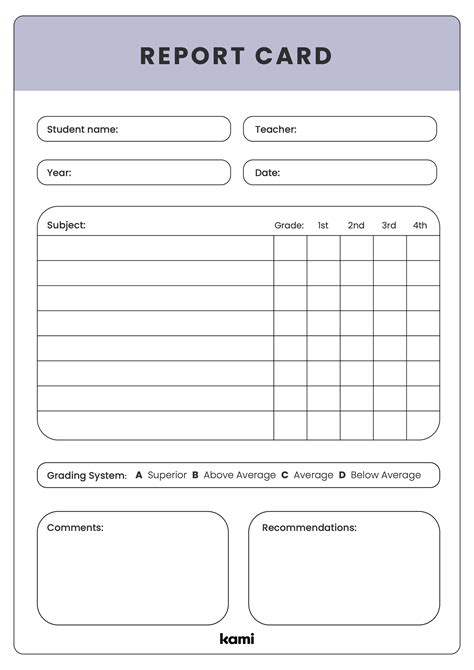
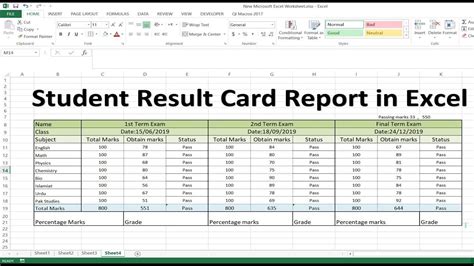
To begin creating a report card in Excel, start by opening a new workbook and setting up a template. You can use a basic template or design your own from scratch. Consider the following essential elements to include in your report card template: student information, subject grades, overall GPA, and comments or feedback.
Setting Up the Report Card Template
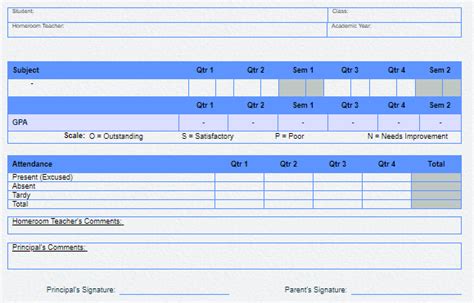
When setting up your report card template, it's essential to consider the layout and organization of the data. You can use separate sheets for different subjects or semesters, or create a single sheet with multiple tables and sections. To make your report card more visually appealing, use headers, footers, and formatting options such as bolding, italicizing, and coloring.Entering Student Data and Grades

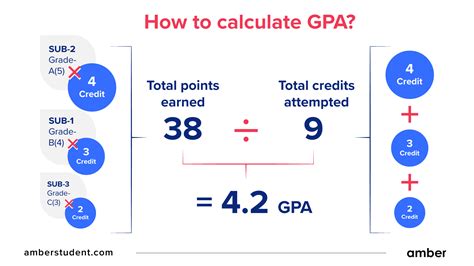
Once you have set up your report card template, it's time to enter student data and grades. You can use formulas to calculate grades, GPAs, and other relevant metrics. For example, you can use the SUMIF function to calculate the total score for a particular subject or the AVERAGE function to calculate the overall GPA.
Using Formulas to Calculate Grades and GPAs
To calculate grades and GPAs, you can use a variety of formulas in Excel. For instance, you can use the IF function to determine letter grades based on numerical scores or the VLOOKUP function to retrieve grades from a separate table. Additionally, you can use the INDEX-MATCH function to look up grades and calculate GPAs.Customizing the Report Card Template
To make your report card template more effective and user-friendly, consider customizing it to suit your specific needs. You can add charts, graphs, and tables to visualize student data, or use conditional formatting to highlight areas of strength and weakness. Additionally, you can use macros and VBA scripts to automate tasks and streamline the report card creation process.
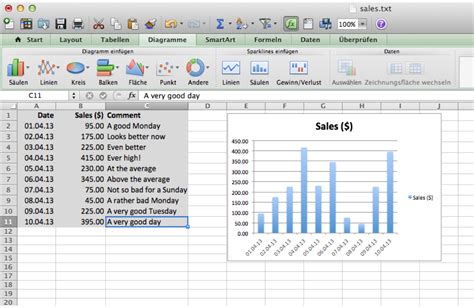
Adding Charts and Graphs to Visualize Student Data
To add charts and graphs to your report card template, use the Insert tab in Excel to select from a variety of chart types, such as column charts, line charts, or pie charts. You can also use the Recommended Charts feature to let Excel suggest the best chart type for your data.Sharing and Printing Report Cards

Once you have created and customized your report card template, it's time to share and print the report cards. You can use Excel's built-in sharing features to send report cards to parents and students via email or use a secure online platform to share the report cards. To print report cards, use the Print Preview feature to adjust the layout and formatting, and then print the report cards on paper or cardstock.
Using Excel's Built-in Sharing Features
To share report cards using Excel's built-in sharing features, go to the Share tab and select the sharing option that best suits your needs. You can share the report card as an attachment, a link, or a PDF file, and add a personal message or comments to the email.Report Card Image Gallery


What is the purpose of a report card?
+The purpose of a report card is to provide a comprehensive overview of a student's academic performance, highlighting strengths and weaknesses, and serving as a valuable tool for parents, teachers, and students to track progress.
How do I create a report card in Excel?
+To create a report card in Excel, start by opening a new workbook and setting up a template. Enter student data and grades, use formulas to calculate grades and GPAs, and customize the report card template to suit your specific needs.
What are the benefits of using Excel to create report cards?
+The benefits of using Excel to create report cards include saving time and reducing paperwork, automating calculations and formatting, and improving accuracy and transparency.
In conclusion, creating a report card in Excel is a straightforward and efficient way to track student progress and performance. By following the steps outlined in this article, you can design a customized report card that suits your specific needs and provides valuable insights into student academic performance. Whether you're a teacher, administrator, or parent, using Excel to create report cards can help you make informed decisions and support student success. So why not give it a try? Share your thoughts and experiences with creating report cards in Excel in the comments below, and don't forget to share this article with your colleagues and friends!