Intro
Learn to graph equations on Excel with ease. Master plotting functions, linear equations, and mathematical models using Excels graphing tools and features.
Graphing an equation on Excel can be a powerful tool for visualizing and analyzing mathematical relationships. Whether you're a student, teacher, or professional, being able to create graphs on Excel can help you to better understand complex equations and make more informed decisions. In this article, we'll take a closer look at how to graph an equation on Excel, including the benefits of doing so, the steps involved, and some tips and tricks for getting the most out of your graphs.
Graphing an equation on Excel can be beneficial for a number of reasons. For one, it allows you to visualize the relationship between different variables, which can be difficult to understand when looking at a equation alone. By creating a graph, you can see how changes in one variable affect the others, and identify patterns and trends that may not be immediately apparent. Additionally, graphs can be a powerful tool for communicating complex ideas and relationships to others, making them a valuable asset in both academic and professional settings.
To get started with graphing an equation on Excel, you'll need to have a basic understanding of how the program works, as well as some familiarity with mathematical equations. Don't worry if you're not an expert in either area - we'll take it one step at a time, and provide plenty of examples and illustrations to help you learn. With a little practice and patience, you'll be creating professional-looking graphs in no time.
Understanding Equations and Graphs
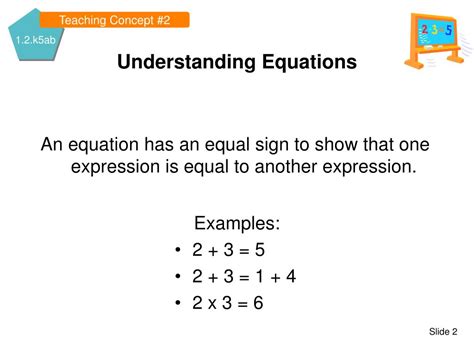
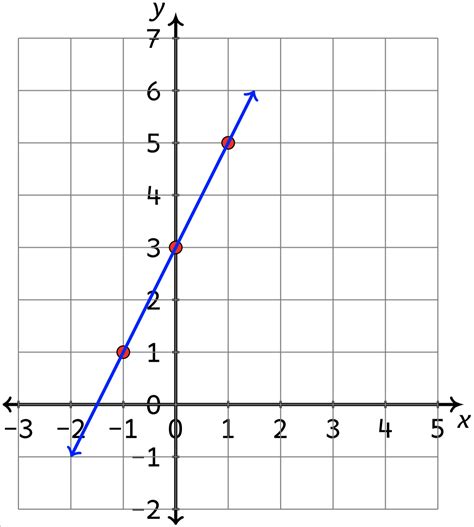
Before we dive into the nitty-gritty of graphing an equation on Excel, let's take a step back and review some of the basics. An equation is a statement that expresses the relationship between two or more variables, often using mathematical symbols and operations. For example, the equation 2x + 3 = 5 describes a linear relationship between the variables x and y. Graphs, on the other hand, are visual representations of equations, using points, lines, and curves to illustrate the relationships between variables.
Types of Equations and Graphs
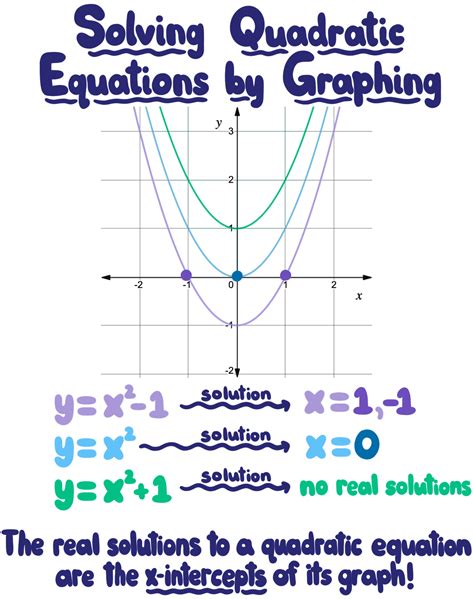
There are many different types of equations and graphs, each with its own unique characteristics and applications. Some common types of equations include linear, quadratic, polynomial, and exponential, while common types of graphs include line graphs, scatter plots, bar charts, and histograms. Understanding the different types of equations and graphs, and how to work with them, is essential for getting the most out of Excel's graphing capabilities.Setting Up Your Equation in Excel

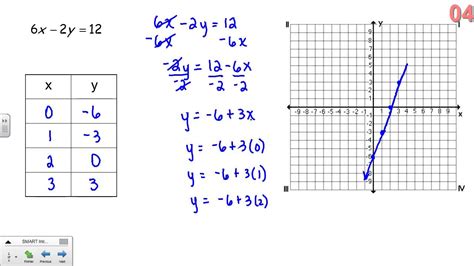
Now that we've covered some of the basics, let's take a look at how to set up your equation in Excel. The first step is to create a new spreadsheet and enter your equation into a cell. For example, if you want to graph the equation 2x + 3 = 5, you would enter "=2*x+3" into a cell, where x is the variable you want to graph. You can then use Excel's built-in functions and formulas to manipulate and analyze your equation, such as solving for x or finding the derivative.
Using Excel's Built-in Functions and Formulas
Excel has a wide range of built-in functions and formulas that can be used to manipulate and analyze equations. Some common examples include the SUM, AVERAGE, and MAX functions, as well as the IF and VLOOKUP formulas. By using these functions and formulas, you can perform complex calculations and operations on your equation, and gain a deeper understanding of the relationships between variables.Creating a Graph in Excel
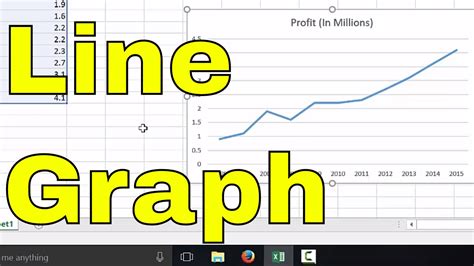
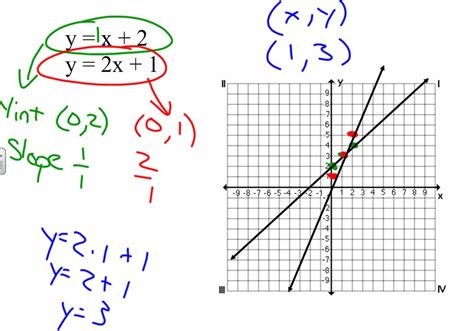
Once you've set up your equation in Excel, you can create a graph by selecting the data range and using the "Insert" tab to choose a graph type. Excel offers a wide range of graph types, including line graphs, scatter plots, and bar charts, so you can choose the one that best suits your needs. You can then customize your graph by adding titles, labels, and legends, as well as adjusting the axis scales and gridlines.
Customizing Your Graph
Customizing your graph is an important step in making it look professional and effective. Some common ways to customize your graph include adding titles and labels, adjusting the axis scales and gridlines, and using different colors and fonts. You can also use Excel's built-in tools and features to add annotations, such as arrows and text boxes, and to create interactive graphs that respond to user input.Tips and Tricks for Graphing Equations in Excel

Here are some tips and tricks for graphing equations in Excel:
- Use clear and concise labels and titles to make your graph easy to understand.
- Choose a graph type that suits your data and equation.
- Use different colors and fonts to make your graph visually appealing.
- Experiment with different axis scales and gridlines to find the best view of your data.
- Use Excel's built-in tools and features to add annotations and create interactive graphs.
Common Mistakes to Avoid
When graphing equations in Excel, there are several common mistakes to avoid. These include:- Entering incorrect or incomplete data
- Choosing the wrong graph type
- Failing to customize your graph
- Not using clear and concise labels and titles
- Not experimenting with different axis scales and gridlines
By avoiding these common mistakes, you can create professional-looking graphs that effectively communicate your equation and data.
Real-World Applications of Graphing Equations in Excel

Graphing equations in Excel has a wide range of real-world applications, from science and engineering to business and finance. Some examples include:
- Analyzing population growth and decline
- Modeling complex systems and relationships
- Visualizing and communicating data insights
- Making predictions and forecasts
- Identifying trends and patterns
By using Excel to graph equations, you can gain a deeper understanding of complex relationships and make more informed decisions.
Case Studies and Examples
Here are some case studies and examples of how graphing equations in Excel can be used in real-world applications:- A company uses Excel to model and analyze customer behavior, identifying trends and patterns that inform marketing and sales strategies.
- A scientist uses Excel to visualize and communicate data insights from a research study, helping to identify key findings and implications.
- A financial analyst uses Excel to create interactive graphs and models, making it easier to explore and understand complex financial data.
These case studies and examples illustrate the power and versatility of graphing equations in Excel, and demonstrate how it can be used to drive insights and decision-making in a wide range of fields.
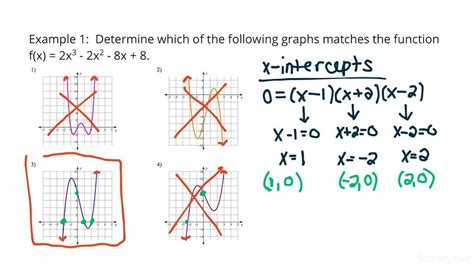
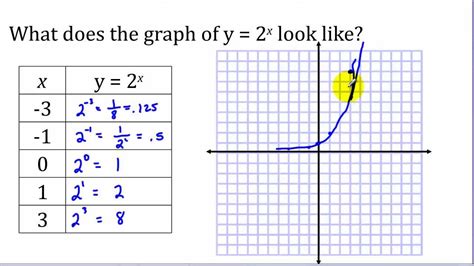
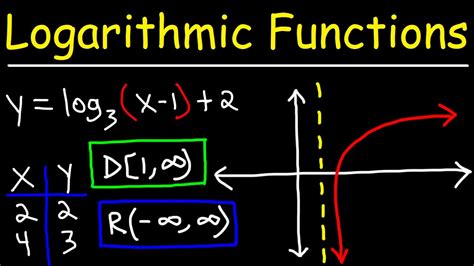
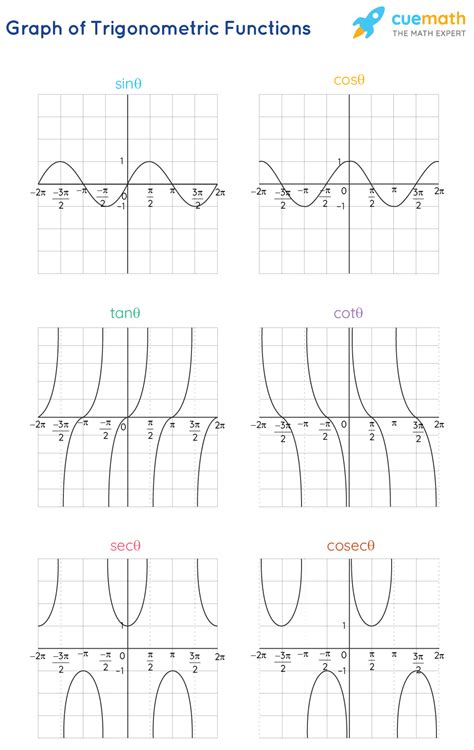
Graphing Equations Image Gallery

What is the purpose of graphing an equation in Excel?
+The purpose of graphing an equation in Excel is to visualize and analyze the relationship between variables, making it easier to understand complex mathematical relationships and identify patterns and trends.
What are the benefits of using Excel to graph equations?
+The benefits of using Excel to graph equations include the ability to visualize and analyze complex relationships, identify patterns and trends, and communicate insights and findings to others.
How do I get started with graphing an equation in Excel?
+To get started with graphing an equation in Excel, simply enter your equation into a cell, select the data range, and use the "Insert" tab to choose a graph type. You can then customize your graph by adding titles, labels, and legends, as well as adjusting the axis scales and gridlines.
What are some common mistakes to avoid when graphing an equation in Excel?
+Some common mistakes to avoid when graphing an equation in Excel include entering incorrect or incomplete data, choosing the wrong graph type, failing to customize your graph, and not using clear and concise labels and titles.
How can I use graphing equations in Excel in real-world applications?
+Graphing equations in Excel can be used in a wide range of real-world applications, from science and engineering to business and finance. Some examples include analyzing population growth and decline, modeling complex systems and relationships, visualizing and communicating data insights, making predictions and forecasts, and identifying trends and patterns.
In summary, graphing an equation on Excel is a powerful tool for visualizing and analyzing mathematical relationships. By following the steps outlined in this article, you can create professional-looking graphs that effectively communicate your equation and data. Whether you're a student, teacher, or professional, being able to graph equations on Excel can help you to better understand complex relationships and make more informed decisions. We hope this article has provided you with the knowledge and skills you need to get started with graphing equations on Excel. If you have any questions or comments, please don't hesitate to reach out. Share this article with your friends and colleagues, and take the first step towards unlocking the full potential of Excel's graphing capabilities.