Intro
Master graph equations in Excel with ease. Learn to create, edit, and solve linear, quadratic, and polynomial equations using Excels built-in tools and functions for data analysis and visualization.
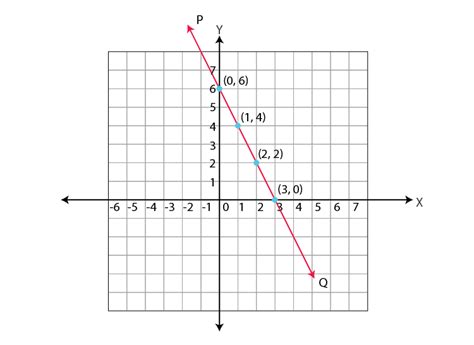
Graphing equations in Excel is a powerful tool for visualizing and analyzing data. Excel provides a variety of graphing options, including 2D and 3D graphs, to help users understand complex data relationships. Graphing equations can be particularly useful in fields such as mathematics, physics, engineering, and economics, where equations are used to model real-world phenomena. By graphing these equations, users can gain insights into the behavior of the systems they are modeling and make more informed decisions.
Graphing equations in Excel can be used to solve a variety of problems, from simple linear equations to complex nonlinear equations. For example, a business owner might use Excel to graph the equation for demand and supply in a market, in order to determine the optimal price and quantity of a product. An engineer might use Excel to graph the equation for the stress on a bridge, in order to determine the maximum load that the bridge can support. By graphing these equations, users can identify patterns and trends that might not be immediately apparent from the raw data.
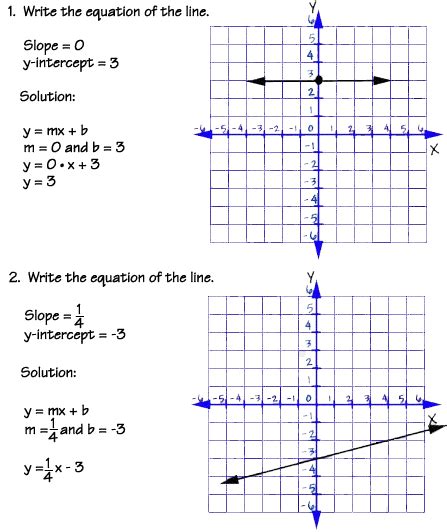
In addition to its practical applications, graphing equations in Excel can also be a useful tool for teaching and learning mathematics. By graphing equations, students can visualize the relationships between variables and gain a deeper understanding of mathematical concepts. For example, a student might use Excel to graph the equation for a quadratic function, in order to understand how the coefficients of the equation affect the shape of the graph. By exploring these relationships in a visual and interactive way, students can develop a more intuitive understanding of mathematical concepts and build a stronger foundation for future learning.
Getting Started with Graphing Equations in Excel

To get started with graphing equations in Excel, users need to have a basic understanding of how to use the software. This includes knowledge of how to create and edit worksheets, how to use formulas and functions, and how to customize the appearance of charts and graphs. Users should also have a basic understanding of mathematical concepts, such as variables, constants, and functions. With these skills in place, users can begin to explore the many tools and features that Excel provides for graphing equations.
One of the most important tools for graphing equations in Excel is the chart wizard. The chart wizard is a step-by-step guide that helps users create a chart or graph from their data. To access the chart wizard, users can click on the "Insert" tab in the ribbon and then select "Chart" from the dropdown menu. The chart wizard will then prompt the user to select the data range that they want to graph, as well as the type of chart or graph that they want to create.
Types of Graphs in Excel
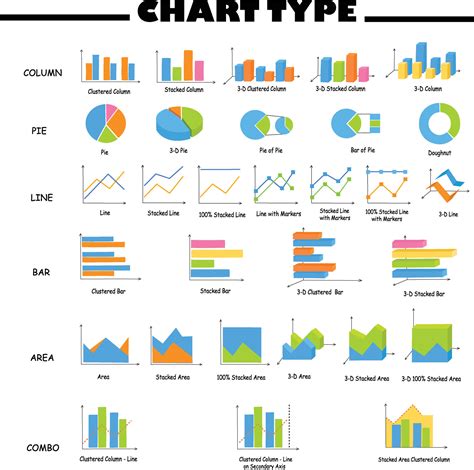
Excel provides a variety of graph types that users can choose from, depending on the nature of their data and the type of analysis they want to perform. Some of the most common types of graphs in Excel include:
- Line graphs: These graphs are used to show trends over time or to compare the values of different categories.
- Bar graphs: These graphs are used to compare the values of different categories or to show the distribution of data.
- Pie charts: These graphs are used to show how different categories contribute to a whole.
- Scatter plots: These graphs are used to show the relationship between two variables.
Each of these graph types has its own strengths and weaknesses, and users should choose the type that best fits their needs. For example, a line graph might be a good choice for showing trends over time, while a bar graph might be a better choice for comparing the values of different categories.
Customizing Graphs in Excel
Once a graph has been created, users can customize its appearance to suit their needs. This can include changing the title and labels, adding a legend, and modifying the colors and fonts. Users can also add additional features to their graph, such as trendlines and error bars.
To customize a graph in Excel, users can click on the graph and then use the tools in the "Chart Tools" tab in the ribbon. This tab provides a variety of options for customizing the graph, including tools for changing the layout, formatting the data series, and adding charts elements.
Graphing Equations with Multiple Variables
Graphing equations with multiple variables can be more complex than graphing equations with a single variable. However, Excel provides a variety of tools and features that can help users to visualize and analyze these equations.
One of the most important tools for graphing equations with multiple variables is the 3D graph. A 3D graph can be used to show the relationship between three variables, such as x, y, and z. To create a 3D graph in Excel, users can click on the "Insert" tab in the ribbon and then select "3D Surface" from the dropdown menu.
Another tool that can be used to graph equations with multiple variables is the contour plot. A contour plot is a 2D graph that shows the relationship between two variables, such as x and y. To create a contour plot in Excel, users can click on the "Insert" tab in the ribbon and then select "Contour" from the dropdown menu.
Using Excel to Solve Systems of Equations
Excel can also be used to solve systems of equations. A system of equations is a set of two or more equations that have the same variables. To solve a system of equations in Excel, users can use the "Solver" add-in.
The Solver add-in is a powerful tool that can be used to find the solution to a system of equations. To access the Solver add-in, users can click on the "Data" tab in the ribbon and then select "Solver" from the dropdown menu.
Once the Solver add-in has been accessed, users can define the variables and the equations that they want to solve. The Solver add-in will then use a variety of algorithms to find the solution to the system of equations.
Common Applications of Graphing Equations in Excel
Graphing equations in Excel has a variety of common applications, including:
- Data analysis: Graphing equations can be used to analyze and visualize data, helping users to identify trends and patterns.
- Business: Graphing equations can be used to model business systems and make predictions about future trends.
- Engineering: Graphing equations can be used to model physical systems and make predictions about their behavior.
- Economics: Graphing equations can be used to model economic systems and make predictions about future trends.
Each of these applications has its own unique challenges and opportunities, and users should choose the tools and features that best fit their needs.
Best Practices for Graphing Equations in Excel
To get the most out of graphing equations in Excel, users should follow a few best practices. These include:
- Using clear and concise labels and titles
- Choosing the right type of graph for the data
- Customizing the appearance of the graph to suit the needs of the user
- Using additional features, such as trendlines and error bars, to add context and meaning to the graph
By following these best practices, users can create effective and informative graphs that help to communicate their message and achieve their goals.
Graph Equations Image Gallery


What is graphing equations in Excel?
+Graphing equations in Excel is a powerful tool for visualizing and analyzing data. It allows users to create a variety of graphs, including 2D and 3D graphs, to help understand complex data relationships.
How do I get started with graphing equations in Excel?
+To get started with graphing equations in Excel, users need to have a basic understanding of how to use the software. This includes knowledge of how to create and edit worksheets, how to use formulas and functions, and how to customize the appearance of charts and graphs.
What are some common applications of graphing equations in Excel?
+Graphing equations in Excel has a variety of common applications, including data analysis, business, engineering, and economics. It can be used to model business systems, make predictions about future trends, and visualize complex data relationships.
How do I customize the appearance of a graph in Excel?
+To customize the appearance of a graph in Excel, users can click on the graph and then use the tools in the "Chart Tools" tab in the ribbon. This tab provides a variety of options for customizing the graph, including tools for changing the layout, formatting the data series, and adding charts elements.
What are some best practices for graphing equations in Excel?
+To get the most out of graphing equations in Excel, users should follow a few best practices. These include using clear and concise labels and titles, choosing the right type of graph for the data, customizing the appearance of the graph to suit the needs of the user, and using additional features, such as trendlines and error bars, to add context and meaning to the graph.
In conclusion, graphing equations in Excel is a powerful tool for visualizing and analyzing data. By following the steps and tips outlined in this article, users can create effective and informative graphs that help to communicate their message and achieve their goals. Whether you are a student, a business professional, or an engineer, graphing equations in Excel can help you to gain insights into complex data relationships and make more informed decisions. So why not give it a try? With a little practice and patience, you can become proficient in graphing equations in Excel and take your data analysis to the next level. We invite you to share your experiences and tips for graphing equations in Excel in the comments below.