Intro
Lock images in Excel cells to prevent movement or resizing, using cell locking and image formatting techniques, ensuring spreadsheet stability and visual consistency.
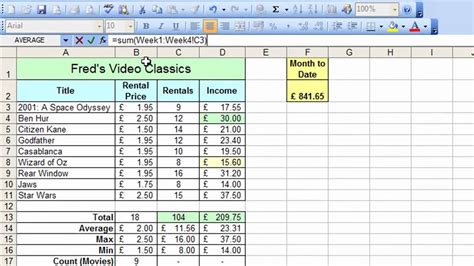
Locking an image in an Excel cell can be a useful feature when you want to ensure that the image remains in a specific position and size within the cell, even when the cell is resized or the worksheet is edited. This can be particularly helpful when creating reports, dashboards, or other visualizations where images play a critical role. In this article, we will explore the steps and benefits of locking an image in an Excel cell, as well as provide tips and best practices for working with images in Excel.
When working with images in Excel, it's essential to understand the different ways you can insert and manipulate them. Images can be inserted from various sources, including files, online searches, and even screenshots. Once an image is inserted into an Excel worksheet, you can resize it, move it, and even lock it to a specific cell. Locking an image to a cell ensures that the image remains in the same position relative to the cell, even if the cell is moved or resized.
Why Lock an Image in an Excel Cell?

Locking an image in an Excel cell offers several benefits. Firstly, it helps maintain the layout and design of your worksheet, ensuring that the image remains in the intended position and size. This is particularly important when creating reports or dashboards where the layout and visual appeal are crucial. Secondly, locking an image to a cell prevents it from being accidentally moved or resized, which can save time and reduce frustration. Finally, locking an image can also help to prevent others from modifying the image or its position, which can be useful when sharing worksheets with colleagues or stakeholders.
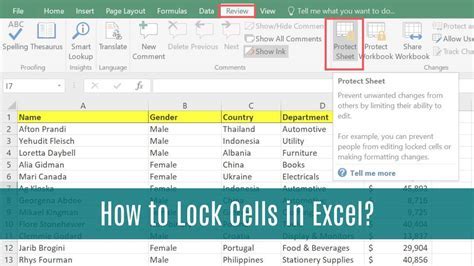
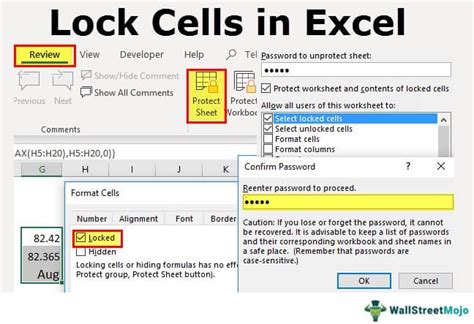
How to Lock an Image in an Excel Cell

To lock an image in an Excel cell, follow these steps:
- Select the image you want to lock by clicking on it.
- Go to the "Format" tab in the ribbon.
- Click on the "Size and Properties" button in the "Arrange" group.
- In the "Size and Properties" pane, click on the "Properties" tab.
- Under "Object positioning," select the "Don't move or size with cells" option.
- Click "OK" to apply the changes.
Alternatively, you can also right-click on the image and select "Format Picture" to access the "Size and Properties" pane.
Best Practices for Working with Images in Excel
When working with images in Excel, there are several best practices to keep in mind:
- Use high-quality images that are relevant to your content.
- Resize images to fit the cell or worksheet, rather than stretching or distorting them.
- Use the "Compress Pictures" tool to reduce the file size of images and improve worksheet performance.
- Use alt text to provide a description of the image for accessibility purposes.
- Avoid overusing images, as this can clutter the worksheet and make it difficult to read.
Tips and Tricks for Locking Images in Excel Cells

Here are some additional tips and tricks for locking images in Excel cells:
- Use the "Snap to Grid" feature to align images with the gridlines in the worksheet.
- Use the "Align" tools to align images with other objects or cells in the worksheet.
- Use the "Group" feature to group multiple images together and move them as a single unit.
- Use the " Ungroup" feature to separate grouped images and move them individually.
Common Issues with Locking Images in Excel Cells

When locking images in Excel cells, you may encounter some common issues, such as:
- Images not locking to the cell as expected.
- Images resizing or moving unexpectedly.
- Images not printing correctly.
To resolve these issues, try the following:
- Check that the image is selected and the "Don't move or size with cells" option is enabled.
- Check that the image is not grouped with other objects or cells.
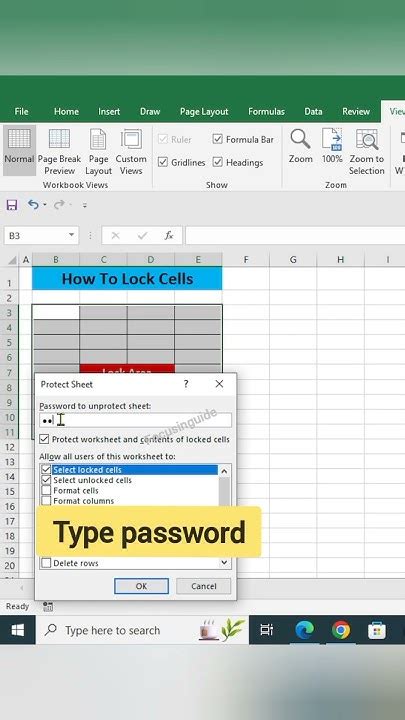
- Check that the worksheet is not protected or locked.
Gallery of Locking Images in Excel Cells
Locking Images in Excel Cells Image Gallery


How do I lock an image in an Excel cell?
+To lock an image in an Excel cell, select the image, go to the "Format" tab, click on "Size and Properties," and select the "Don't move or size with cells" option.
Why should I lock an image in an Excel cell?
+Locking an image in an Excel cell helps maintain the layout and design of your worksheet, prevents accidental movement or resizing, and can help prevent others from modifying the image or its position.
How do I resolve common issues with locking images in Excel cells?
+To resolve common issues with locking images in Excel cells, check that the image is selected and the "Don't move or size with cells" option is enabled, check that the image is not grouped with other objects or cells, and check that the worksheet is not protected or locked.
In conclusion, locking an image in an Excel cell is a useful feature that can help maintain the layout and design of your worksheet, prevent accidental movement or resizing, and can help prevent others from modifying the image or its position. By following the steps and best practices outlined in this article, you can effectively lock images in Excel cells and enhance your worksheets. If you have any further questions or need additional assistance, don't hesitate to reach out. Share your experiences and tips for working with images in Excel in the comments below, and don't forget to share this article with your colleagues and friends who may benefit from this information.