Intro
Learn to move the horizontal axis to bottom in Excel, enhancing chart readability with axis manipulation, data visualization, and graph customization techniques.
When working with charts in Excel, the default position of the horizontal axis is often at the bottom of the chart. However, there are instances where the axis might be positioned differently, or you might want to adjust its position for better readability or aesthetics. Moving the horizontal axis to the bottom in Excel is a straightforward process that can enhance the clarity and presentation of your charts.
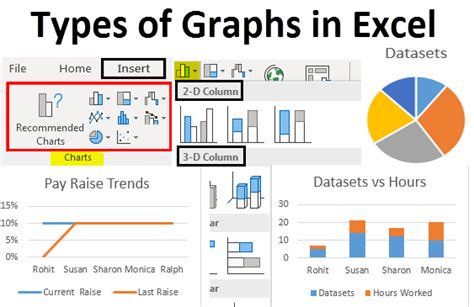
To begin with, understanding the basics of Excel charting is essential. Excel offers a wide range of chart types, from simple column and line charts to more complex charts like radar and bubble charts. Each chart type has its unique characteristics, but they all share common elements such as axes, which are crucial for interpreting the data represented in the chart.
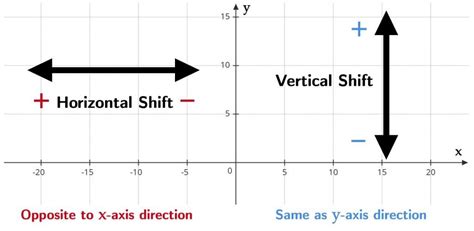
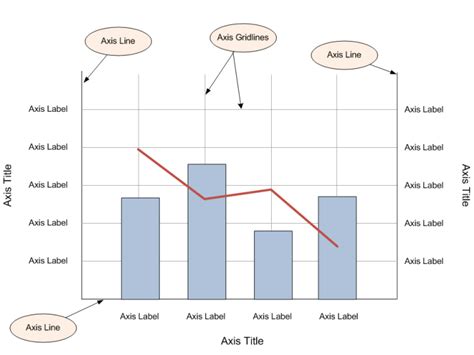
The horizontal axis, also known as the x-axis, typically represents categories or time intervals, while the vertical axis (y-axis) represents the values or measurements. The position of these axes can significantly affect how easily and accurately the data can be read.
Here's how you can move the horizontal axis to the bottom of your chart in Excel:
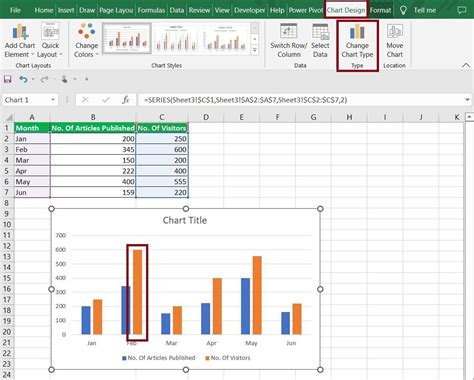
- Select Your Chart: First, click on the chart you want to modify. This will activate the Chart Tools tabs in the ribbon.
- Access Chart Options: With the chart selected, go to the "Chart Design" tab (or "Chart Tools" in older Excel versions) and click on "Change Chart Type" or directly go to the "Format" tab to access more detailed formatting options.
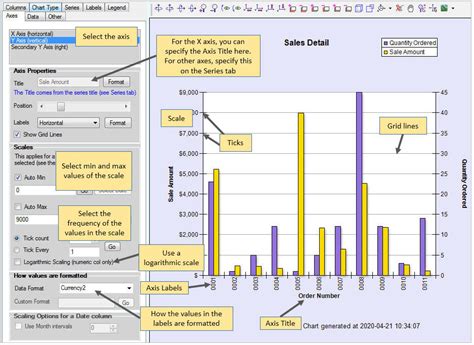
- Format Axis: In the "Format" tab, you can select the axis you want to modify by clicking on it. If the axis is not visible, you might need to add it first by going to the "Chart Design" tab, clicking on "Chart Layouts," and selecting an option that includes axes.
- Axis Options: Once you've selected the horizontal axis, you can right-click on it and choose "Format Axis" to open the Format Axis pane. Alternatively, with the axis selected, you can find the "Format Axis" options in the "Current Selection" group of the "Format" tab.
- Axis Position: In the Format Axis pane, look for the "Axis Options" section. Here, you'll find a dropdown menu labeled "Vertical axis crosses" for the horizontal axis (since it's about where the vertical axis crosses the horizontal one). Select "Between tick marks" or "At last category" depending on your preference, but typically, "At last category" will place the axis at the bottom if your categories are arranged vertically.
For more precise control or if the above steps don't directly apply to your version of Excel or specific chart type, you can also consider the following:
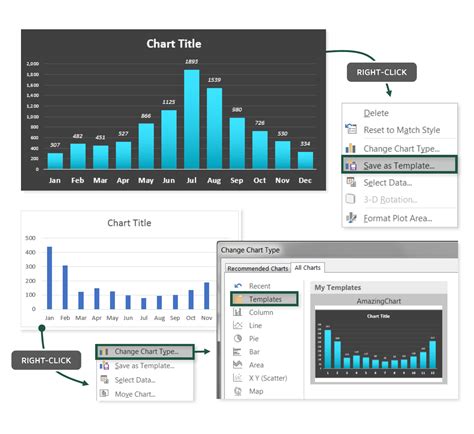
- Using Chart Templates: Excel offers various chart templates that might already have the horizontal axis positioned at the bottom. Experimenting with different templates can be a quick way to achieve your desired layout.
- Customizing Axis: Sometimes, simply reversing the order of categories or using a different type of chart can make your data easier to understand without needing to adjust the axis position.
- Updating Excel: Ensure you're using the latest version of Excel, as Microsoft continuously updates the software with new features and improvements.
Benefits of Customizing Your Chart Axes
Customizing the position of your chart axes, including moving the horizontal axis to the bottom, can significantly enhance the readability and effectiveness of your charts. Here are a few benefits:
- Improved Readability: By positioning the horizontal axis at the bottom, you make it easier for viewers to read category labels, especially if they are long or if the chart is complex.
- Enhanced Aesthetics: A well-organized chart with appropriately positioned axes can look more professional and appealing, making your reports or presentations more engaging.
- Better Data Interpretation: Proper axis positioning can reduce errors in data interpretation. For instance, having the horizontal axis at the bottom can help prevent misunderstandings about which categories correspond to which data points.
Common Challenges and Solutions
When working with chart axes in Excel, you might encounter several challenges, such as:
- Axis Not Moving: If the axis doesn't seem to move as expected, check that you've selected the correct axis and that the chart type supports axis customization.
- Overlapping Labels: If category labels overlap, consider rotating them or using a different chart type that can accommodate longer labels more effectively.
Advanced Axis Customization
Beyond moving the horizontal axis to the bottom, Excel offers a range of advanced customization options for chart axes. These include:
- Axis Scaling: You can customize the scale of your axes, including setting minimum and maximum values, to better represent your data.
- Tick Marks and Labels: Adjusting the frequency and format of tick marks and labels can make your chart more readable.
- Gridlines: Adding gridlines can help viewers estimate values between tick marks more accurately.
Best Practices for Chart Design
While customizing chart axes, it's essential to keep best practices for chart design in mind. These include:
- Keep it Simple: Avoid cluttering your chart with too much information. Focus on the key message you want to convey.
- Use Colors Wisely: Colors can enhance or detract from your chart's readability. Use them consistently and thoughtfully.
- Label Clearly: Ensure all axes and data series are clearly labeled to avoid confusion.

Conclusion and Next Steps
Moving the horizontal axis to the bottom in Excel charts is a simple yet effective way to enhance the clarity and professionalism of your data presentations. By mastering this and other customization techniques, you can create charts that not only look great but also communicate complex information with precision and ease.
Whether you're a beginner looking to improve your Excel skills or an advanced user seeking to refine your charting techniques, there's always more to learn. Exploring Excel's extensive range of features and practicing with different types of data and charts will help you become more proficient in creating compelling and informative visualizations.
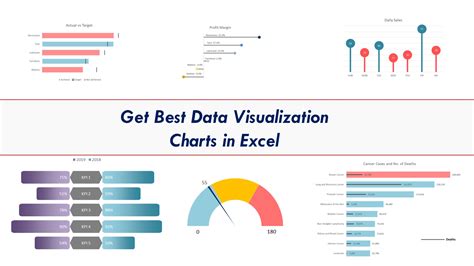
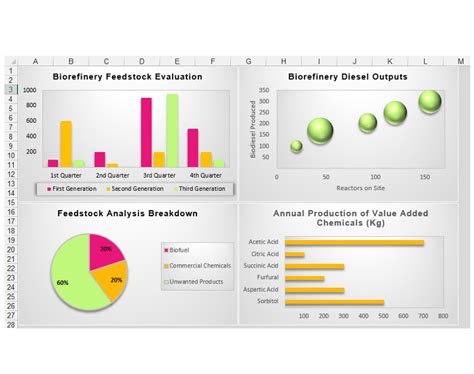
Excel Chart Customization Image Gallery


How do I move the horizontal axis to the bottom in Excel?
+To move the horizontal axis to the bottom, select the chart, go to the "Format" tab, select the axis, and in the Format Axis pane, adjust the "Axis Options" to position the axis at the bottom.
Why can't I move the axis in my Excel chart?
+Ensure you've selected the correct axis and that the chart type supports axis customization. If issues persist, try resetting the chart or seeking assistance from Excel support resources.
How can I customize my Excel chart for better readability?
+Customize your chart by adjusting axis positions, using clear and concise labels, selecting appropriate colors, and keeping the design simple and focused on the key message.
We hope this guide has been helpful in learning how to move the horizontal axis to the bottom in Excel and in exploring the broader capabilities of Excel chart customization. Whether you're working on a project, creating a report, or simply looking to improve your Excel skills, mastering chart customization can significantly enhance your ability to communicate data insights effectively. Feel free to share your experiences, ask questions, or provide feedback in the comments below.