Intro
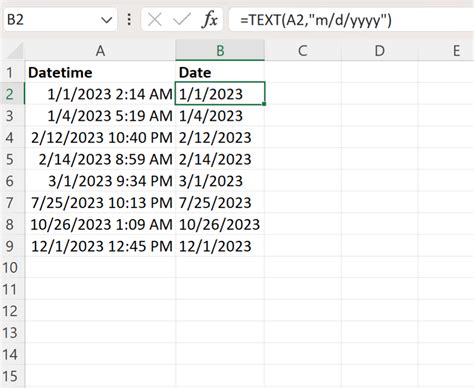
In the world of data analysis and management, dates and times are crucial elements that help track, organize, and understand various events, trends, and patterns. Microsoft Excel, being one of the most widely used spreadsheet software, offers a plethora of functions and tools to manipulate and work with dates and times. One common requirement in data analysis is converting Excel date time to date, which can be essential for filtering, grouping, or analyzing data based on specific dates. This article aims to guide users through five effective ways to achieve this conversion, making data analysis more efficient and insightful.
When dealing with date and time data in Excel, it's essential to understand how Excel stores dates and times. Excel stores dates as serial numbers, starting from January 1, 1900, which is considered as day 1. Times are stored as decimal fractions of a day. For instance, 12:00 PM (noon) is represented as 0.5 because it is half of a day. This understanding is crucial for performing date and time calculations in Excel.
Introduction to Date and Time Functions
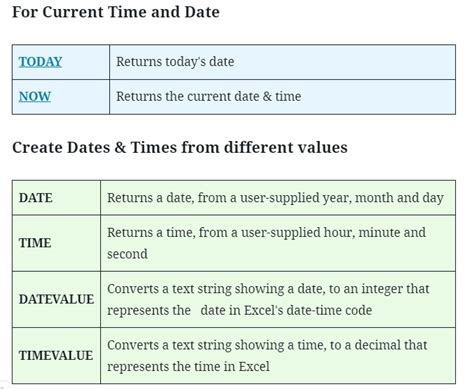
Before diving into the methods of converting date time to date, it's beneficial to have a basic understanding of Excel's date and time functions. Excel offers a variety of functions such as DATE, TIME, TODAY, NOW, DATEDIF, and many more, which can be used to create, manipulate, and calculate dates and times. For example, the TODAY function returns the current date, while the NOW function returns the current date and time.
Method 1: Using the INT Function
The INT function in Excel returns the integer part of a number, which can be used to truncate the time part from a date/time value, effectively converting it to a date. The syntax of the INT function is straightforward: INT(number). When you apply this function to a cell containing a date/time value, it removes the fractional part (the time), leaving you with the integer part (the date).
For example, if cell A1 contains the date/time value 2023-04-01 14:30:00, using the formula =INT(A1) will return 44932, which is the serial number for the date 2023-04-01. To display this as a date, you need to format the cell containing the formula as a date.
Method 2: Using the DATE Function
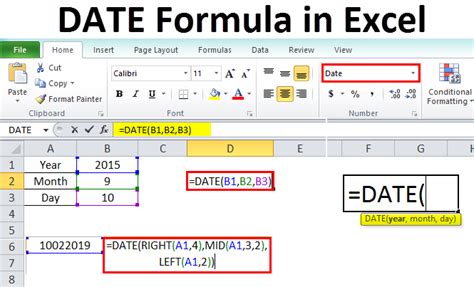
The DATE function creates a date from separate year, month, and day components. If you have a date/time value and you want to extract the date part, you can use the YEAR, MONTH, and DAY functions to extract these components and then use the DATE function to combine them into a date.
The formula would look something like this: =DATE(YEAR(A1), MONTH(A1), DAY(A1)), where A1 is the cell containing the date/time value. This formula extracts the year, month, and day from the date/time value in cell A1 and then constructs a date from these components.
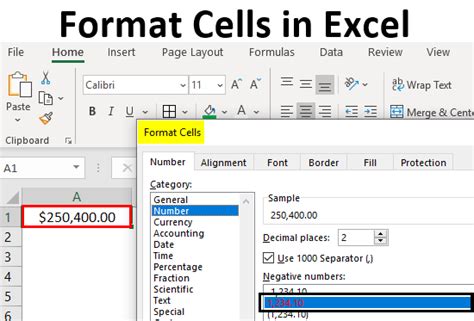
Method 3: Formatting Cells
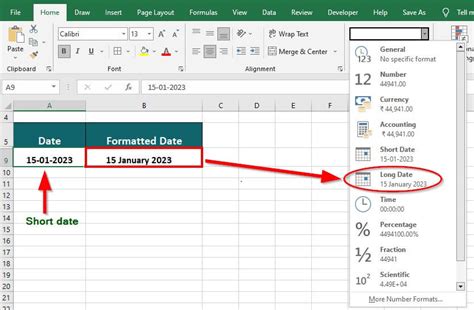
Sometimes, the simplest approach is the best. If you merely want to display a date/time value as a date without changing the underlying value, you can achieve this through cell formatting. Select the cell(s) you want to format, right-click, and choose "Format Cells." In the Format Cells dialog box, go to the "Number" tab, select "Custom" from the Category list, and then in the "Type" field, enter yyyy-mm-dd or any other date format you prefer.
This method does not change the serial number stored by Excel but changes how the value is displayed, making it appear as a date without the time component.
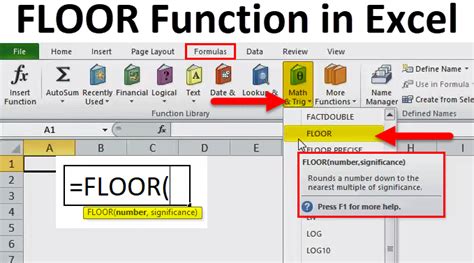
Method 4: Using the FLOOR Function
Similar to the INT function, the FLOOR function can be used to round down a number to the nearest integer. When applied to a date/time value, it effectively removes the time part, leaving the date. The syntax of the FLOOR function is FLOOR(number, significance), where number is the value you want to round down, and significance is the multiple to which you want to round.
For example, =FLOOR(A1, 1) would round down the value in cell A1 to the nearest integer, which, for a date/time value, means removing the time part.
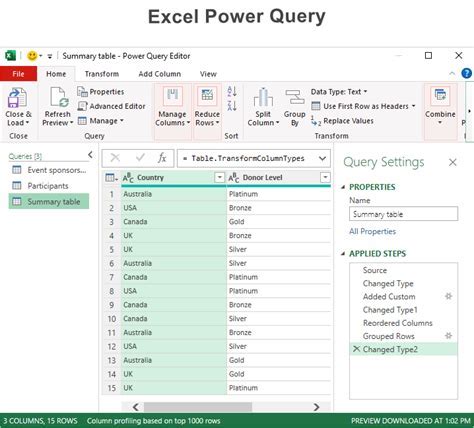
Method 5: Using Power Query
For those who are comfortable with Power Query (available in Excel 2010 and later versions), you can convert date/time to date using the "Date" function within the Power Query Editor. After loading your data into Power Query, you can add a custom column with a formula like = Date.From([YourColumnName]), where [YourColumnName] is the name of the column containing your date/time values.
This method is particularly useful when working with large datasets or when you need to perform more complex data transformations.
Benefits of Converting Date Time to Date
Converting date/time values to dates in Excel can have several benefits, especially in data analysis and reporting. It allows for easier filtering and grouping of data by date, which can be crucial for identifying trends, patterns, and anomalies. Additionally, displaying data by date can simplify the process of creating charts and graphs that show how data changes over time.
Common Challenges and Solutions
When working with dates and times in Excel, users often encounter challenges such as date formatting issues, errors in date calculations, and difficulties in handling time zones. Understanding how Excel stores dates and times and being familiar with the various date and time functions can help mitigate these challenges.
Best Practices for Working with Dates and Times
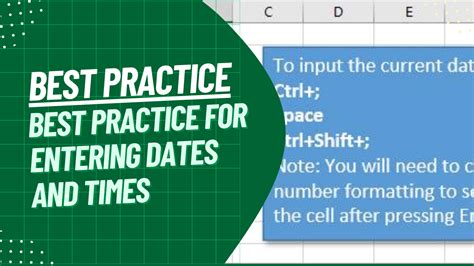
To ensure accuracy and efficiency when working with dates and times in Excel, it's essential to follow best practices such as consistently formatting dates and times, using date and time functions appropriately, and avoiding manual entry of dates and times whenever possible.
Conclusion and Future Directions
In conclusion, converting Excel date time to date is a common requirement in data analysis that can be achieved through various methods, each with its own advantages and use cases. As Excel continues to evolve with new features and functions, users will have even more tools at their disposal to work efficiently with dates and times.
Gallery of Excel Date and Time Functions
Excel Date and Time Functions Gallery


What is the purpose of converting date/time to date in Excel?
+Converting date/time to date in Excel is useful for filtering, grouping, and analyzing data based on specific dates, making it easier to identify trends and patterns.
How does Excel store dates and times?
+Excel stores dates as serial numbers starting from January 1, 1900, and times as decimal fractions of a day.
What are some common challenges when working with dates and times in Excel?
+Common challenges include date formatting issues, errors in date calculations, and difficulties in handling time zones.
How can I ensure accuracy when working with dates and times in Excel?
+Following best practices such as consistently formatting dates and times, using date and time functions appropriately, and avoiding manual entry of dates and times can help ensure accuracy.
What are some useful Excel functions for working with dates and times?
+Useful functions include DATE, TIME, TODAY, NOW, and DATEDIF, among others.
We hope this comprehensive guide has provided you with the knowledge and tools necessary to efficiently convert Excel date time to date, enhancing your data analysis capabilities. Whether you're a beginner or an advanced user, mastering date and time functions in Excel can significantly improve your productivity and insights. Feel free to share your experiences, ask questions, or provide tips on working with dates and times in Excel in the comments below.