Intro
Learn how to Excel Insert Row Below with ease. Master inserting rows, shifting data, and formatting cells with our expert guide on Excel row insertion techniques and shortcuts.
Inserting rows in Excel is a fundamental skill that can be crucial for organizing and managing your data effectively. Whether you're working on a simple spreadsheet or a complex database, knowing how to insert rows below existing data can help you keep your information tidy and easy to understand. In this article, we'll delve into the various methods of inserting rows in Excel, focusing on how to insert a row below your current data.
Excel offers several ways to insert rows, each with its own advantages depending on the situation. You might need to insert a single row, multiple rows, or even insert rows based on specific conditions. Understanding these methods can significantly enhance your productivity and proficiency in using Excel.
To begin with, let's consider the most basic scenario: inserting a single row below your current data. This is a straightforward process that can be accomplished in a few clicks.
Inserting a Single Row Below

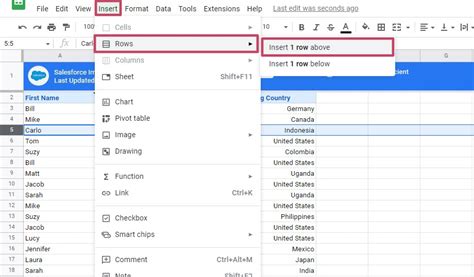
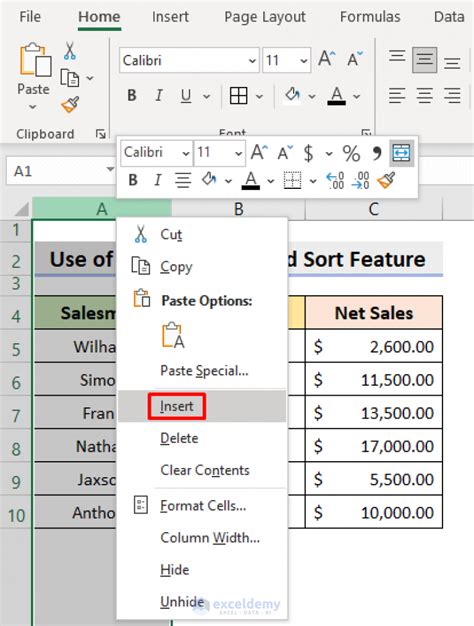
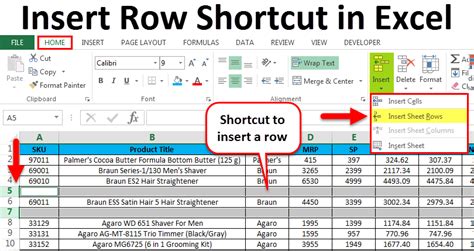
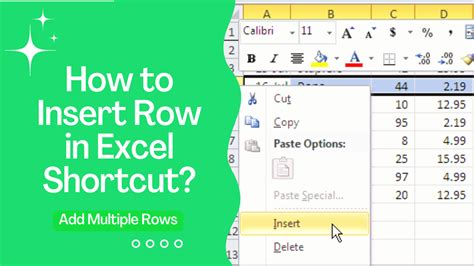
When you need to add a new row below an existing one, you can do so by selecting the row below which you want to insert the new row, then using the "Insert" feature in Excel. Here's a step-by-step guide:
- Select the Row: Click on the number of the row below which you want to insert a new row. For example, if you want to insert a row below row 10, click on the "11" row number. This selects the entire row.
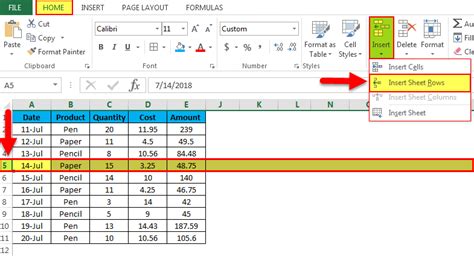
- Go to the "Home" Tab: In the ribbon at the top of Excel, navigate to the "Home" tab.
- Find the "Insert" Button: Within the "Home" tab, look for the "Cells" group. Click on the "Insert" button, which is typically represented by an icon showing a table with an arrow pointing downwards.
- Choose "Insert Sheet Rows": A dropdown menu will appear. Select "Insert Sheet Rows" to add a new row above the selected row. Since you've selected the row below where you want the new row, this action effectively inserts a row below your original data.
This method is quick and efficient for inserting single rows. However, if you need to insert multiple rows, you might find it more convenient to use a different approach.
Inserting Multiple Rows Below
Inserting multiple rows can be just as straightforward as inserting a single row, with a slight adjustment in the selection process.
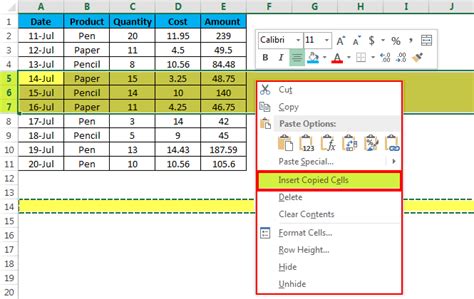
- Select Multiple Rows: To insert multiple rows, you first need to select the same number of rows below where you want the new rows to appear. For instance, if you want to insert 3 new rows below row 10, select rows 11, 12, and 13.
- Use the "Insert" Feature: With your rows selected, follow the same steps as before: go to the "Home" tab, click on "Insert" in the "Cells" group, and then choose "Insert Sheet Rows".
Excel will insert the same number of new rows as you selected, effectively adding multiple rows below your original data.
Using Keyboard Shortcuts
For those who prefer keyboard shortcuts, Excel provides an efficient way to insert rows using your keyboard.- Select the Row: Click on the row number to select the entire row.
- Use the Shortcut: Press
Ctrl + Shift + +(plus sign) to insert a new row. This shortcut works for both inserting rows and columns.
Inserting Rows with Formulas
In some cases, you might need to insert rows based on specific conditions or formulas. While Excel doesn't directly support inserting rows based on formulas through its GUI, you can achieve this by using VBA (Visual Basic for Applications) macros or by employing workarounds that involve helper columns and filtering.
- Use a Helper Column: Create a column next to your data where you can apply a formula that evaluates to TRUE or FALSE based on your condition.
- Filter Your Data: Use the filter feature to show only the rows where your condition is met.
- Insert Rows: Manually insert rows as needed based on the filtered results.
For more dynamic and automated solutions, diving into VBA scripting can provide more powerful and flexible options for inserting rows based on complex conditions.
Best Practices for Inserting Rows
- Plan Your Spreadsheet: Before inserting rows, consider the structure of your spreadsheet. Inserting rows in the middle of a large dataset can be cumbersome and may affect formulas and references.
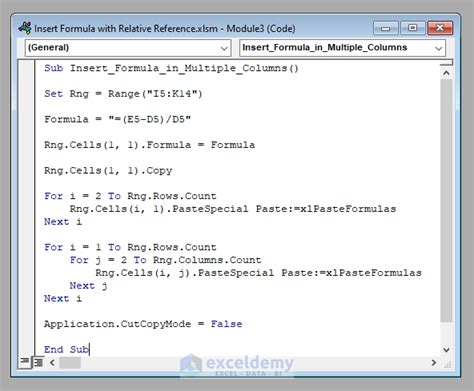
- Use Relative References: When inserting rows within formulas, using relative references can help minimize the disruption to your calculations.
- Test Your Formulas: After inserting rows, especially if you have formulas that reference the inserted area, make sure to test them to ensure they're working as expected.
Gallery of Excel Row Insertion
Excel Row Insertion Gallery

How do I insert a row in Excel?
+To insert a row in Excel, select the row below where you want the new row, go to the "Home" tab, click on "Insert" in the "Cells" group, and then choose "Insert Sheet Rows".
Can I insert multiple rows at once in Excel?
+Yes, you can insert multiple rows at once by selecting the same number of rows below where you want the new rows to appear and then using the "Insert Sheet Rows" feature.
Is there a shortcut to insert a row in Excel?
+Yes, you can use the keyboard shortcut `Ctrl + Shift + +` (plus sign) to insert a new row after selecting the row where you want the insertion to occur.
In conclusion, mastering the art of inserting rows in Excel can significantly improve your workflow and data management skills. Whether you're working with simple spreadsheets or complex datasets, understanding the various methods for inserting rows can help you stay organized and efficient. By following the steps and tips outlined in this article, you'll be well on your way to becoming an Excel expert, capable of handling even the most demanding spreadsheet tasks with ease. So, take a moment to practice inserting rows, and soon you'll find yourself navigating Excel with confidence and precision. Don't hesitate to share your experiences or ask further questions in the comments below, and remember to share this article with anyone who might benefit from learning more about Excel's powerful row insertion capabilities.