Intro
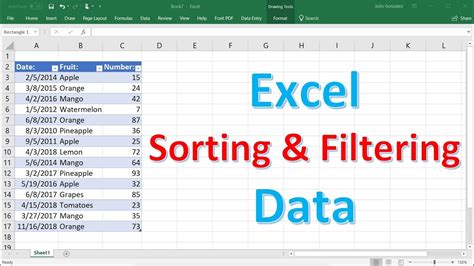
When working with data in Excel, organizing and managing it efficiently is crucial for analysis and decision-making. One of the most powerful tools Excel offers for data management is the ability to sort and filter data. Among these features, the insert sort drop-down, more commonly known as the "filter" or "sort & filter" feature, allows users to quickly narrow down their data to specific criteria. This feature is essential for identifying trends, patterns, and specific data points within large datasets.
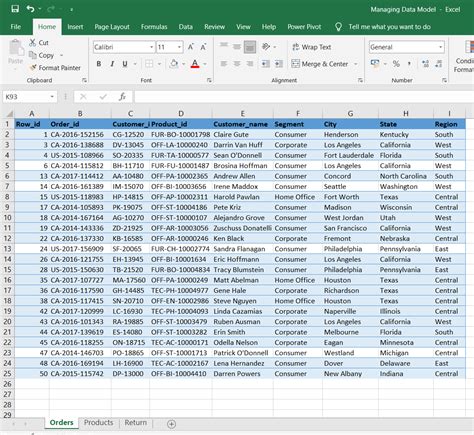
The importance of being able to sort and filter data in Excel cannot be overstated. It saves time, reduces errors, and enhances productivity. For instance, in a spreadsheet containing sales data from different regions, using the insert sort drop-down feature, one can easily filter the data to view sales from a specific region or sort the data to identify the top-selling products. This capability makes data analysis more accessible and efficient, even for those who are not highly proficient in Excel.
Understanding how to use the insert sort drop-down feature effectively is key to unlocking the full potential of Excel for data analysis. This involves not just knowing how to apply filters and sorts but also understanding how to customize these features to meet specific needs. For example, one might need to filter a list of names to show only those that start with a certain letter or sort a list of numbers to show the highest or lowest values first. Excel's flexibility in handling data makes it an indispensable tool for both personal and professional use.
How to Insert a Sort Drop-Down in Excel
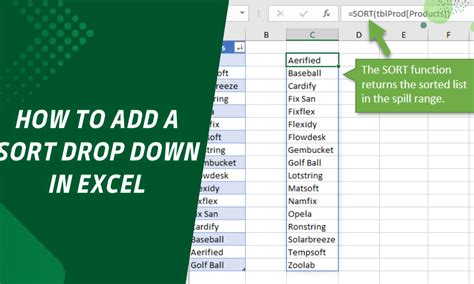
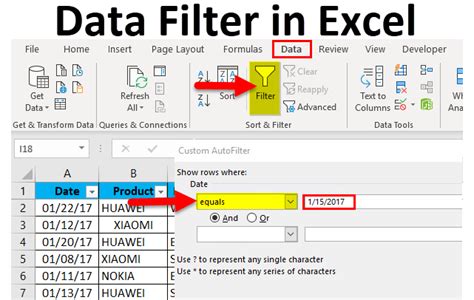
Inserting a sort drop-down in Excel is a straightforward process. To begin, select the cell range you want to filter. It's essential to include headers in your selection, as Excel uses these to create the filter drop-downs. With your range selected, go to the "Data" tab on the ribbon. In this tab, you'll find the "Filter" button, which you can click to enable filtering for your selected range. Once filtering is enabled, you'll see drop-down arrows appear in the header row of your selected range. These arrows are the sort drop-downs that allow you to filter your data.
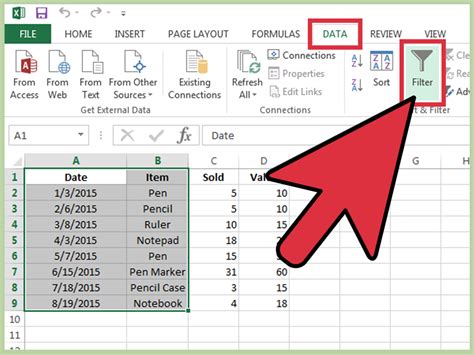
Steps to Enable Filtering
To enable filtering and thus have access to the sort drop-down feature, follow these steps: 1. Select the entire data range you wish to filter, including headers. 2. Navigate to the "Data" tab on Excel's ribbon. 3. Click on the "Filter" button in the "Data Tools" group. 4. Excel will automatically add filter drop-downs to the header cells of your selected range.Using the Sort Drop-Down Feature

The sort drop-down feature in Excel is highly versatile, allowing for various filtering and sorting operations. Here are some of the key ways you can use this feature:
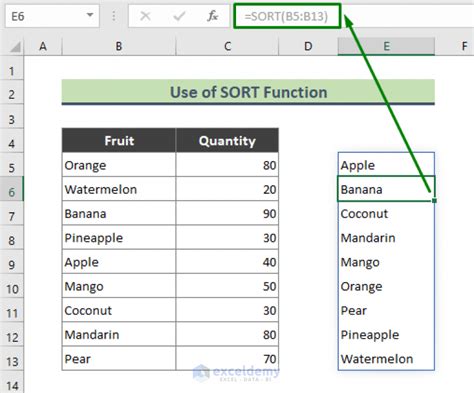
- Sorting Data: Click on the drop-down arrow in the header of the column you wish to sort. You can choose to sort the data in ascending or descending order based on the data type (text, numbers, dates).
- Filtering Data: Use the filter option to show only the data that meets certain criteria. For example, you can filter a list of products to show only those in a specific category or with prices above a certain threshold.
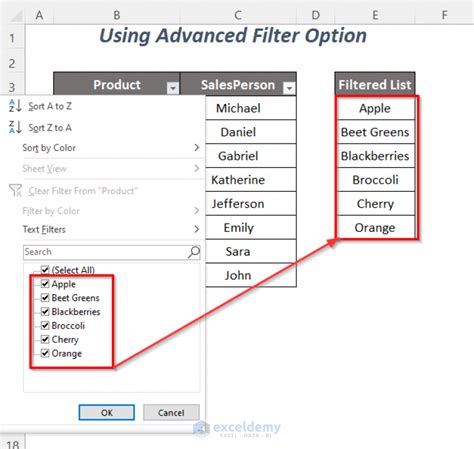
- Custom Filtering: For more complex filtering needs, you can use the "Custom Filter" option. This allows you to apply filters based on multiple conditions, such as showing data that is greater than one value and less than another.
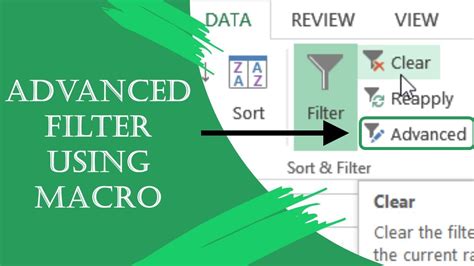
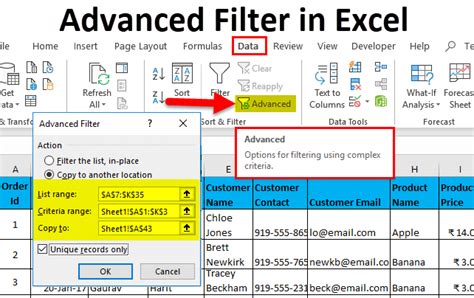
Custom Filter Options
Custom filters provide a powerful way to narrow down your data based on specific conditions. To apply a custom filter: 1. Click on the filter drop-down arrow for the column you wish to filter. 2. Select "Text Filters" or "Number Filters" depending on your data type. 3. Choose a filter condition (e.g., "Greater Than", "Less Than", "Equals"). 4. Enter your filter criteria and click "OK".Advanced Filtering Techniques
Beyond the basic filtering and sorting, Excel offers advanced techniques to further refine your data analysis. These include:
- Using Multiple Filters: You can apply filters to multiple columns to narrow down your data based on several criteria.
- Filtering by Color: If your data includes colored cells or formatting, you can filter based on these visual cues.
- Using the "Filter" Function in Formulas: For more dynamic filtering, you can use the FILTER function in Excel formulas to filter data ranges based on conditions you specify.
Applying Multiple Filters
To apply filters to multiple columns: 1. Enable filtering for your data range. 2. Apply a filter to the first column as desired. 3. Go to another column and apply a filter there as well. 4. Excel will show only the rows that meet the filter criteria for all filtered columns.Best Practices for Using Sort Drop-Downs

To get the most out of the sort drop-down feature and to ensure your data remains organized and easy to analyze, follow these best practices:
- Keep Your Data Organized: Regularly clean up your data by removing duplicates, handling blank cells, and ensuring data consistency.
- Use Meaningful Headers: Your column headers should clearly describe the data in each column, making it easier to filter and sort.
- Save Filtered Views: If you find yourself frequently filtering your data in a specific way, consider saving that view for easy access later.
Tips for Efficient Data Management
- **Regularly Backup Your Data:** To prevent data loss, make sure to regularly save and backup your Excel files. - **Use Excel Tables:** Converting your data range into an Excel table can provide additional benefits, including automatic filter and sort drop-downs, and easier data management.Excel Sort Drop-Down Image Gallery


How do I enable filtering in Excel?
+To enable filtering, select your data range, go to the "Data" tab, and click on the "Filter" button.
Can I filter data based on multiple conditions?
+Yes, you can use the "Custom Filter" option to apply filters based on multiple conditions.
How do I save a filtered view in Excel?
+You can save a filtered view by creating a new worksheet or using the "Save As" feature to save your filtered data as a new file.
In conclusion, mastering the use of the insert sort drop-down feature in Excel is a fundamental skill for anyone looking to efficiently manage and analyze data. By understanding how to apply filters, sort data, and use advanced filtering techniques, you can unlock the full potential of Excel for your data analysis needs. Whether you're working with personal finance, managing a small business, or analyzing complex datasets, the sort drop-down feature is an indispensable tool. So, take the time to explore and practice using this feature, and discover how it can transform your approach to data management and analysis. If you have any further questions or would like to share your experiences with using Excel's sort and filter features, please don't hesitate to comment below or share this article with others who might find it useful.