Intro
Setting column widths in Excel using VBA can significantly enhance the readability and presentation of your worksheets. This task is often necessary when you're automating report generation, data analysis, or any other process that involves formatting spreadsheets. Excel VBA provides a straightforward way to adjust column widths, either by setting them to a specific size or by auto-fitting them based on the content.
Column width adjustment is essential for making sure that all the data in your cells is visible without having to manually adjust each column, which can be time-consuming, especially when dealing with large datasets. VBA allows you to automate this process, saving you time and ensuring consistency across your worksheets.
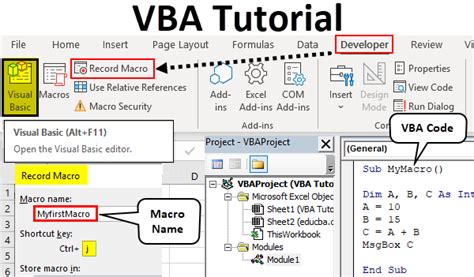
To start working with column widths in VBA, you first need to open the Visual Basic for Applications editor in Excel. You can do this by pressing Alt + F11 or by navigating to the Developer tab (if available) and clicking on Visual Basic. If the Developer tab is not visible, you can add it by going to File > Options > Customize Ribbon and checking the Developer checkbox.
Once in the VBA editor, you can insert a new module by right-clicking on any of the objects for your workbook in the Project Explorer, selecting Insert, and then Module. This action creates a new module where you can write your VBA code.
Setting Column Width
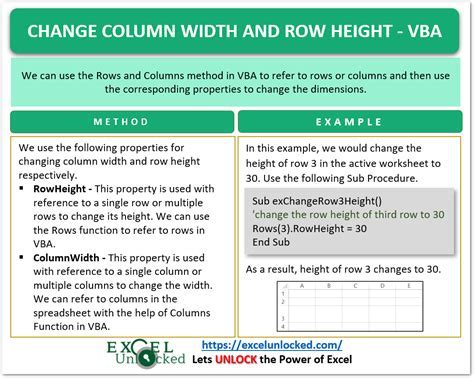
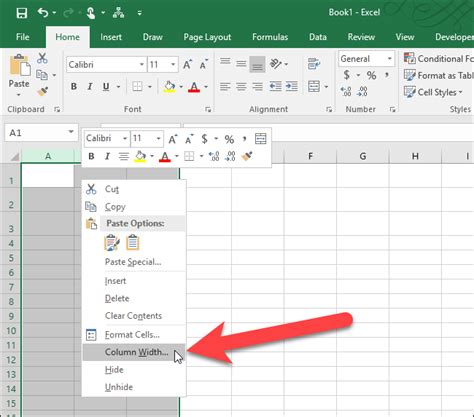
To set a column width, you can use the ColumnWidth property. The width is specified in units of the width of the character 0 (zero) in the normal style font. For example, if you want to set the width of column A to 10 characters, you can use the following code:
Columns("A").ColumnWidth = 10
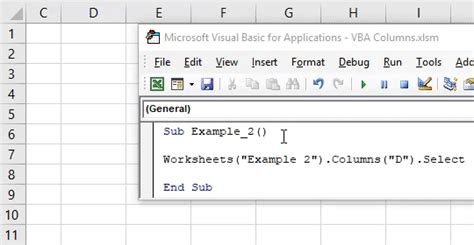
This code sets the width of column A to fit 10 characters. You can replace "A" with the letter of the column you wish to adjust or use a number to refer to the column (e.g., Columns(1) for the first column).
Auto-Fitting Column Width
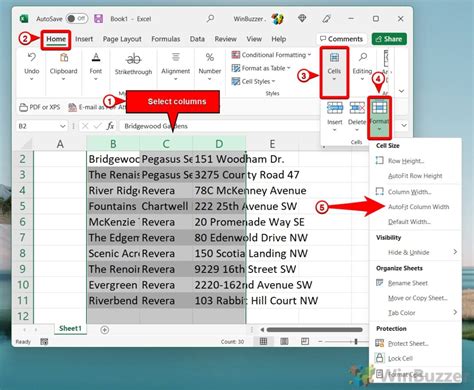
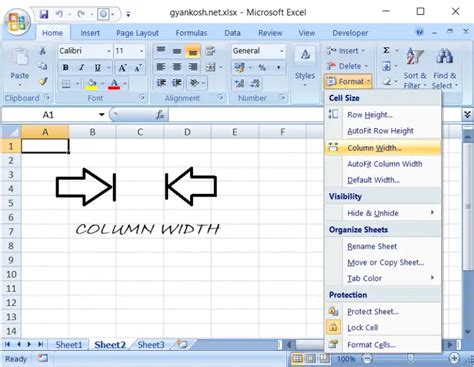
Often, it's more convenient to auto-fit the column width based on the content. This ensures that the column is wide enough to display all the data without unnecessary extra space. You can achieve this by using the AutoFit method:
Columns("A").AutoFit
This command adjusts the width of column A to fit the longest entry in the column.
Setting Widths for Multiple Columns
If you need to adjust the widths of multiple columns, you can specify a range of columns. For example, to set the width of columns A through E to 10:
Columns("A:E").ColumnWidth = 10
Or, to auto-fit columns A through E:
Columns("A:E").AutoFit
Practical Example
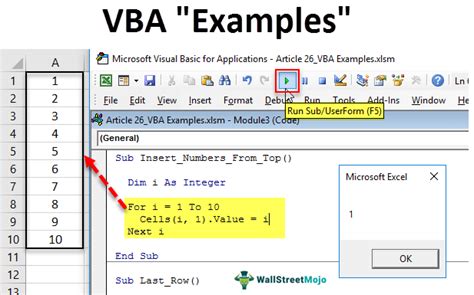
Here's a practical example that demonstrates how to set the column widths for the entire used range of a worksheet to auto-fit, ensuring that all data is fully visible:
Sub AutoFitAllColumns()
    Dim ws As Worksheet
    Set ws = ThisWorkbook.Sheets("Sheet1") ' Change "Sheet1" to your sheet name

    ' Ensure we're working with the correct worksheet
    ws.Activate

    ' Auto-fit all columns in the used range
    ws.UsedRange.Columns.AutoFit
End Sub
To run this code, simply press F5 while in the VBA editor with the module containing this subroutine active, or close the VBA editor and run it from the Developer tab in Excel by clicking on Macros, selecting AutoFitAllColumns, and then clicking Run.
Tips and Variations
- Selecting Specific Columns: You can specify multiple non-contiguous columns by separating them with commas, e.g.,
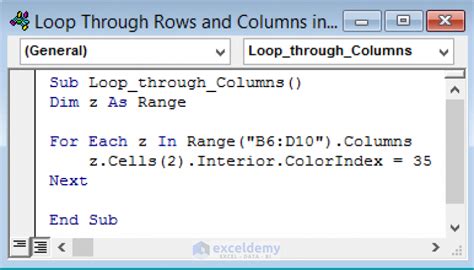
Columns("A,C,E").AutoFit. - Looping Through Columns: If you need to perform more complex operations or apply different settings to different columns, consider using a
Forloop to iterate through the columns. - Preserving Original Widths: Before making changes, you might want to store the original widths of columns if you plan to revert them later. You can store these in an array or another worksheet.
By mastering the adjustment of column widths in Excel VBA, you can automate a significant part of spreadsheet formatting, making your reports and analyses more professional and easier to read. Whether you're setting widths to specific values or auto-fitting them based on content, VBA provides the flexibility and efficiency needed for complex spreadsheet management tasks.

Advanced Column Width Management
For more advanced scenarios, such as dynamically adjusting column widths based on specific conditions or integrating this functionality into larger VBA applications, you can explore more complex scripting techniques. This might involve conditional statements, loops, and interactions with other Excel objects like rows, cells, and worksheets.
Looping Through Columns for Custom Widths
When you need to apply different widths to different columns based on certain criteria, looping through each column and applying conditional logic can be very effective. This approach allows for a high degree of customization and can be adapted to fit a wide range of specific requirements.
Best Practices for Column Width Adjustment
- Test Your Code: Always test your VBA code in a safe environment to ensure it works as expected and does not cause unintended changes to your worksheets.
- Backup Your Work: Before running scripts that alter your spreadsheet, make sure to save a backup of your workbook to prevent loss of data.
- Comment Your Code: For complex scripts or when sharing code with others, include comments to explain what each section of the code does.
Common Issues and Solutions

- Inconsistent Widths: If you find that your column widths are not being set consistently, check that you are targeting the correct range and that there are no conflicts with other formatting rules.
- Performance Issues: For very large datasets, adjusting column widths can be slow. Consider optimizing your code or applying adjustments in batches.
Column Width Adjustment Image Gallery
How do I set the column width in Excel VBA?
+You can set the column width using the `ColumnWidth` property, specifying the width in characters. For example, `Columns("A").ColumnWidth = 10` sets column A to fit 10 characters.
How do I auto-fit a column in Excel VBA?
+To auto-fit a column, use the `AutoFit` method. For example, `Columns("A").AutoFit` adjusts the width of column A to fit its content.
Can I adjust the widths of multiple columns at once in Excel VBA?
+Yes, you can specify a range of columns. For example, `Columns("A:E").ColumnWidth = 10` sets the widths of columns A through E to 10 characters, and `Columns("A:E").AutoFit` auto-fits these columns.
In conclusion, mastering the adjustment of column widths in Excel VBA is a valuable skill for anyone looking to automate and enhance their spreadsheet management tasks. By understanding how to set specific widths, auto-fit columns, and apply these adjustments to single or multiple columns, you can significantly improve the readability and professionalism of your Excel reports and analyses. Whether you're working with simple datasets or complex, data-intensive spreadsheets, the ability to efficiently manage column widths is an essential part of leveraging Excel's full potential.