Intro
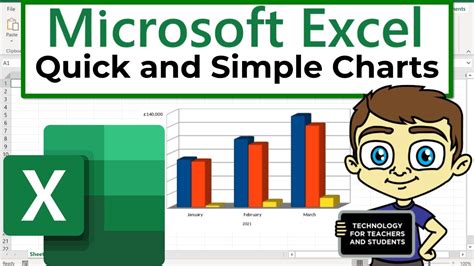
Creating graphs on Excel for Mac is an essential skill for anyone who wants to visualize and present data effectively. Whether you're a student, a business professional, or a researcher, learning how to make a graph on Excel can help you communicate complex information in a clear and concise manner. In this article, we'll walk you through the steps to create a graph on Excel for Mac, and provide you with tips and tricks to make your graphs look professional and engaging.
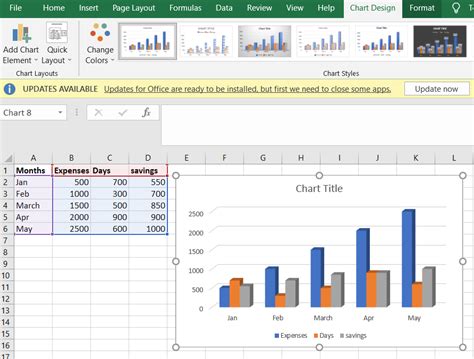
To start creating a graph on Excel for Mac, you'll need to have a spreadsheet with some data in it. This can be a table of numbers, a list of categories, or any other type of data that you want to visualize. Once you have your data, you can follow these steps to create a graph.
Step 1: Select Your Data
Step 2: Choose Your Graph Type
Step 3: Customize Your Graph

Adding Titles and Labels
One of the most important things you can do to customize your graph is to add titles and labels. This can help to explain what your graph is showing and make it easier to understand. To add a title to your graph, go to the "Chart Design" tab and click on the "Chart Options" button. Then, click on the "Title" button and type in the title that you want to use.Changing Colors and Fonts
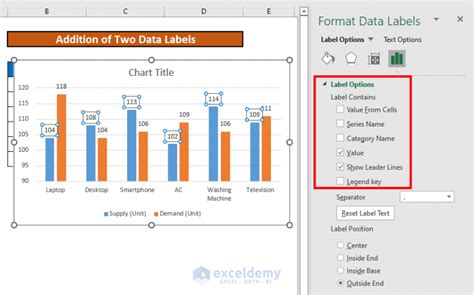
Another way to customize your graph is to change the colors and fonts that you use. This can help to make your graph more visually appealing and engaging. To change the colors and fonts, go to the "Chart Design" tab and click on the "Chart Options" button. Then, click on the "Colors" or "Fonts" button and choose the options that you want to use.Step 4: Add Data Labels and Legends
Step 5: Finalize Your Graph

Tips and Tricks
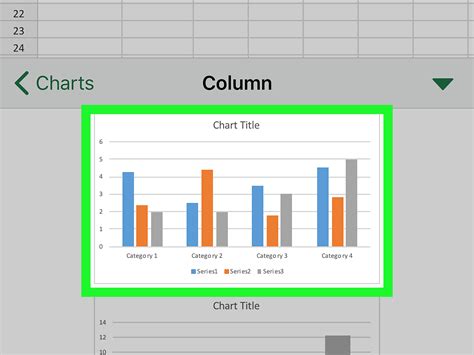
Here are some tips and tricks to help you create professional-looking graphs on Excel for Mac: * Use clear and concise titles and labels to explain what your graph is showing. * Choose colors and fonts that are visually appealing and easy to read. * Use data labels and legends to make your graph more informative. * Experiment with different graph types and layouts to find the one that works best for your data. * Use the "Chart Options" pane to customize your graph and make it look professional.Common Graph Types
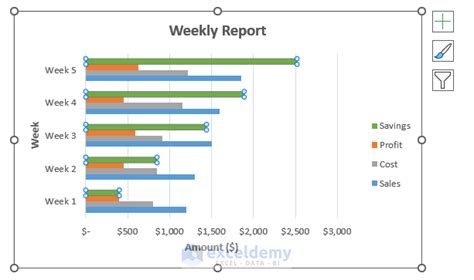
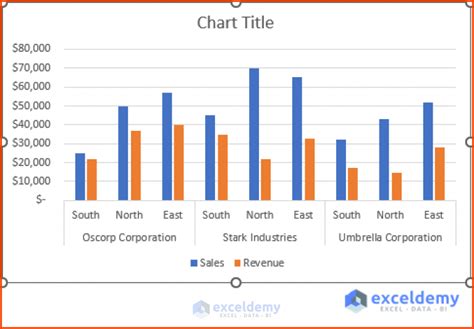
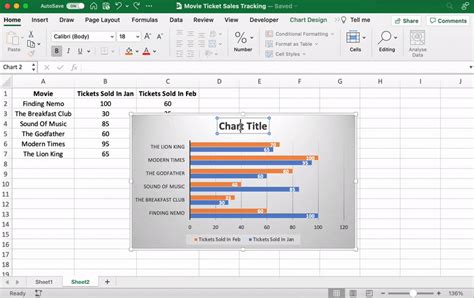
When to Use Each Graph Type
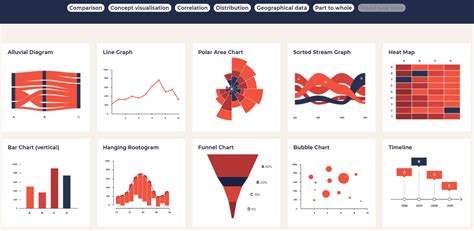
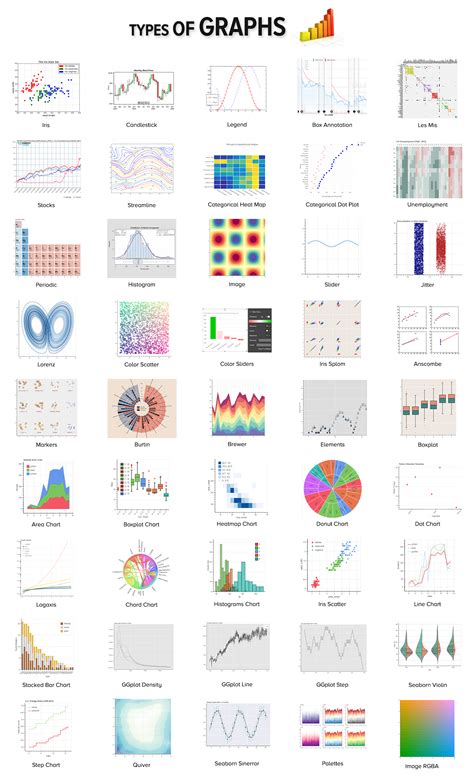
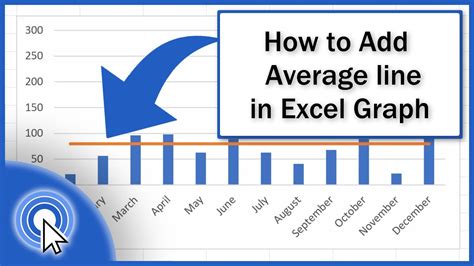
Here are some tips on when to use each graph type: * Use column graphs when you want to compare data across different categories. * Use line graphs when you want to show trends and patterns in data over time. * Use pie charts when you want to show how different categories contribute to a whole. * Use bar graphs when you want to compare data across different categories. * Use scatter plots when you want to show the relationship between two variables.Gallery of Excel Graphs


What is the best way to create a graph on Excel for Mac?
+The best way to create a graph on Excel for Mac is to select your data, choose a graph type, customize your graph, and finalize it.
How do I choose the right graph type for my data?
+To choose the right graph type, consider the type of data you have and what you want to show. For example, use a column graph to compare data across different categories, or a line graph to show trends and patterns over time.
How do I customize my graph to make it look professional?
+To customize your graph, use the "Chart Options" pane to change the titles, labels, colors, and fonts. You can also add data labels and legends to make your graph more informative.
In summary, creating a graph on Excel for Mac is a straightforward process that can help you visualize and present data effectively. By following the steps outlined in this article, you can create professional-looking graphs that communicate complex information in a clear and concise manner. Whether you're a student, a business professional, or a researcher, learning how to make a graph on Excel can help you achieve your goals and succeed in your field. We hope this article has been helpful in guiding you through the process of creating a graph on Excel for Mac. If you have any further questions or need more assistance, please don't hesitate to ask.