Intro
Learn to remove blank pages in Excel by deleting unused cells, hiding sheets, and using formulas to eliminate empty rows and columns, optimizing your spreadsheet for better data analysis and presentation.
Removing blank pages in Excel can be a frustrating task, especially when dealing with large spreadsheets. Blank pages can occur due to various reasons such as formatting issues, incorrect page breaks, or unnecessary blank rows and columns. In this article, we will explore the importance of removing blank pages in Excel and provide step-by-step guides on how to do it efficiently.
Blank pages in Excel can cause problems when printing or sharing worksheets. They can lead to wasted paper, increased printing costs, and make it difficult for others to navigate through the spreadsheet. Moreover, blank pages can also affect the overall performance of Excel, causing it to slow down or even crash. Therefore, it is essential to remove blank pages in Excel to ensure that your worksheets are clean, organized, and easy to work with.
Removing blank pages in Excel can also help to improve data analysis and visualization. By eliminating unnecessary blank rows and columns, you can focus on the actual data and make more informed decisions. Additionally, removing blank pages can also help to reduce the file size of your Excel workbook, making it easier to share and store.
Understanding Blank Pages in Excel
Before we dive into the steps to remove blank pages in Excel, it is essential to understand what causes them. Blank pages can occur due to various reasons, including:
- Incorrect page breaks: Page breaks are used to separate pages in Excel. However, if they are not set correctly, they can cause blank pages to appear.
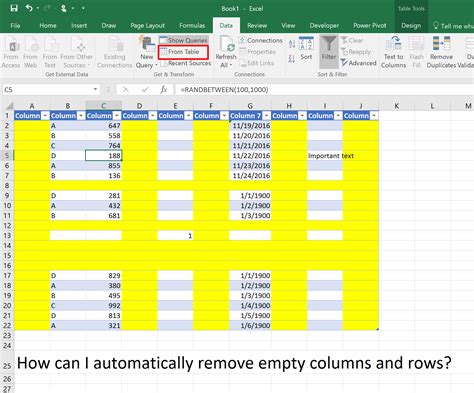
- Unnecessary blank rows and columns: Blank rows and columns can be inserted accidentally or intentionally. If they are not removed, they can cause blank pages to appear.
- Formatting issues: Formatting issues, such as incorrect margins or page orientation, can also cause blank pages to appear.
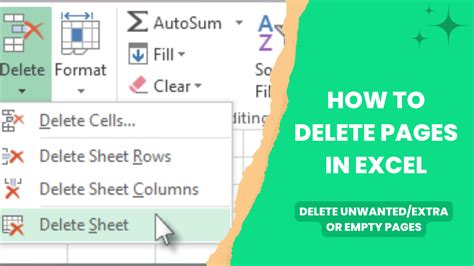
Removing Blank Pages in Excel
To remove blank pages in Excel, follow these steps:
- Select the entire worksheet by pressing Ctrl+A.
- Go to the "Home" tab and click on the "Find" button.
- Select "Go To" and then click on "Special".
- Select "Blanks" and click "OK".
- Press Ctrl+- to delete the selected blank cells.
- Go to the "Page Layout" tab and click on the "Breaks" button.
- Select "Reset All Page Breaks" to remove any unnecessary page breaks.
Removing Unnecessary Blank Rows and Columns
To remove unnecessary blank rows and columns, follow these steps:
- Select the entire worksheet by pressing Ctrl+A.
- Go to the "Home" tab and click on the "Find" button.
- Select "Go To" and then click on "Special".
- Select "Blanks" and click "OK".
- Press Ctrl+- to delete the selected blank cells.
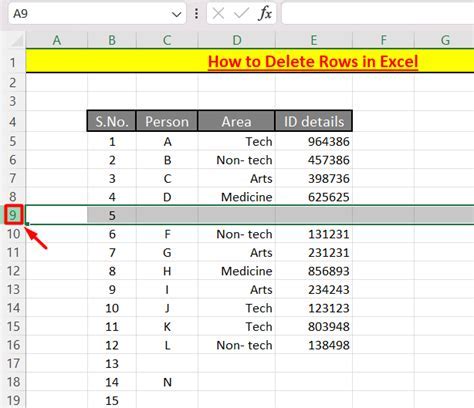
- Go to the "Home" tab and click on the "Delete" button.
- Select "Delete Sheet Rows" or "Delete Sheet Columns" to remove the unnecessary blank rows or columns.
Preventing Blank Pages in Excel
To prevent blank pages in Excel, follow these tips:
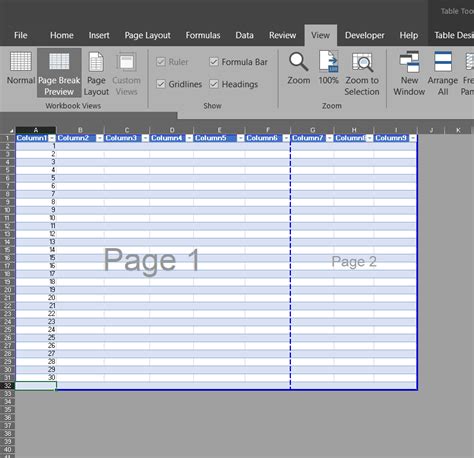
- Use the "Page Break Preview" feature to view and adjust page breaks.
- Avoid inserting unnecessary blank rows and columns.
- Use the "Format" tab to adjust margins and page orientation.
- Use the "Print Preview" feature to check for blank pages before printing.
Using Excel Formulas to Remove Blank Pages
Excel formulas can also be used to remove blank pages. For example, you can use the "IF" function to check for blank cells and delete them. You can also use the "VLOOKUP" function to remove duplicate values and prevent blank pages.
Common Errors When Removing Blank Pages in Excel

When removing blank pages in Excel, common errors can occur. These include:
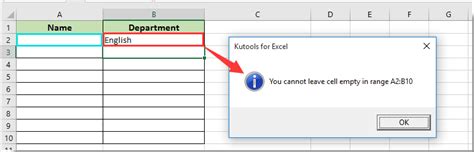
- Deleting important data: Be careful when deleting blank cells, as you may accidentally delete important data.
- Incorrect page breaks: Make sure to adjust page breaks correctly to avoid blank pages.
- Formatting issues: Be careful when adjusting margins and page orientation, as this can cause blank pages to appear.
Troubleshooting Blank Pages in Excel

If you encounter blank pages in Excel, troubleshoot by checking the following:
- Page breaks: Check if page breaks are set correctly.
- Blank rows and columns: Check if there are any unnecessary blank rows and columns.
- Formatting issues: Check if there are any formatting issues, such as incorrect margins or page orientation.
Blank Pages In Excel Image Gallery


What causes blank pages in Excel?
+Blank pages in Excel can be caused by incorrect page breaks, unnecessary blank rows and columns, and formatting issues.
How do I remove blank pages in Excel?
+To remove blank pages in Excel, select the entire worksheet, go to the "Home" tab, click on the "Find" button, select "Go To" and then click on "Special", select "Blanks" and click "OK", and then press Ctrl+- to delete the selected blank cells.
How do I prevent blank pages in Excel?
+To prevent blank pages in Excel, use the "Page Break Preview" feature to view and adjust page breaks, avoid inserting unnecessary blank rows and columns, use the "Format" tab to adjust margins and page orientation, and use the "Print Preview" feature to check for blank pages before printing.
In conclusion, removing blank pages in Excel is an essential task to ensure that your worksheets are clean, organized, and easy to work with. By following the steps outlined in this article, you can efficiently remove blank pages and prevent them from occurring in the future. Remember to use the "Page Break Preview" feature, avoid inserting unnecessary blank rows and columns, and use the "Format" tab to adjust margins and page orientation. If you have any further questions or need additional assistance, please don't hesitate to comment below or share this article with others.