Intro
When working with data in Excel, one of the most powerful tools at your disposal is the ability to create charts. Charts allow you to visualize your data, making it easier to understand and analyze. However, before you can create a chart, you need to select the data that will be used in the chart. This process might seem straightforward, but there are several considerations to keep in mind to ensure that your chart accurately represents your data.
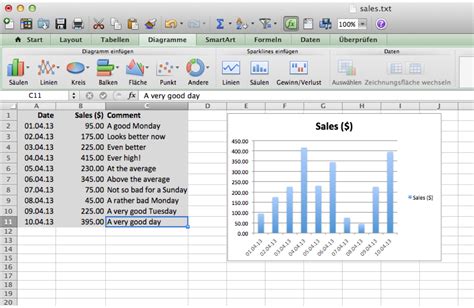
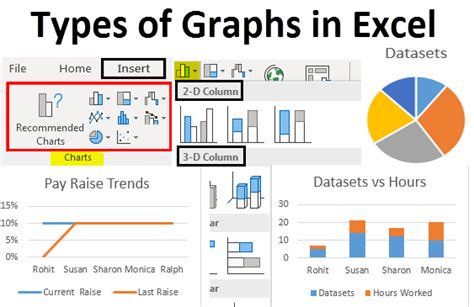
To begin with, it's essential to understand the different types of data that can be used in Excel charts. This includes numerical data, dates, and text. Each type of data has its own specific uses and considerations when it comes to chart creation. For example, numerical data is ideal for column, line, and bar charts, while dates are often used in line and area charts to show trends over time. Text, on the other hand, can be used as labels or in charts like pie charts to categorize data.
Once you've identified the type of data you want to use, the next step is to select it. Excel makes this process easy by allowing you to simply click and drag over the cells that contain the data you wish to include in your chart. It's crucial to be precise in your selection to avoid including unnecessary data that could clutter your chart and make it harder to interpret.
Selecting Data for Your Chart
When selecting data, you also have the option to include headers and labels. Including headers can be particularly useful as they can automatically become the titles of the axes in your chart, making it easier to understand what the chart is representing. Similarly, selecting labels can help in creating a legend for your chart, especially if you're working with multiple series of data.
Steps to Select Data for a Chart
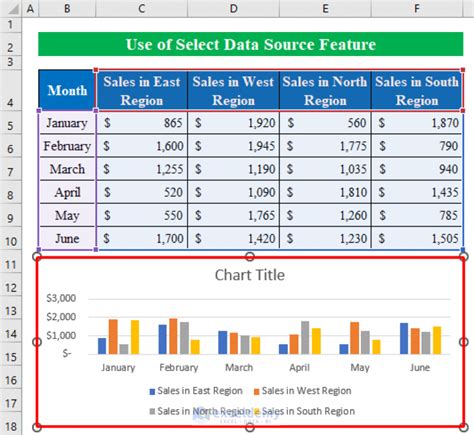
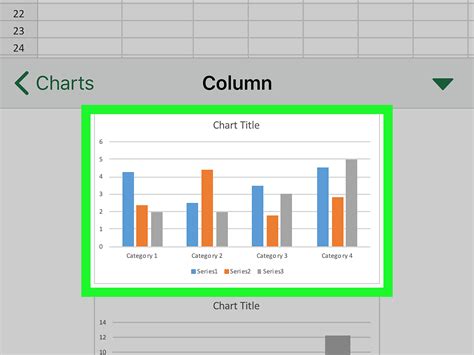
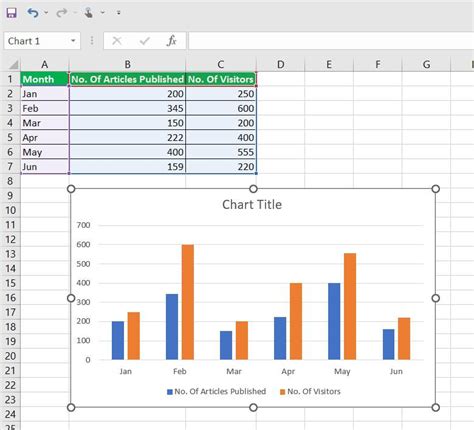
To select data for a chart in Excel, follow these steps: 1. **Identify Your Data**: Determine which data you want to include in your chart. Make sure it's organized in a way that Excel can easily interpret, such as in rows or columns. 2. **Click and Drag**: Click on the top-left cell of your data range and drag down to the bottom-right cell. This will highlight all the cells in between, including your data and any headers or labels you've chosen to include. 3. **Go to the Insert Tab**: With your data selected, navigate to the "Insert" tab on the Excel ribbon. 4. **Choose Your Chart Type**: In the "Illustrations" group, click on the "Chart" button. A dialog box will appear showing various chart types. Select the one that best suits your data. 5. **Click OK**: Once you've selected your chart type, click "OK." Excel will automatically create a chart based on the data you've selected.Customizing Your Chart
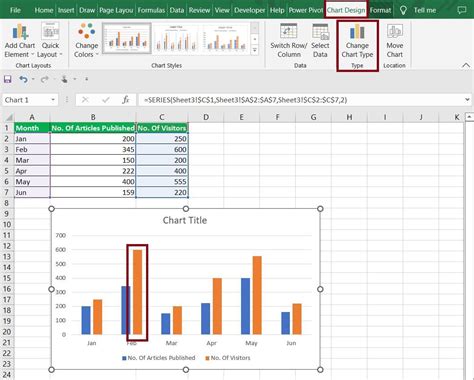
After creating your chart, you may find that you need to make some adjustments. This could involve changing the chart type, adding or removing data series, or modifying the chart's appearance. Excel provides a range of tools to help you customize your chart, including the "Chart Tools" tab that appears on the ribbon whenever a chart is selected.
Chart Customization Options
Some key customization options to consider include: - **Chart Title**: Adding a title to your chart can help provide context and make it easier to understand. - **Axis Labels**: Customizing the labels on the x and y axes can help clarify what the chart is showing. - **Legend**: If your chart includes multiple data series, you can adjust the legend to better distinguish between them. - **Colors and Styles**: Changing the colors and styles used in your chart can make it more visually appealing and easier to read.Common Issues and Solutions

Despite the ease of creating charts in Excel, you may encounter some common issues. For example, your chart might not be updating correctly when you change the data, or it might be including data that you don't want. In such cases, checking your data selection and ensuring that your chart is properly linked to the data range can often resolve the issue.
Troubleshooting Tips
- **Check Data Selection**: Make sure you've selected all the data you want to include and that there are no gaps in your selection. - **Update Chart Data Range**: If your chart isn't updating, try manually updating the data range in the chart's properties. - **Remove Unwanted Data**: If your chart is including data you don't want, select the chart, go to the "Chart Tools" tab, and use the "Select Data" button to adjust which data series are included.Advanced Charting Techniques

Once you're comfortable with the basics of chart creation in Excel, you can explore more advanced techniques. This might include creating combination charts, using pivot tables as the data source for your charts, or even creating interactive charts with macros and VBA.
Advanced Charting Options
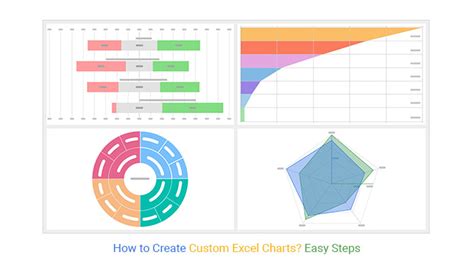
- **Combination Charts**: Excel allows you to combine different chart types, such as columns and lines, into a single chart. This can be particularly useful for showing different types of data together. - **Pivot Tables**: Using pivot tables as the data source for your charts can make it easier to summarize and analyze large datasets. - **Macros and VBA**: For more complex and interactive charts, learning to use macros and VBA can provide a high degree of customization and automation.Best Practices for Chart Creation

To ensure that your charts are effective and easy to understand, it's essential to follow some best practices. This includes keeping your charts simple, using clear and concise labels, and selecting colors that are visually appealing and accessible to all viewers.
Chart Creation Best Practices
- **Keep it Simple**: Avoid cluttering your chart with too much data or too many features. Focus on the key message you want to convey. - **Use Clear Labels**: Ensure that all labels, including the chart title, axis labels, and legend, are clear and easy to read. - **Choose Appropriate Colors**: Select colors that contrast well with each other and with the background of your chart. Also, consider color blindness when choosing your palette.Excel Chart Creation Image Gallery


How do I select data for a chart in Excel?
+To select data for a chart, click and drag over the cells that contain the data you wish to include, then go to the "Insert" tab and choose your chart type.
What types of data can be used in Excel charts?
+Excel charts can use numerical data, dates, and text. The type of data you use will depend on the type of chart you're creating and what you want to show.
How do I customize a chart in Excel?
+To customize a chart, select the chart, then use the tools in the "Chart Tools" tab to change the chart type, add or remove data series, modify the chart's appearance, and more.
In conclusion, creating effective charts in Excel involves several key steps, from selecting the right data to customizing the chart's appearance. By following best practices and exploring advanced techniques, you can create charts that are not only visually appealing but also provide valuable insights into your data. Whether you're working with simple numerical data or complex datasets, Excel's charting capabilities offer a powerful tool for data analysis and presentation. We invite you to share your experiences with creating charts in Excel, ask questions about the process, or explore more advanced topics in data visualization. Your feedback and engagement are invaluable in helping us provide the most relevant and useful information.