Intro
Unhiding rows in an Excel spreadsheet is a straightforward process that can be accomplished in several ways, depending on the version of Excel you are using and the specific situation. Rows in Excel can be hidden for various reasons, such as to remove clutter, to focus on specific data, or to protect sensitive information. However, when you need to view or edit the data in those hidden rows, you'll need to unhide them. In this article, we'll explore the different methods to unhide rows in Excel, including using the ribbon, keyboard shortcuts, and right-click menu options.
When working with Excel, it's common to hide rows that contain data you don't want to see or that you want to keep out of view for presentation purposes. But when it comes to analyzing or editing that data, unhiding those rows becomes necessary. Excel provides multiple ways to achieve this, catering to different user preferences and workflows. Whether you're a beginner or an advanced user, understanding how to unhide rows in Excel is an essential skill for efficient spreadsheet management.
The importance of knowing how to unhide rows in Excel cannot be overstated. It's a fundamental skill that can save you a significant amount of time when working with complex spreadsheets. By mastering this skill, you can easily switch between views, ensuring that your data analysis and presentation are both effective and efficient. Moreover, being able to unhide rows is crucial for data integrity, as it allows you to verify and validate the data in your spreadsheet, including any hidden rows that might contain critical information.
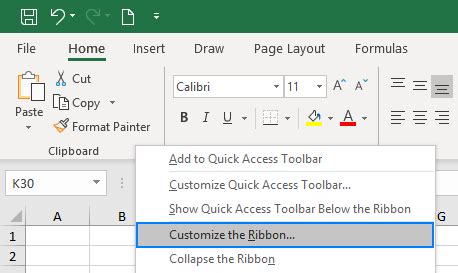
Unhiding Rows Using the Ribbon

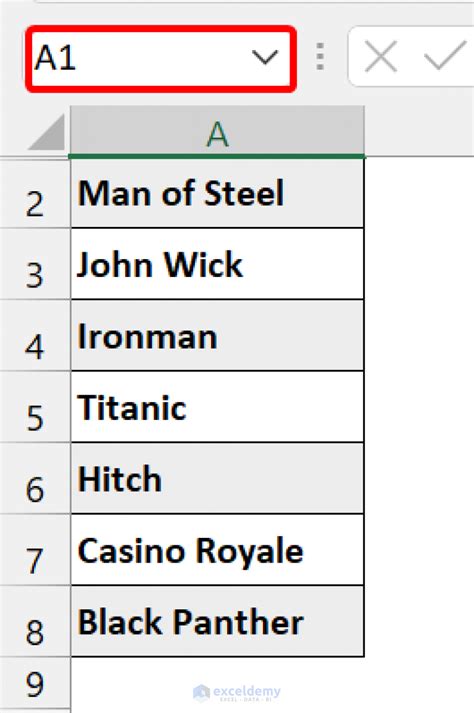
Unhiding Rows Using Keyboard Shortcuts

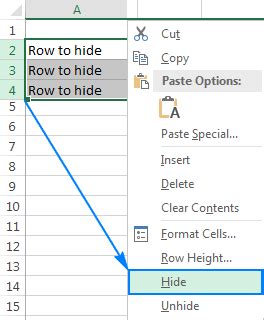
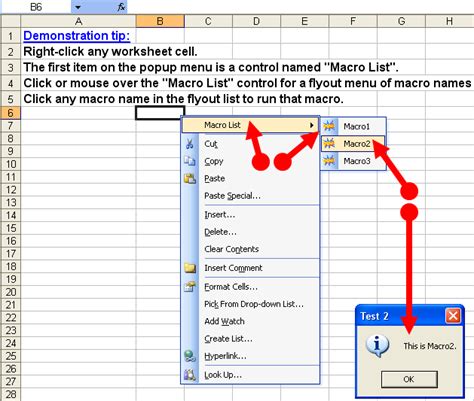
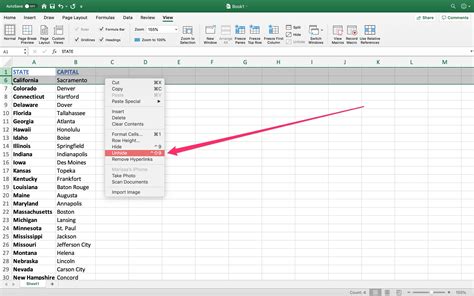
Unhiding Rows Using the Right-Click Menu
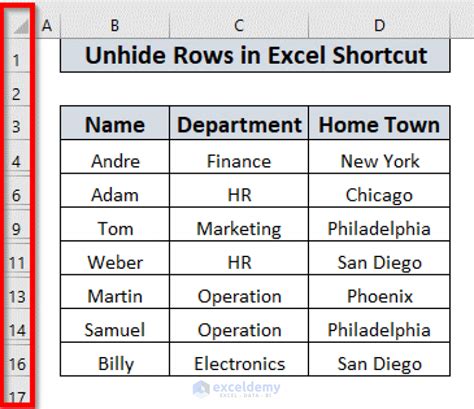
Unhiding All Rows at Once
Benefits of Unhiding Rows
Unhiding rows in Excel can have several benefits, including: - **Data Integrity:** By viewing all rows, you can ensure that your data is accurate and complete. - **Analysis:** Unhiding rows allows for a more comprehensive analysis of your data, as no information is hidden from view. - **Presentation:** Sometimes, unhiding rows can be necessary for presentations or reports where all data needs to be visible.Common Issues with Unhiding Rows
While unhiding rows is generally straightforward, some users may encounter issues, such as: - **Hidden Rows Not Unhiding:** This could be due to the rows being protected or due to a formatting issue. - **Entire Spreadsheet Not Responding:** In rare cases, Excel might freeze or not respond when trying to unhide rows, especially in very large spreadsheets. Restarting Excel or using the task manager to close and reopen the application can sometimes resolve this issue.Excel Unhiding Rows Image Gallery

How do I unhide rows in Excel using the ribbon?
+To unhide rows using the ribbon, select the rows above and below the hidden row, go to the "Home" tab, click on "Format" in the "Cells" group, hover over "Hide & Unhide," and then click on "Unhide Rows."
What is the keyboard shortcut to unhide rows in Excel?
+The keyboard shortcut to unhide rows in Excel is Ctrl + Shift + 9. Select the rows above and below the hidden row and then press this shortcut.
Can I unhide all rows at once in Excel?
+Yes, you can unhide all rows at once by going to the "Home" tab, clicking on "Format" in the "Cells" group, hovering over "Hide & Unhide," and then clicking on "Unhide Rows" after selecting the entire spreadsheet with Ctrl + A.
In conclusion, unhiding rows in Excel is a fundamental skill that can significantly enhance your productivity and data analysis capabilities. By mastering the different methods to unhide rows, including using the ribbon, keyboard shortcuts, and the right-click menu, you can efficiently manage your spreadsheets and ensure that all critical data is visible and accessible. Whether you're working on complex data analysis, preparing presentations, or simply organizing your data, knowing how to unhide rows in Excel is an essential tool in your toolkit. We invite you to share your experiences, tips, and tricks for working with hidden rows in Excel, and don't hesitate to reach out if you have any further questions or need additional guidance on this topic.