Intro
The ability to center an image within an Excel cell can greatly enhance the visual appeal and readability of spreadsheets, especially those used for presentations, reports, or data visualization. Excel, being a powerful tool for data analysis, also offers various features to manipulate and format images within cells, although it might not be as straightforward as with text. Here’s a comprehensive guide on how to center an image in an Excel cell, exploring different approaches and considerations.
Excel is widely used for its ability to organize, analyze, and visualize data. However, its capabilities extend beyond numerical data, allowing users to incorporate images to make their spreadsheets more engaging and informative. Whether you're adding a company logo, a product image, or a graph, being able to properly align these images is crucial for a professional finish.
To effectively use images in Excel, understanding the different methods of inserting and manipulating them is essential. This includes knowing how to resize images, how to make them fit within cells, and most importantly, how to center them for better aesthetics and clarity.
Inserting Images into Excel Cells
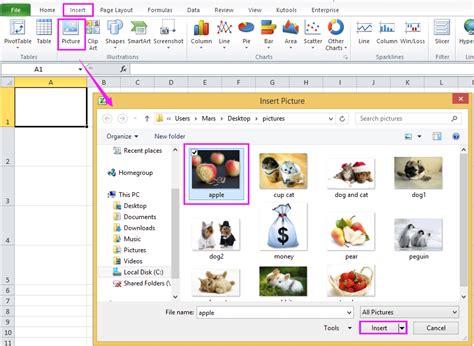
Before centering an image, you first need to insert it into your Excel spreadsheet. This can be done by going to the "Insert" tab on the ribbon, clicking on "Pictures," and then selecting the image you want to insert from your computer. Once inserted, you can resize the image by dragging the corners. However, simply resizing does not center the image within a cell. For that, you need to follow specific steps.
Centering Images within Cells

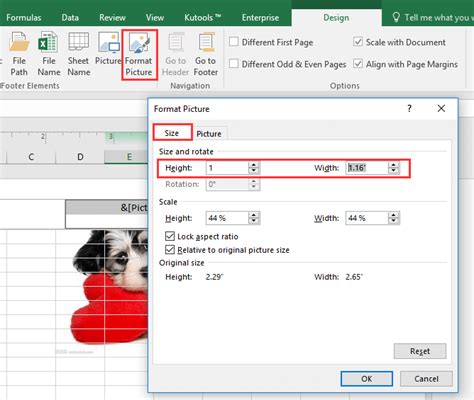
Centering an image in an Excel cell involves a couple of steps because Excel doesn't directly support centering images within cells as it does with text. One common method is to use a workaround involving the "Format Picture" tool. Here’s how you can do it:
- Insert your image into the Excel sheet as described above.
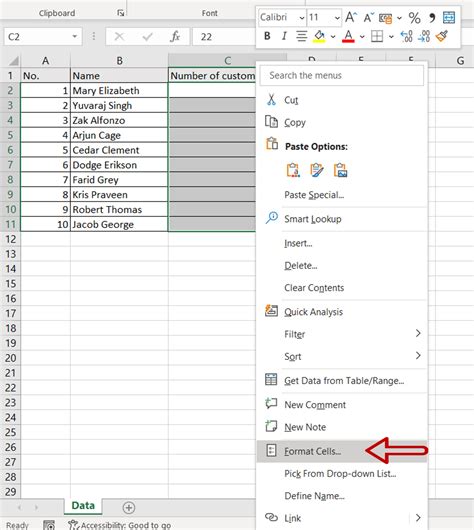
- Right-click on the image and select "Format Picture."
- In the "Format Picture" sidebar, go to the "Size & Properties" tab.
- Under "Position," you can specify an exact position or use the "Move and size with cells" option to make the image resize with the cell.
- However, for centering, you might need to adjust the image's position manually by entering specific values for the horizontal and vertical positions.
Another approach is to use a text box or a shape to hold the image, which can then be centered within a cell or across multiple cells.
Using Text Boxes or Shapes

- Insert a text box or shape from the "Insert" tab.
- Resize the text box or shape to fit your image.
- Copy and paste your image into the text box or shape.
- You can then align the text box or shape to the center of the cell or cells by using the alignment tools in the "Home" tab.
Benefits of Centering Images in Excel
Centering images in Excel cells offers several benefits, including:
- Enhanced Visual Appeal: Properly aligned images make your spreadsheet look more professional and appealing.
- Improved Readability: When images are centered, they are easier to view and understand, especially in reports or presentations.
- Better Data Visualization: Centered images can help in creating more effective charts and graphs, making data analysis more intuitive.
Common Challenges and Solutions

One common challenge is dealing with images that are too large or too small for the cell. Here are some solutions:
- Resize the Image: Use the "Format Picture" tool to resize the image.
- Adjust Cell Size: Increase the size of the cell to accommodate the image.
- Use Compression: Compress the image to reduce its size without significantly affecting its quality.
Best Practices for Using Images in Excel
When using images in Excel, consider the following best practices:
- Optimize Image Size: Ensure images are not too large, as they can slow down your spreadsheet.
- Use Relevant Images: Only use images that add value to your data or presentation.
- Maintain Consistency: Use a consistent style for inserting and formatting images throughout your spreadsheet.
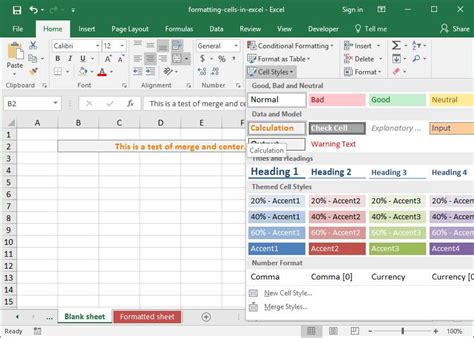
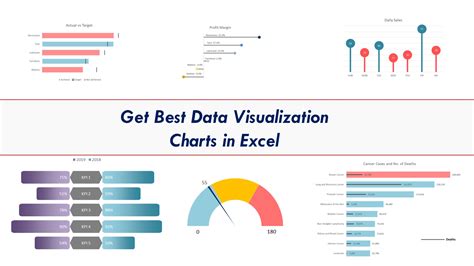
Excel Image Gallery


How do I insert an image into an Excel cell?
+To insert an image into an Excel cell, go to the "Insert" tab, click on "Pictures," and select the image from your computer.
Can I center an image within an Excel cell directly?
+Excel does not directly support centering images within cells as it does with text. However, you can use workarounds like the "Format Picture" tool or text boxes/shapes to achieve a centered alignment.
How do I resize an image in Excel to fit a cell?
+You can resize an image in Excel by using the "Format Picture" tool or by dragging the image's corners. To make it fit a cell, you might need to adjust the cell's size as well.
In conclusion, centering images in Excel cells, while not a straightforward process, can be achieved through various methods and workarounds. By understanding how to insert, resize, and align images, you can enhance the visual appeal and effectiveness of your Excel spreadsheets. Whether for professional presentations, data analysis, or personal projects, properly formatted images can make a significant difference. Feel free to share your experiences or tips on using images in Excel in the comments below, and don’t forget to share this article with anyone who might find it useful.