Intro
Learn to create surveys in Excel with ease, using formulas, templates, and data analysis tools, making data collection and feedback gathering efficient with online survey tools and spreadsheet software.
Creating a survey in Excel can be a straightforward process, allowing you to collect and analyze data efficiently. Here's a step-by-step guide on how to create a basic survey in Excel:
Introduction to Excel Surveys
Excel is a powerful tool for data analysis, and it can also be used to create and manage surveys. By using Excel, you can design your survey questions, collect responses, and then analyze the data to draw meaningful conclusions.
Step 1: Planning Your Survey
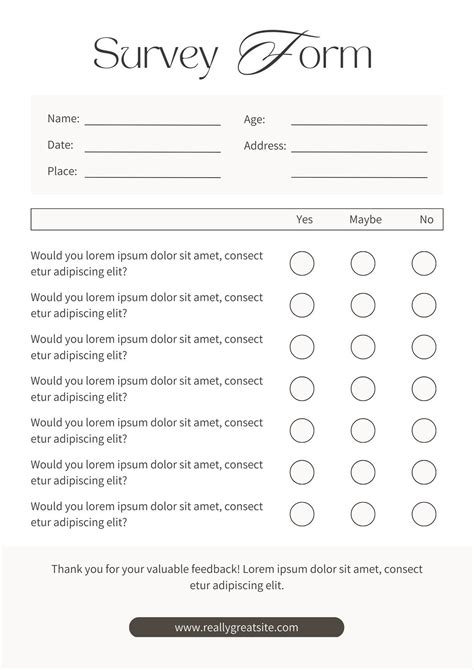
Before you start creating your survey in Excel, it's crucial to plan what your survey will look like. This includes deciding on the questions you want to ask, the type of questions (multiple choice, rating scale, open-ended), and the audience you're targeting.
Step 2: Setting Up Your Excel Workbook
- Open Excel: Start by opening a new Excel workbook.
- Create a Sheet for Questions: Rename the first sheet to "Survey Questions" or something similar. This sheet will hold your survey questions.
- Create a Sheet for Responses: Create another sheet named "Responses" where you'll collect the survey responses.
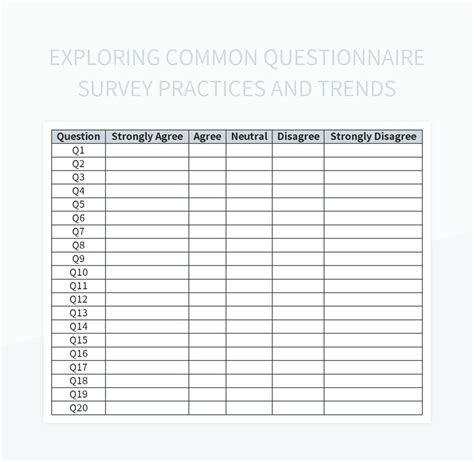
Step 3: Designing Your Survey Questions
In the "Survey Questions" sheet:
- List Your Questions: Start listing your survey questions in the first column (Column A). Keep each question concise and clear.
- Add Answer Choices: For multiple-choice or rating scale questions, add the possible answers in subsequent columns (Columns B, C, etc.) on the same row as the question.
Step 4: Creating a Form for Responses
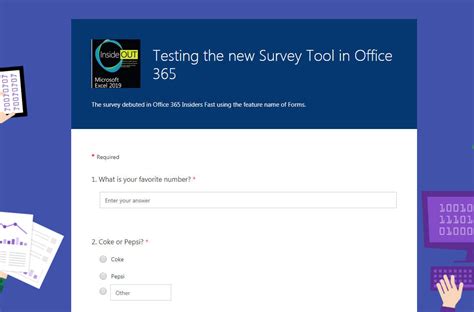
To make it easier for respondents to answer your survey, you can create a simple form in Excel. However, for a more interactive experience, consider using Excel's built-in form tools or macros (for more advanced users).
-
Use Excel Forms: For simple surveys, you can use Excel's form controls (found in the "Developer" tab, which you may need to enable). This allows you to create dropdown menus, checkboxes, and text boxes directly in your Excel sheet.
-
Alternative: Google Forms: If you're looking for a more user-friendly form that can automatically collect data into a Google Sheets document (which can then be imported into Excel), consider using Google Forms. It's free, easy to use, and integrates well with Google Sheets.
Step 5: Collecting Responses
If you're using Excel directly for respondents to input their answers:
- Protect Your Form: Use Excel's protection features to lock certain cells (like those containing questions) so respondents can only edit the answer fields.
- Distribute Your Survey: Share your Excel file with potential respondents. This could be via email, shared drive, or any file-sharing platform.
Step 6: Analyzing Your Data
Once you've collected responses, you can start analyzing your data:
- PivotTables: Use PivotTables to summarize and analyze your data. They're particularly useful for seeing trends in multiple-choice questions.
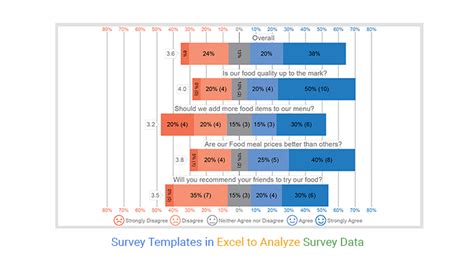
- Charts and Graphs: Visualize your data with charts and graphs to better understand the responses, especially for rating scales or numerical data.
- Filters: Apply filters to narrow down your data based on specific criteria.
Gallery of Excel Survey Examples
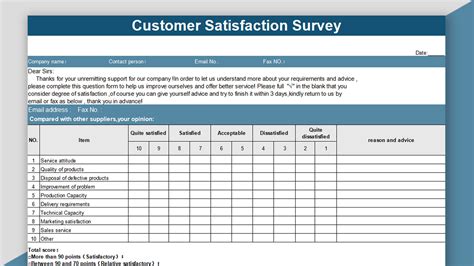
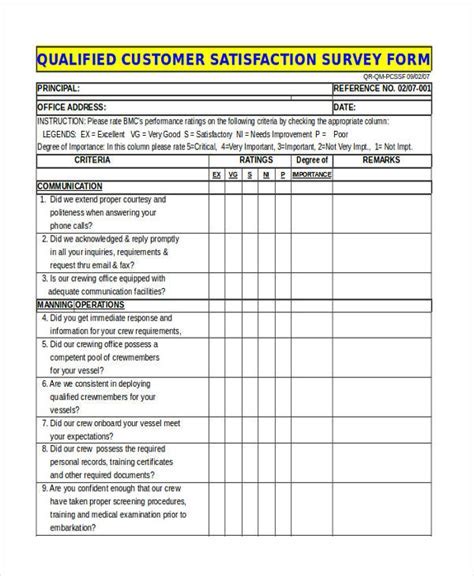
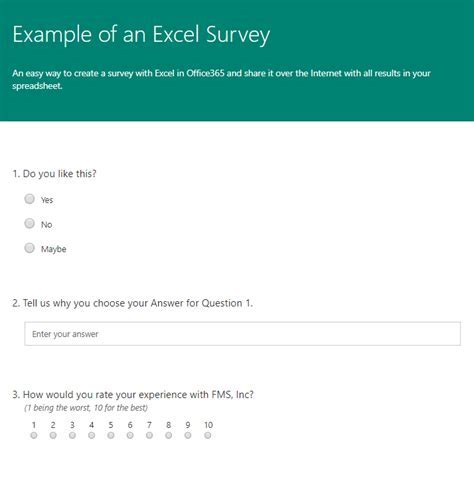

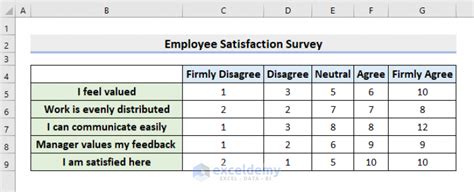


Gallery of Excel Survey Templates
Excel Survey Templates Gallery


FAQs
How do I create a survey in Excel?
+To create a survey in Excel, start by planning your questions, then set up your workbook with separate sheets for questions and responses. Use Excel's form controls or consider Google Forms for a more interactive experience.
What are the benefits of using Excel for surveys?
+Using Excel for surveys allows for easy data analysis, the ability to create custom forms, and efficient data collection. It's also a cost-effective solution compared to specialized survey software.
How do I analyze survey data in Excel?
+Analyze your survey data by using PivotTables to summarize responses, creating charts and graphs to visualize the data, and applying filters to focus on specific demographics or question types.
Final Thoughts
Creating a survey in Excel can be a powerful way to collect and analyze data, offering a flexible and cost-effective solution for a variety of needs. Whether you're conducting market research, gathering feedback, or assessing opinions, Excel provides the tools you need to design, distribute, and analyze your survey effectively. By following the steps outlined above and utilizing the features and functions of Excel, you can create a survey that meets your specific requirements and helps you achieve your goals.