Intro
Organizing contacts and addresses can be a daunting task, especially when dealing with a large number of individuals or businesses. However, with the help of Microsoft Excel, creating an address book can be a straightforward and efficient process. In this article, we will explore the importance of having an address book, the benefits of using Excel to create one, and provide a step-by-step guide on how to create an address book in Excel.
Having an address book is essential for both personal and professional purposes. It allows you to keep track of important contacts, such as friends, family, colleagues, and clients, and easily access their contact information. An address book can also help you stay organized and save time when sending invitations, gifts, or correspondence. Moreover, an address book can be a valuable tool for businesses, enabling them to manage customer relationships, track sales, and send targeted marketing campaigns.
Using Excel to create an address book offers several benefits. Excel is a powerful spreadsheet software that allows you to easily store, manage, and analyze data. With Excel, you can create a customized address book that meets your specific needs, including fields for names, addresses, phone numbers, email addresses, and other relevant information. Additionally, Excel's sorting and filtering features enable you to quickly and easily find specific contacts, making it an ideal tool for managing large datasets.
Getting Started with Excel

Before creating an address book in Excel, it's essential to have a basic understanding of the software. If you're new to Excel, start by familiarizing yourself with the interface, including the ribbon, worksheets, and cells. You can find numerous tutorials and resources online to help you get started with Excel.
Creating an Address Book Template
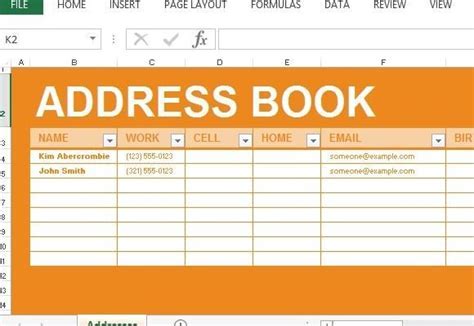
To create an address book in Excel, start by opening a new workbook and creating a template. A template will help you organize your data and ensure consistency throughout your address book. Here's a step-by-step guide to creating an address book template:
- Open a new Excel workbook and create a new worksheet.
- In the first row, create headers for each field you want to include in your address book, such as:
- First Name
- Last Name
- Address
- City
- State
- Zip
- Phone Number
- Email Address
- Format the headers to make them stand out, such as bolding or using a larger font size.
- Use the AutoFit feature to adjust the column widths to fit the headers.
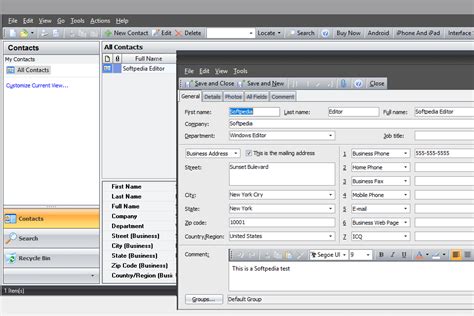
Adding Data to Your Address Book
Once you have created your template, you can start adding data to your address book. Here's how:
- Start entering data in the second row, beginning with the first name.
- Use the Tab key to move from one cell to the next, or use the mouse to click on each cell.
- Enter data for each field, making sure to follow a consistent format.
- Use the AutoFill feature to quickly fill in repetitive data, such as city or state.
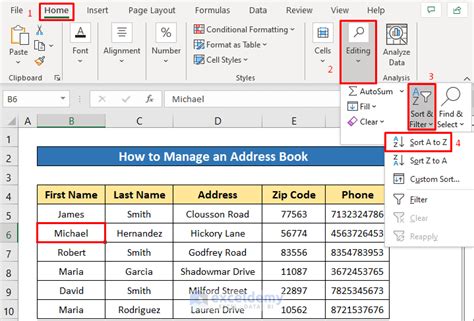
Sorting and Filtering Your Address Book
As your address book grows, it's essential to be able to quickly and easily find specific contacts. Excel's sorting and filtering features enable you to do just that. Here's how:
- Select the entire dataset, including headers.
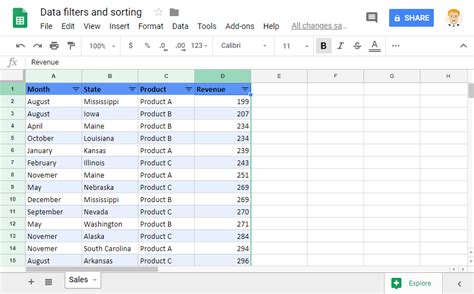
- Use the Sort & Filter feature to sort your data by a specific field, such as last name or city.
- Use the Filter feature to narrow down your data to a specific subset, such as contacts in a particular state or with a specific phone number.
Using Formulas and Functions

Excel formulas and functions can help you perform calculations, manipulate data, and create custom views of your address book. Here are a few examples:
- Use the CONCATENATE function to combine first and last names into a single field.
- Use the IF function to create a custom view of your address book, such as contacts with a specific phone number or email address.
- Use the VLOOKUP function to retrieve data from another worksheet or database.
Printing and Sharing Your Address Book
Once you have created and populated your address book, you may want to print or share it with others. Here's how:
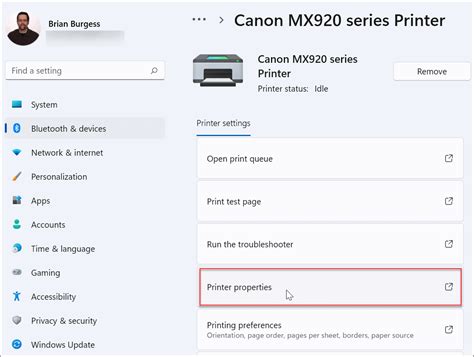
- Use the Print feature to print your entire address book or a specific range of cells.
- Use the Share feature to share your address book with others via email or cloud storage.
- Use the Export feature to export your address book to another format, such as a CSV file or PDF document.
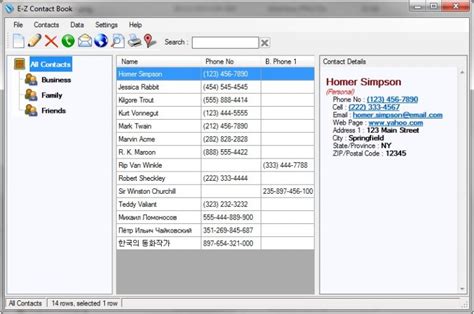
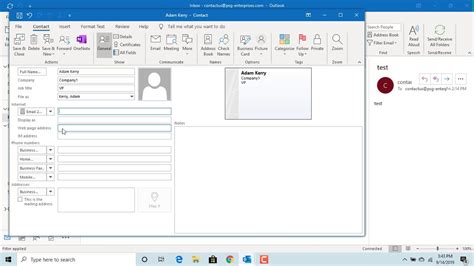
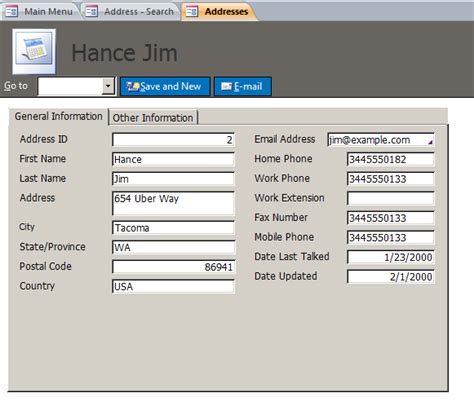
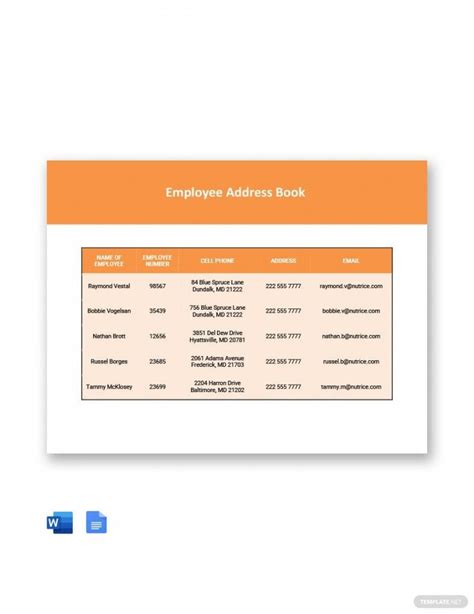
Address Book Image Gallery


What is an address book in Excel?
+An address book in Excel is a spreadsheet that stores contact information, such as names, addresses, phone numbers, and email addresses.
How do I create an address book in Excel?
+To create an address book in Excel, start by opening a new workbook and creating a template with headers for each field you want to include. Then, add data to your address book and use sorting and filtering features to manage your contacts.
What are the benefits of using Excel to create an address book?
+The benefits of using Excel to create an address book include the ability to easily store, manage, and analyze data, as well as the flexibility to customize your address book to meet your specific needs.
We hope this article has provided you with a comprehensive guide to creating an address book in Excel. Whether you're looking to manage personal contacts or business relationships, an address book in Excel can be a valuable tool. With its flexibility, customization options, and powerful features, Excel is the perfect software for creating and managing an address book. So why not get started today and see the benefits of using Excel to create an address book for yourself? Share your thoughts and experiences with us in the comments below, and don't forget to share this article with others who may benefit from it.