Intro
Boost Excel visualization with 5 overlay graph tips, mastering chart overlays, data visualization, and graphic analysis to create informative and engaging spreadsheets.
The world of data analysis and visualization is a vast and fascinating one, with numerous tools and techniques at our disposal. Among these, Excel remains a stalwart favorite, offering a wide range of functionalities that can help in presenting complex data in a clear, concise, and visually appealing manner. One of the most powerful features Excel offers for data visualization is the overlay graph, which allows users to combine different types of data or datasets into a single chart. This can significantly enhance the readability and understanding of the data, making it easier to identify trends, patterns, and correlations that might not be immediately apparent when looking at separate graphs.
Overlaying graphs in Excel can be particularly useful in various scenarios, such as comparing the performance of different departments within a company, tracking changes in sales figures over time against marketing expenses, or analyzing the relationship between different economic indicators. The ability to visualize multiple datasets together provides a more comprehensive view of the situation, facilitating better decision-making. However, creating effective overlay graphs requires some knowledge and practice, as the goal is to make the data clearer, not more confusing.
To get the most out of Excel's overlay graph feature, it's essential to understand the basics of how to create and customize these graphs. This involves selecting the right type of chart for the data, ensuring that the scales are appropriately set to make the comparison meaningful, and using colors and labels effectively to distinguish between different datasets. Additionally, knowing how to manipulate the graph's elements, such as axes, legends, and data points, can greatly enhance the graph's readability and impact.
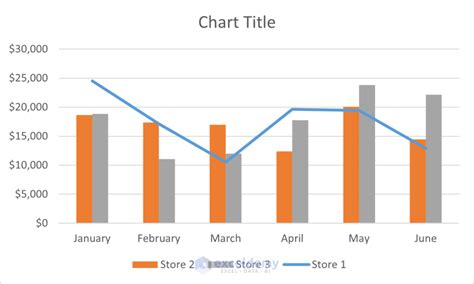
Introduction to Overlay Graphs in Excel
Understanding Overlay Graphs
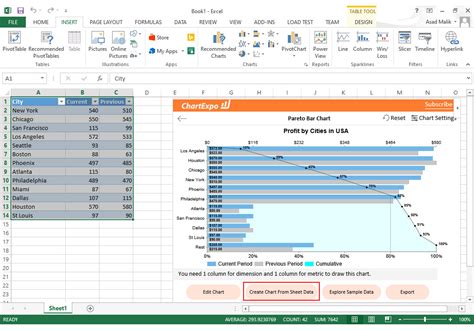
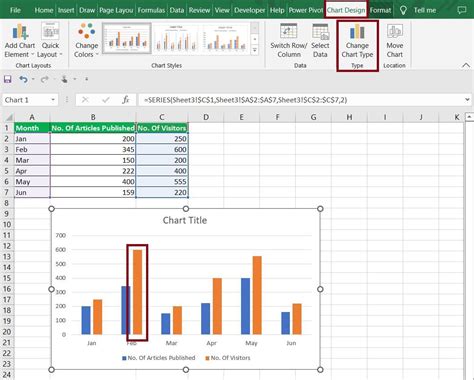
Creating an Overlay Graph in Excel
Step-by-Step Guide to Creating Overlay Graphs

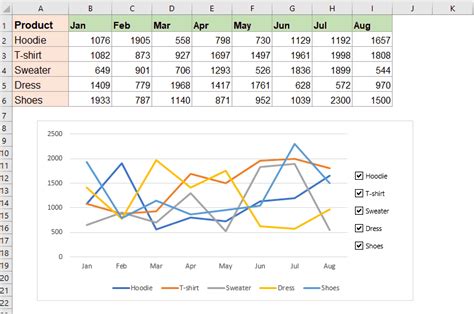
Customizing Your Overlay Graph
Customization Options for Overlay Graphs
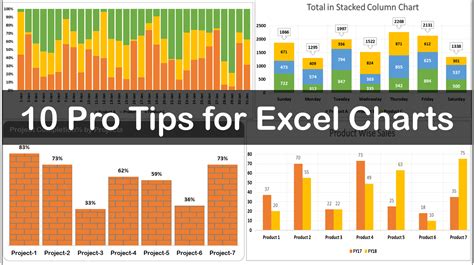
Tips for Effective Overlay Graphs
Best Practices for Overlay Graphs
Advanced Overlay Graph Techniques
Advanced Techniques for Overlay Graphs
Common Challenges and Solutions
Troubleshooting Overlay Graphs

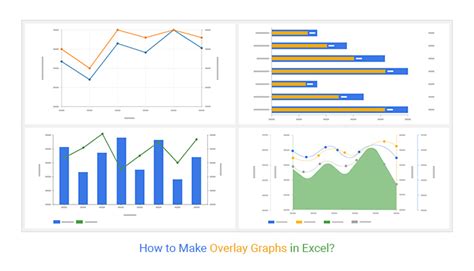
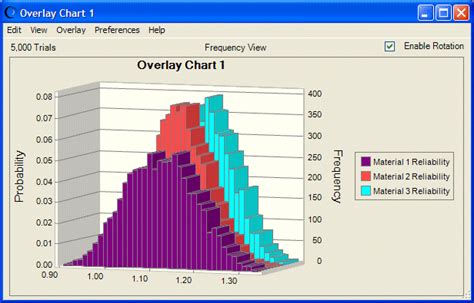
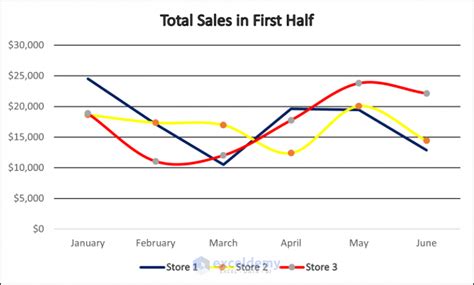
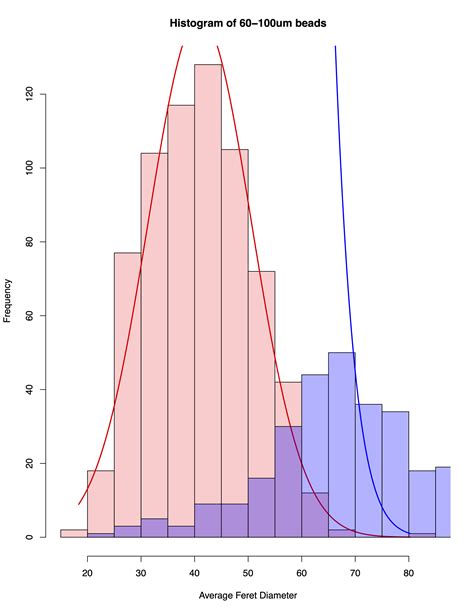
Gallery of Excel Overlay Graphs
Excel Overlay Graph Image Gallery


FAQs
What is an overlay graph in Excel?
+An overlay graph in Excel is a type of chart that allows you to plot two or more datasets on the same chart, enabling the comparison of different types of data.
How do I create an overlay graph in Excel?
+To create an overlay graph, select your data, go to the "Insert" tab, click on "Chart," and choose a combination chart. You may need to adjust the chart type for each dataset and customize the graph's appearance.
What are some best practices for creating effective overlay graphs?
+Best practices include keeping the graph simple, choosing the right chart type, using color effectively, labeling axes clearly, and considering interactivity for digital presentations.
As you delve into the world of overlay graphs in Excel, remember that practice makes perfect. Don't be afraid to experiment with different types of charts, customization options, and datasets to find what works best for your specific needs. Whether you're analyzing sales trends, tracking website traffic, or exploring economic indicators, overlay graphs can be a powerful tool in your data analysis arsenal. By following the tips and guidelines outlined above and continually refining your skills, you can unlock the full potential of overlay graphs and present your data in a way that is both informative and engaging. So, go ahead and start creating your own overlay graphs today, and discover the insights that await you in your data.