Intro
Creating a dashboard in Excel can be a powerful way to visualize and analyze data, making it easier to understand and make informed decisions. A well-designed dashboard can help to identify trends, track performance, and provide insights that might not be immediately apparent from raw data. In this article, we will guide you through the step-by-step process of creating a dashboard in Excel, providing you with a comprehensive understanding of how to turn your data into actionable information.
To begin with, it's essential to understand what a dashboard is and why it's useful. A dashboard is a visual representation of data that is used to monitor and analyze performance, progress, or other key metrics. It's a centralized location where you can see all the critical information at a glance, making it easier to make decisions and take actions. With Excel, you can create a custom dashboard that meets your specific needs, whether it's for personal use, business, or academic purposes.
Planning Your Dashboard
Before you start creating your dashboard, it's crucial to plan what you want to achieve. This involves identifying the purpose of your dashboard, the data you will use, and the metrics you want to track. Consider what questions you want your dashboard to answer and what insights you hope to gain from it. This planning stage is critical because it will guide your design and ensure that your dashboard is effective and user-friendly.
Identifying Your Audience
When planning your dashboard, it's also important to consider your audience. Who will be using the dashboard? What are their needs and expectations? Understanding your audience will help you design a dashboard that is relevant and useful to them. For example, if your dashboard is for a business, you might want to include metrics such as sales, revenue, and customer satisfaction. If it's for personal use, you might focus on tracking expenses, savings, and investments.Setting Up Your Dashboard
Once you have planned your dashboard, it's time to set it up. This involves preparing your data, creating a new Excel workbook, and setting up the basic structure of your dashboard. Here are the steps to follow:
- Prepare Your Data: Ensure that your data is clean, organized, and in a format that can be easily analyzed. This might involve creating tables, sorting data, and removing any duplicates or unnecessary information.
- Create a New Workbook: Open Excel and create a new workbook. This will give you a blank canvas to work with.
- Set Up Your Dashboard Sheet: Create a new sheet in your workbook that will serve as your dashboard. You can name this sheet "Dashboard" or anything else that makes sense for your project.
Designing Your Dashboard Layout
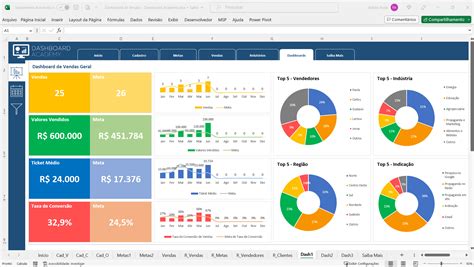
The layout of your dashboard is crucial. It should be visually appealing, easy to navigate, and designed in a way that draws the user's attention to the most important information. Consider using a grid layout, with different sections for different types of data. You can also use Excel's built-in themes and styles to give your dashboard a professional look.Adding Charts and Visualizations

Charts and visualizations are the heart of any dashboard. They help to communicate complex data insights in a simple and intuitive way. Excel offers a wide range of chart types, including column charts, line charts, pie charts, and more. Here's how to add a chart to your dashboard:
- Select Your Data: Choose the data you want to visualize. This could be a table, a range of cells, or even a pivot table.
- Go to the Insert Tab: In the Excel ribbon, click on the "Insert" tab.
- Click on the Chart Type: Select the type of chart you want to create. For example, if you want to show trends over time, a line chart might be the best choice.
- Customize Your Chart: Once your chart is created, you can customize it by changing colors, adding titles, and adjusting the layout.
Using PivotTables for Data Analysis
PivotTables are a powerful tool in Excel that allow you to summarize and analyze large datasets. They are particularly useful for dashboards because they enable you to easily filter, sort, and drill down into your data. To create a PivotTable, follow these steps:- Select Your Data: Choose the data you want to analyze.
- Go to the Insert Tab: Click on the "Insert" tab in the Excel ribbon.
- Click on PivotTable: Select "PivotTable" from the options.
- Choose a Location: Decide where you want your PivotTable to be placed.
- Customize Your PivotTable: Once your PivotTable is created, you can customize it by adding fields, applying filters, and changing the layout.
Finalizing Your Dashboard
After you have added all the necessary charts, visualizations, and PivotTables to your dashboard, it's time to finalize it. This involves making any last-minute adjustments, ensuring that everything is working as expected, and polishing the design. Here are some tips to help you finalize your dashboard:
- Test Your Dashboard: Make sure that all the elements of your dashboard are working correctly. Test any interactive features, such as filters and drill-down capabilities.
- Refine Your Design: Pay attention to the aesthetics of your dashboard. Ensure that it is visually appealing and easy to navigate.
- Document Your Dashboard: Consider adding documentation to your dashboard, such as instructions on how to use it or explanations of the metrics being tracked.
Maintaining and Updating Your Dashboard
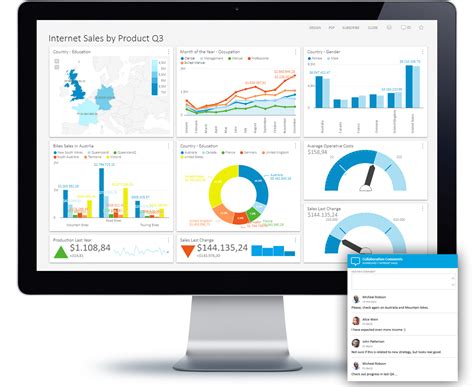
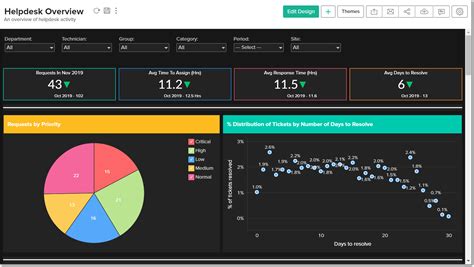
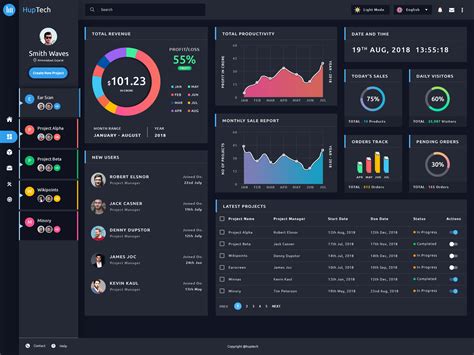
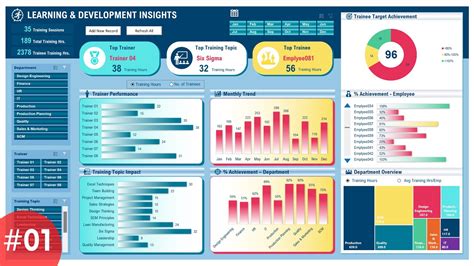
A dashboard is not a static entity; it requires regular maintenance and updates to remain relevant and useful. This involves refreshing the data, updating charts and visualizations, and making any necessary design adjustments. By regularly maintaining and updating your dashboard, you can ensure that it continues to provide valuable insights and support informed decision-making.Dashboard Image Gallery

What is a dashboard in Excel?
+A dashboard in Excel is a visual representation of data that is used to monitor and analyze performance, progress, or other key metrics.
How do I create a dashboard in Excel?
+To create a dashboard in Excel, start by planning what you want to achieve, then set up your data, create a new workbook, and add charts and visualizations as needed.
What are the benefits of using a dashboard in Excel?
+The benefits of using a dashboard in Excel include improved data visualization, enhanced decision-making, and increased productivity.
In conclusion, creating a dashboard in Excel is a powerful way to turn your data into actionable insights. By following the steps outlined in this article, you can create a custom dashboard that meets your specific needs, whether it's for personal use, business, or academic purposes. Remember to plan carefully, use the right tools and features, and maintain your dashboard regularly to ensure it remains a valuable resource for decision-making. We invite you to share your experiences with creating dashboards in Excel, ask questions, or provide feedback on this article. Your input is invaluable in helping us improve and provide more relevant content in the future.