Intro
Discover 5 ways to insert rows in tables, spreadsheets, and databases, using techniques like copy-paste, formulas, and SQL queries, to manage data efficiently and effectively.
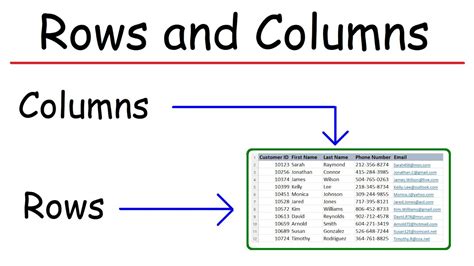
Inserting rows into a table or spreadsheet can be a crucial task for organizing and managing data effectively. Whether you're working with Microsoft Excel, Google Sheets, or another spreadsheet program, understanding the various methods to insert rows is essential for efficient data management. In this article, we'll explore five ways to insert rows, along with practical examples and step-by-step instructions.
The ability to insert rows is fundamental in spreadsheet applications, allowing users to add new data, expand tables, or reorganize existing information. Before diving into the specific methods, it's worth noting that the exact steps might slightly vary depending on the software you're using. However, the basic principles and techniques outlined here are broadly applicable across different platforms.
Inserting rows is not just about adding space; it's also about maintaining the integrity and order of your data. Whether you're a student working on a project, a professional managing a database, or an individual tracking personal finances, mastering the art of row insertion can significantly enhance your productivity and data analysis capabilities.
Understanding the Importance of Row Insertion
The importance of row insertion in spreadsheet management cannot be overstated. It allows for the dynamic adjustment of tables and datasets, enabling users to adapt to changing information needs. This flexibility is crucial in both personal and professional settings, where data is constantly evolving.
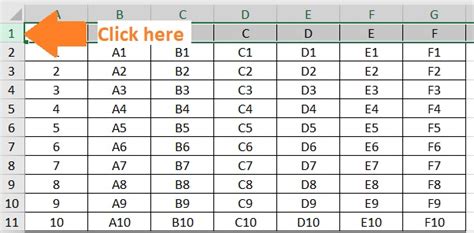
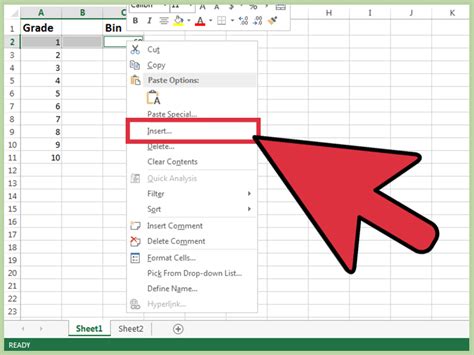
Method 1: Inserting a Single Row
Inserting a single row is one of the most common operations in spreadsheet management. This can be achieved by selecting the row below where you want the new row to appear, then using the "Insert" option from the menu or toolbar. The exact steps may vary, but the principle remains consistent across different software applications.
Steps for Inserting a Single Row:
1. Select the row below your desired insertion point. 2. Navigate to the "Insert" menu or button. 3. Choose the "Insert Row" or similar option. 4. The new row will be inserted above the selected row.Method 2: Inserting Multiple Rows

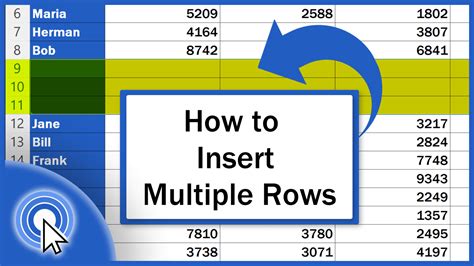
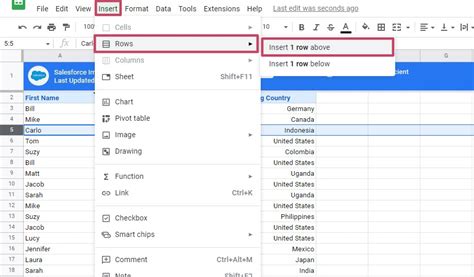
Inserting multiple rows simultaneously is a time-saving feature that allows users to expand their tables quickly. This can be particularly useful when dealing with large datasets or when planning for future data additions.
Steps for Inserting Multiple Rows:
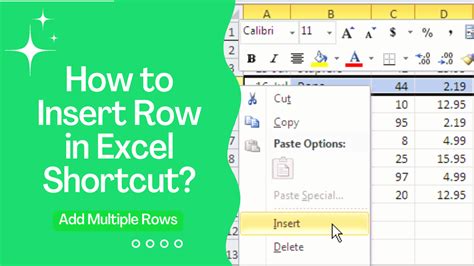
1. Select the same number of rows you wish to insert. 2. Go to the "Insert" menu or use a shortcut key. 3. Choose the option to insert rows, which may automatically detect the number of rows selected. 4. Confirm the insertion, and the new rows will be added.Method 3: Using Shortcut Keys

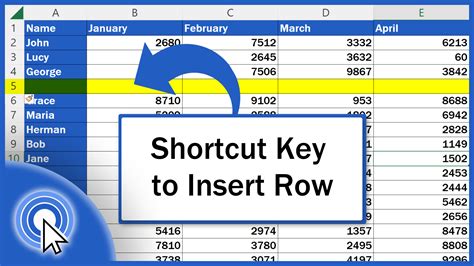
Shortcut keys can significantly speed up your workflow when working with spreadsheets. For inserting rows, there are specific combinations that can be used, depending on the software.
Common Shortcut Keys:
- Ctrl + Shift + "+" (Windows) or Command + Shift + "+" (Mac) to insert a row. - Selecting multiple rows and using the same shortcut can insert multiple rows.Method 4: Inserting Rows with Formulas
Inserting rows with formulas involves using specific commands or functions that automatically adjust the table size based on the data. This method is more advanced and requires a basic understanding of spreadsheet formulas.
Example of Inserting Rows with Formulas:
Using an array formula or a dynamic range can help in automatically adjusting the size of a table when new data is added.Method 5: Using Macros or Scripts
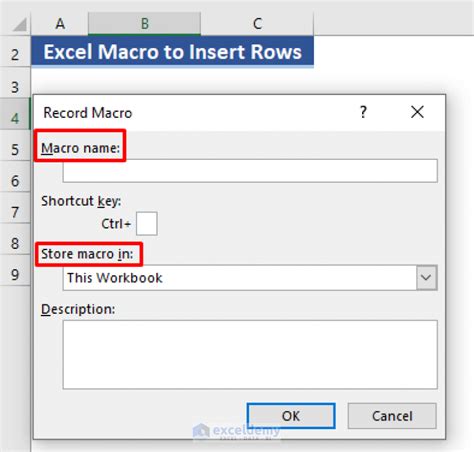
For repetitive tasks or complex operations, macros or scripts can be used to automate the process of inserting rows. This method requires some programming knowledge but can be very powerful for managing large datasets.
Steps for Creating a Macro:
1. Open the Visual Basic Editor. 2. Create a new module. 3. Write the code for inserting rows based on your specific needs. 4. Save the macro and run it as needed.Insert Rows Image Gallery
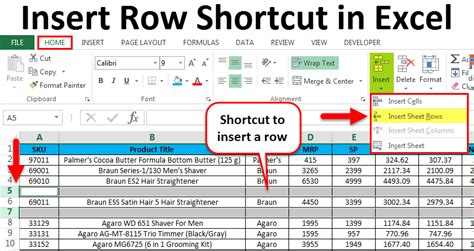


How do I insert a row in Excel?
+To insert a row in Excel, select the row below where you want the new row, go to the "Home" tab, find the "Insert" button in the "Cells" group, and click on "Insert Sheet Rows". Alternatively, you can right-click on the row number and select "Insert".
Can I insert multiple rows at once in Google Sheets?
+Yes, you can insert multiple rows at once in Google Sheets. To do this, select the same number of rows you want to insert, right-click, and choose "Insert rows" or use the keyboard shortcut Ctrl + Shift + "+" (Windows) or Command + Shift + "+" (Mac).
How do I automate row insertion using macros?
+Automating row insertion using macros involves recording or writing a script that performs the insertion task. This can be done through the Visual Basic Editor in Excel or using Google Apps Script in Google Sheets. The macro can be designed to insert rows based on specific conditions or triggers.
In conclusion, mastering the various methods of inserting rows is a fundamental skill for anyone working with spreadsheets. Whether you're using Excel, Google Sheets, or another platform, understanding how to efficiently insert rows can enhance your productivity and data management capabilities. By following the methods and tips outlined in this article, you'll be better equipped to handle your spreadsheet tasks with ease and precision. Feel free to share your experiences or ask questions about inserting rows in the comments below, and don't forget to share this article with others who might find it helpful.