Intro
Discover 5 ways to limit Excel rows, enhancing data management with row limits, Excel row restrictions, and spreadsheet optimization techniques.
The world of spreadsheet management can be overwhelming, especially when dealing with large datasets in Excel. One common challenge users face is managing the number of rows in their spreadsheets. Whether you're working with a small dataset or a massive one, understanding how to limit Excel rows can significantly enhance your productivity and data analysis capabilities. In this article, we'll delve into the importance of row management, explore five ways to limit Excel rows, and discuss best practices for efficient spreadsheet handling.
Effective data management is crucial for any project or business operation. Spreadsheets like Excel are indispensable tools for organizing, analyzing, and presenting data. However, as datasets grow, so does the complexity of managing them. Limiting Excel rows can help in focusing on relevant data, improving calculation speeds, and reducing file sizes. It's a skill that every Excel user should master, from beginners looking to organize their personal budgets to professionals handling large-scale data analytics projects.
The ability to efficiently manage and limit rows in Excel can make a significant difference in how you work with data. It allows for more precise data analysis, easier identification of trends, and better decision-making. Moreover, understanding how to limit rows can help in creating more manageable and shareable files, which is especially important in collaborative environments. Whether you're aiming to simplify your dataset, improve performance, or enhance data security, learning how to limit Excel rows is an essential skill.
Understanding Excel Row Limits
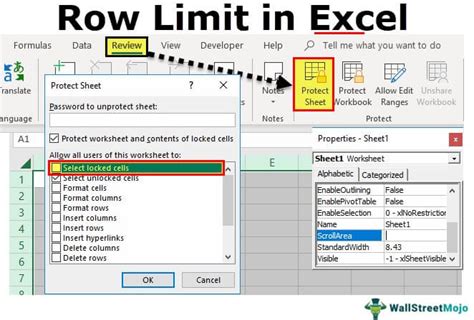
Before diving into the methods of limiting rows, it's essential to understand the row limits in Excel. Excel 2019, Excel 2021, and Microsoft 365 can handle up to 1,048,576 rows and 16,384 columns in a single worksheet. However, these limits can vary depending on the version of Excel you're using. Older versions, like Excel 2007, have significantly lower row limits, capped at 65,536 rows. Understanding these limits is crucial for planning and managing your datasets effectively.
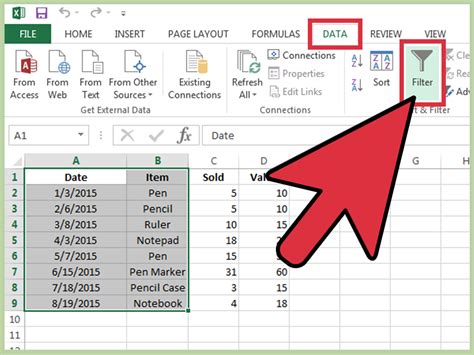
Method 1: Using Filters to Limit Rows
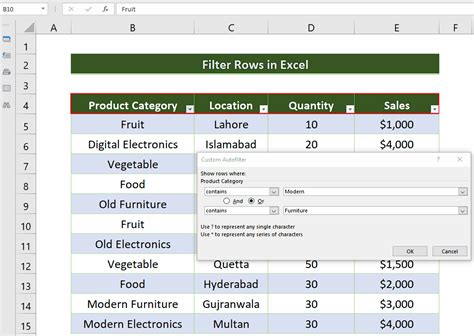
One of the simplest ways to limit rows in Excel is by using filters. Filters allow you to narrow down your data based on specific conditions, effectively hiding rows that do not meet your criteria. To apply a filter, select your data range, go to the "Data" tab, and click on "Filter." You can then use the dropdown arrows in the header row to select which data to display. This method is particularly useful for temporary adjustments and does not permanently delete any data.
Step-by-Step Guide to Applying Filters
- Select the entire data range you wish to filter.
- Navigate to the "Data" tab in the ribbon.
- Click on the "Filter" button.
- Use the dropdown arrows in the header row to select your filter criteria.
- Click "OK" to apply the filter.
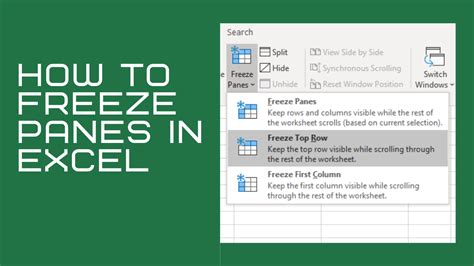
Method 2: Freezing Panes to Limit Viewable Rows
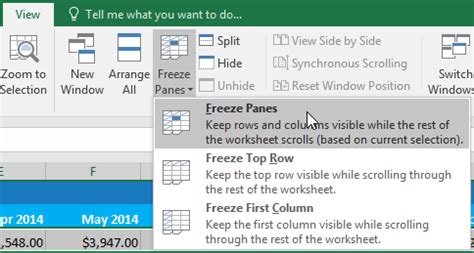
Freezing panes is another method to limit the viewable rows in Excel, although it doesn't actually reduce the number of rows. It's useful for keeping headers or specific data visible while scrolling through large datasets. To freeze panes, go to the "View" tab, click on "Freeze Panes," and select either "Freeze Panes" or "Freeze Top Row" depending on your needs.
Benefits of Freezing Panes
- Keeps headers visible for easier data identification.
- Enhances navigation through large datasets.
- Does not alter the underlying data.
Method 3: Using PivotTables to Summarize Data
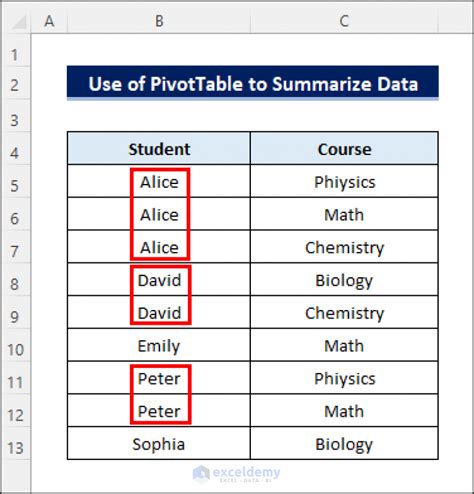
PivotTables are powerful tools in Excel that allow you to summarize and analyze large datasets. By using PivotTables, you can significantly reduce the number of rows you need to view, making it easier to understand and analyze your data. To create a PivotTable, select your data range, go to the "Insert" tab, and click on "PivotTable." Then, choose where you want the PivotTable to be placed and follow the wizard to set it up.
Advantages of PivotTables
- Enables quick summarization of large datasets.
- Facilitates easy data analysis and filtering.
- Supports dynamic updates as the underlying data changes.
Method 4: Deleting Rows to Permanently Limit Data
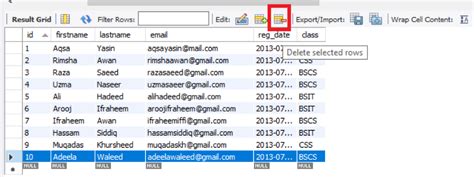
If you have rows in your dataset that are unnecessary or redundant, deleting them can be an effective way to limit your rows. To delete rows, select the row numbers at the left side of the sheet, right-click, and choose "Delete." This method is permanent, so it's essential to ensure you're deleting the correct data and that you have backups of your original spreadsheet.
Precautions When Deleting Rows
- Always back up your data before making permanent changes.
- Verify that the rows to be deleted are not critical for analysis or legal requirements.
- Consider archiving deleted data for future reference.
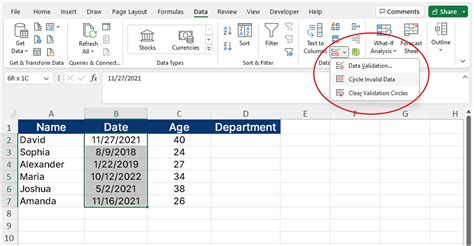
Method 5: Using Data Validation to Control Input
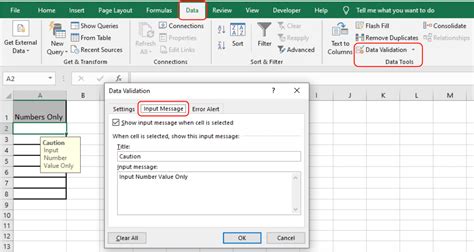
Data validation is a feature in Excel that allows you to control what data can be entered into a cell. By setting up data validation rules, you can limit the number of rows by restricting the input to only what is necessary or valid. To apply data validation, select the cell or range you want to validate, go to the "Data" tab, and click on "Data Validation." Then, set your criteria and apply the rule.
Benefits of Data Validation
- Reduces errors by limiting incorrect data entry.
- Enhances data consistency across the spreadsheet.
- Supports more efficient data analysis by ensuring high-quality input.
Excel Row Limitation Image Gallery


What is the maximum number of rows in Excel 2021?
+Excel 2021 can handle up to 1,048,576 rows and 16,384 columns in a single worksheet.
How do I freeze panes in Excel to limit viewable rows?
+To freeze panes, go to the "View" tab, click on "Freeze Panes," and select either "Freeze Panes" or "Freeze Top Row" depending on your needs.
What are PivotTables used for in Excel?
+PivotTables are used for summarizing and analyzing large datasets, making it easier to understand and analyze your data.
In conclusion, mastering the art of limiting Excel rows is a critical skill for any Excel user. Whether through filtering, freezing panes, using PivotTables, deleting unnecessary rows, or applying data validation, each method offers a unique approach to managing your dataset efficiently. By understanding and applying these techniques, you can enhance your productivity, improve data analysis, and make more informed decisions. We invite you to share your experiences with managing Excel rows and explore more tips and tricks for optimizing your spreadsheet workflows. Feel free to comment below with your questions or share this article with others who might benefit from learning how to limit Excel rows effectively.