Intro
Learn to move axis to bottom in Excel, adjusting chart orientation with ease. Master data visualization, customize plots, and enhance spreadsheet readability with expert tips on axis manipulation and graph formatting.
When working with charts in Excel, the default position of the axis can sometimes hinder the clarity and effectiveness of the data presentation. One common adjustment users make is moving the axis to the bottom of the chart. This adjustment can improve readability, especially in cases where the data trends or comparisons are more easily understood with the axis at the bottom. Let's explore how to move the axis to the bottom in Excel and discuss the importance of customizing your charts for better data visualization.
The process of moving the axis in Excel is straightforward and can be applied to various types of charts, including line charts, column charts, and more. Understanding how to manipulate chart elements like axes is crucial for creating charts that effectively communicate insights and trends in your data. Whether you're working on a project, creating a report, or simply trying to better understand your data, customizing the chart's axis can make a significant difference.
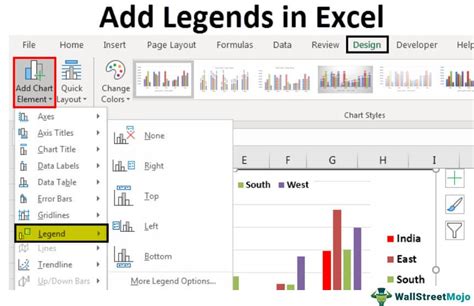
Moving the axis to the bottom can also be part of a broader strategy to enhance the aesthetic appeal and clarity of your charts. Excel offers a wide range of tools and features for chart customization, from changing colors and fonts to adding titles and legends. By learning how to utilize these features effectively, you can ensure that your charts are not only informative but also engaging and easy to understand.
Why Customize Chart Axes in Excel?
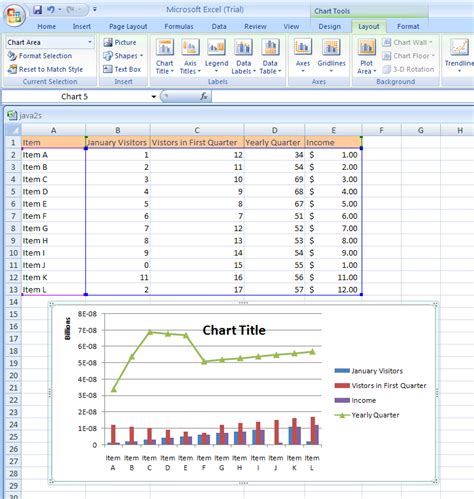
Customizing chart axes, including moving them to the bottom, is an essential part of data visualization in Excel. This customization allows users to present data in a way that is most meaningful and easy to interpret. For instance, in a line chart showing sales trends over time, having the axis at the bottom can help viewers quickly identify periods of growth or decline. Additionally, customizing the axis can help draw attention to specific data points or trends that might be obscured by the default chart settings.
Benefits of Axis Customization
The benefits of customizing the axis in Excel charts include: - Improved readability: By placing the axis at the bottom, you can make it easier for viewers to read the chart, especially when dealing with multiple data series. - Enhanced data interpretation: Custom axis positions can help highlight important trends or patterns in the data. - Better aesthetic appeal: Customization options allow you to create charts that are visually appealing and engaging.How to Move the Axis to the Bottom in Excel
Moving the axis to the bottom in Excel involves a few simple steps that can be applied to most chart types. Here's a step-by-step guide:
- Select Your Chart: First, click on the chart you want to modify to select it. This will activate the Chart Tools tabs in the ribbon.
- Access Chart Options: With your chart selected, go to the "Chart Tools" tab in the ribbon, which should include "Design" and "Format" tabs.
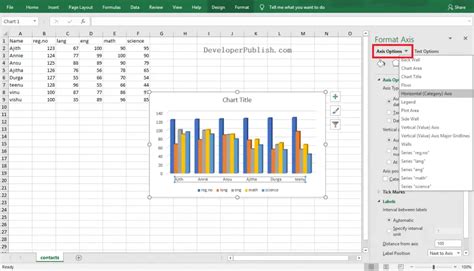
- Chart Design Tab: In the "Design" tab, you'll find options related to the chart's layout and structure. Click on the "Chart Area" or "Plot Area" to access more specific formatting options.
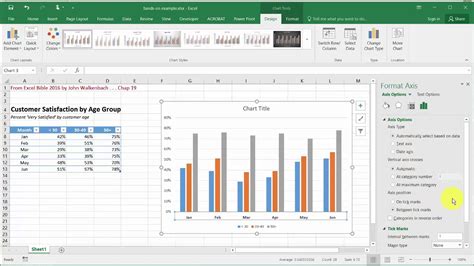
- Axis Options: Look for the "Axes" button or option, which might be under a "Chart Options" or "Chart Elements" menu. Clicking on this will give you a dropdown menu where you can select "Primary Horizontal Axis" or similar, depending on your chart type.
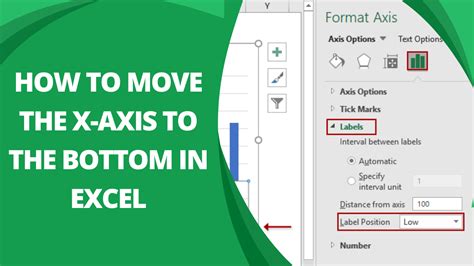
- Axis Position: Once you've selected the axis you want to move, you'll have options to change its position. For moving the axis to the bottom, select "Bottom" from the available options.
- Apply Changes: After selecting the new position for your axis, your chart should update automatically to reflect the change.
Tips for Customizing Axes
When customizing axes in Excel, keep the following tips in mind: - **Experiment with Different Positions**: Depending on your data, the top, bottom, left, or right might be the best position for your axis. - **Consider Your Audience**: Think about what will be most intuitive for the people viewing your chart. - **Keep it Simple**: Avoid over-customizing, as this can make the chart harder to read.Advanced Axis Customization in Excel
Beyond simply moving the axis to the bottom, Excel offers a range of advanced customization options that can further enhance your charts. These include:
- Axis Scaling: You can adjust the minimum and maximum values displayed on the axis, which can be useful for zooming in on specific parts of your data.
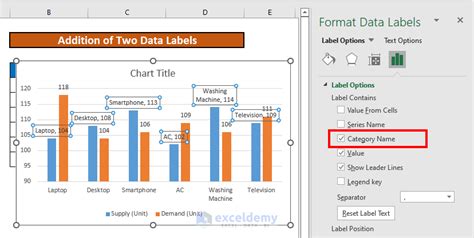
- Tick Marks and Labels: Customizing the frequency and appearance of tick marks and labels can make your chart easier to read.
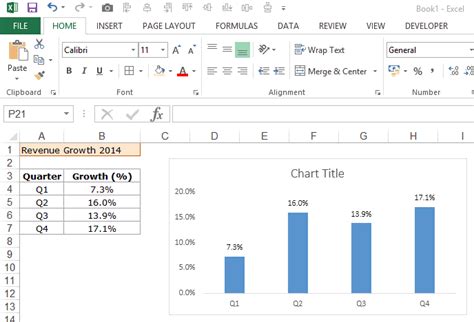
- Axis Titles: Adding titles to your axes can provide context and make your chart more understandable at a glance.
Using Excel's Built-in Chart Tools
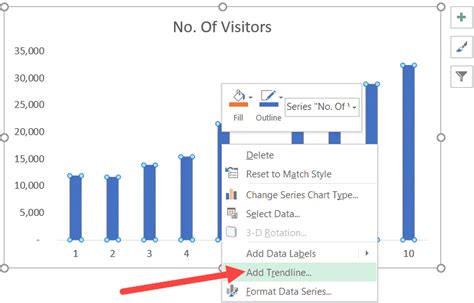
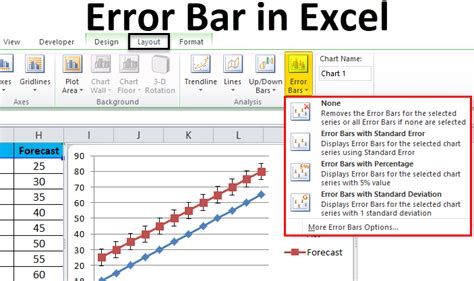
Excel's built-in chart tools are designed to make customization easy and intuitive. By exploring the options available in the "Design" and "Format" tabs, you can discover a wide range of features to enhance your charts, from changing colors and fonts to adding complex elements like trendlines and error bars.Best Practices for Chart Customization
When customizing charts in Excel, following best practices can ensure that your visualizations are effective and engaging. Here are some key guidelines:
- Keep it Simple and Clear: Avoid clutter and focus on presenting your data in a straightforward manner.
- Use Color Effectively: Colors can enhance your chart, but use them sparingly and with purpose.
- Ensure Consistency: If you're creating multiple charts, try to maintain a consistent look and feel across them.
Common Mistakes to Avoid
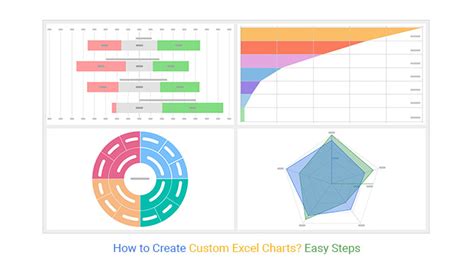
Common mistakes in chart customization include: - **Over-customization**: Too many changes can make the chart harder to understand. - **Inconsistent Formatting**: Inconsistencies can make your charts look unprofessional. - **Ignoring Your Audience**: Failing to consider what will be most meaningful and easy to understand for your viewers.Excel Chart Customization Gallery
How do I move the axis to the bottom in Excel?
+To move the axis to the bottom in Excel, select your chart, go to the Chart Tools tab, click on the "Axes" button, select the primary horizontal axis, and then choose "Bottom" as the axis position.
Why should I customize the axis in my Excel charts?
+Customizing the axis can improve the readability and effectiveness of your charts, making it easier for viewers to understand the data and trends being presented.
What are some best practices for customizing Excel charts?
+Best practices include keeping the chart simple and clear, using color effectively, ensuring consistency across multiple charts, and avoiding over-customization.
In conclusion, moving the axis to the bottom in Excel is a straightforward process that can significantly enhance the clarity and effectiveness of your charts. By understanding how to customize chart axes and following best practices for chart design, you can create visualizations that are both informative and engaging. Whether you're working on a professional project or simply looking to better understand your data, mastering Excel's chart customization options can take your data analysis to the next level. We invite you to share your experiences with customizing Excel charts and explore how these techniques can be applied to various data visualization tasks.