Intro
Learn how to use Excel formulas to check if a date falls between two dates, using functions like IF, AND, and DATEIF, with step-by-step examples and tips for date range calculations and conditional formatting.
When working with dates in Excel, it's often necessary to determine if a given date falls between two other dates. This can be useful in a variety of scenarios, such as filtering data, calculating ages, or determining if a deadline has been met. Excel provides several functions and methods to achieve this, including the use of formulas, conditional formatting, and pivot tables. In this article, we'll explore how to check if a date is between two dates in Excel, covering the basics, advanced techniques, and troubleshooting common issues.
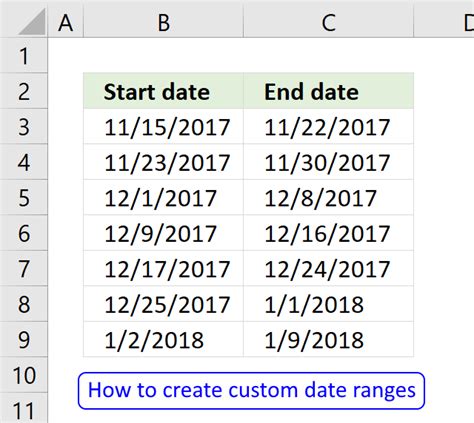
To start, let's consider a simple scenario where we have a list of dates and we want to identify which ones fall within a specific range. We can use the IF function in combination with the AND function to create a formula that checks if a date is between two dates. The basic syntax of this formula is =IF(AND(A1>=start_date, A1<=end_date), "Between", "Not Between"), where A1 is the cell containing the date we're checking, start_date is the first date of the range, and end_date is the last date of the range.
Basic Formulas for Checking Date Ranges
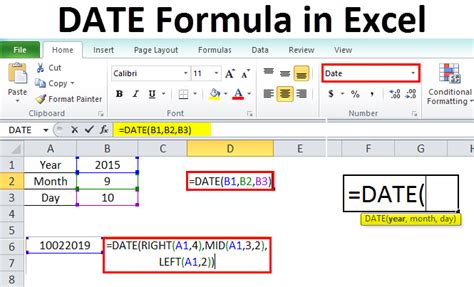
For example, if we have a date in cell A1 and we want to check if it's between January 1, 2022, and December 31, 2022, we can use the formula =IF(AND(A1>=DATE(2022,1,1), A1<=DATE(2022,12,31)), "Between", "Not Between"). This formula uses the DATE function to specify the start and end dates of the range, making it easy to adjust the dates as needed.
Using the IF and AND Functions
When using the IF and AND functions together, it's essential to understand how they work. The IF function checks if a condition is true or false and returns one value if true and another if false. The AND function allows us to check multiple conditions at once, returning true only if all conditions are met. By combining these functions, we can create powerful conditional statements that handle complex logic.Conditional Formatting for Date Ranges

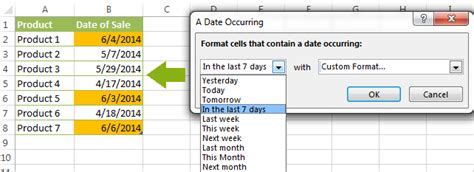
In addition to formulas, Excel's conditional formatting feature can be used to highlight cells that contain dates within a specific range visually. To apply conditional formatting, select the range of cells you want to format, go to the Home tab, and click on Conditional Formatting. Then, choose "New Rule" and select "Use a formula to determine which cells to format." Here, you can enter a formula similar to the ones used in the IF function, such as =AND(A1>=DATE(2022,1,1), A1<=DATE(2022,12,31)), and choose a format to apply to the cells that meet the condition.
Advanced Conditional Formatting Techniques
Conditional formatting is not limited to simple rules. You can create complex rules by combining multiple conditions using the AND and OR functions. For example, you might want to highlight dates that fall within a specific range and also meet another condition, such as being a weekday. By using the WEEKDAY function in combination with the AND function, you can achieve this.Using Pivot Tables to Analyze Date Ranges
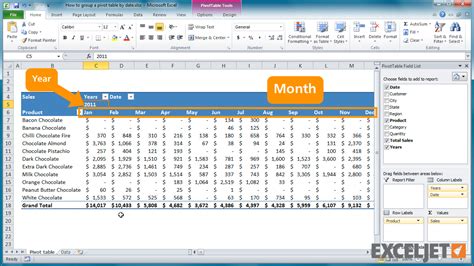
Pivot tables are another powerful tool in Excel for analyzing data, including dates. By creating a pivot table from your data, you can easily group dates into ranges and perform various calculations, such as counting the number of dates within a range or calculating the average value associated with those dates. To group dates in a pivot table, drag the date field to the "Row Labels" area, right-click on it, and select "Group." Then, you can choose to group by year, quarter, month, etc., or specify a custom grouping interval.
Customizing Pivot Table Date Groups
When grouping dates in a pivot table, you have a lot of flexibility in how you define the groups. For instance, you can group dates by fiscal year, which might not align with the calendar year. To do this, you would first need to create a column in your data that calculates the fiscal year for each date, and then use this column in your pivot table instead of the original date column.Troubleshooting Common Issues

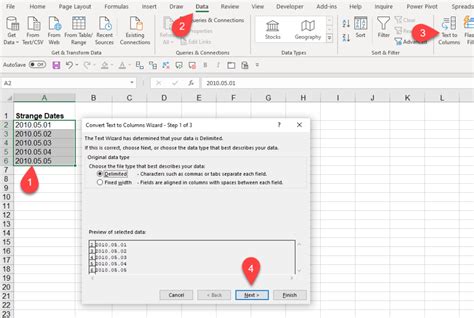
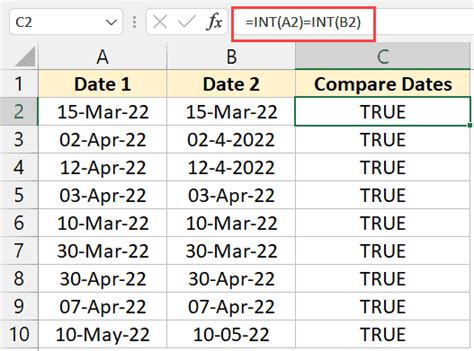
Despite the power and flexibility of Excel's date functions and features, issues can arise. One common problem is dealing with dates in different formats. Excel stores dates as serial numbers, but it can display them in a variety of formats. If your dates are not being recognized as dates, check the format of the cells containing the dates and ensure that Excel is interpreting them correctly. Another issue might be with the formulas themselves, particularly when using the IF and AND functions together. Make sure that the logic of your formula is correct and that you're using the correct operators.
Best Practices for Working with Dates
To minimize issues when working with dates in Excel, follow some best practices. Always ensure that your dates are in a format that Excel recognizes. Use the DATE function to specify dates in formulas, as this makes your formulas more readable and less prone to errors. When grouping dates in pivot tables, consider creating a separate column for the date groupings to make your pivot table more flexible and easier to maintain.Gallery of Date-Related Keywords:
Date-Related Image Gallery


How do I check if a date is between two dates in Excel?
+You can use the IF function in combination with the AND function to check if a date is between two dates. The formula would look something like this: =IF(AND(A1>=start_date, A1<=end_date), "Between", "Not Between").
What is the purpose of using the DATE function in Excel formulas?
+The DATE function is used to specify dates in a formula, making the formula more readable and less prone to errors. It ensures that Excel interprets the date correctly, regardless of the format used in the cell.
How do I group dates in a pivot table by a custom interval?
+To group dates in a pivot table by a custom interval, drag the date field to the "Row Labels" area, right-click on it, and select "Group." Then, you can choose to group by a specific interval, such as every 3 months.
As we've seen, Excel offers a range of tools and techniques for working with dates, from basic formulas to advanced pivot table analyses. By mastering these skills, you can efficiently manage and analyze date-related data, making informed decisions in your personal and professional life. Whether you're a beginner or an advanced user, understanding how to check if a date is between two dates in Excel is a fundamental skill that can greatly enhance your productivity and data analysis capabilities. So, take the time to practice and explore the different methods and functions available, and soon you'll be expertly navigating the world of dates in Excel. Feel free to share your experiences, ask questions, or provide tips on working with dates in Excel in the comments below.