Intro
Master Excel shortcuts with 5 ways to invert selection, including keyboard tricks and mouse techniques, to boost productivity and simplify data management tasks, such as selecting non-adjacent cells and ranges.
Inverting a selection in Excel can be a useful technique when you need to select a large range of cells except for a specific few. This can save time and reduce the chance of errors when performing operations on a subset of your data. Here are five ways to invert your selection in Excel, each with its own method and application.
When working with large datasets, being able to invert selections efficiently can streamline your workflow, making it easier to apply formats, formulas, or other operations to the majority of your data while excluding certain cells or ranges. Whether you're a beginner or an advanced user, mastering these techniques can enhance your productivity in Excel.
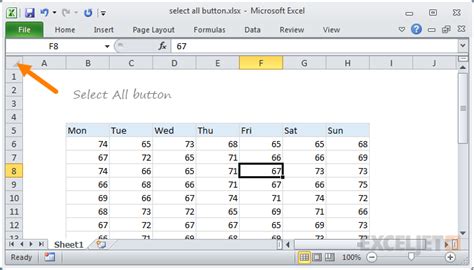
To begin with, understanding the basic selection methods in Excel is crucial. You can select cells by clicking and dragging your mouse, or by using keyboard shortcuts like Ctrl+A to select all cells in a worksheet. However, when you need to select everything except a specific range, you'll need to employ one of the inversion techniques.
Method 1: Using the "Go To Special" Feature
The "Go To Special" feature in Excel provides a straightforward way to invert a selection. To use this method, first, select the range of cells you want to exclude from your final selection. Then, go to the "Home" tab on the Ribbon, click on "Find & Select," and choose "Go To Special." In the dialog box that appears, select "Inverse" and click "OK." Excel will then select all cells in the worksheet except for the range you initially selected.
Method 2: Utilizing VBA Macros
For those comfortable with Visual Basic for Applications (VBA), creating a macro can provide a customizable way to invert selections. You can record a macro that selects a range, then inverts the selection, or you can write the code from scratch. To invert a selection using VBA, you might use a code snippet like Range("A1:A10").Select: Selection.Invert, assuming you want to select all cells except for the range A1:A10.
Method 3: Applying Conditional Formatting
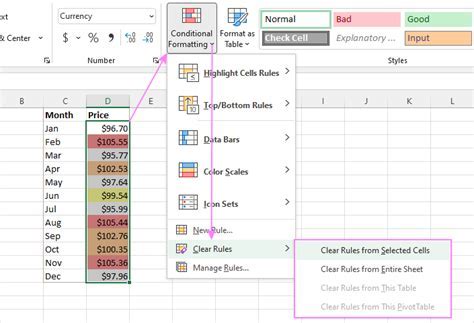
While not a direct method for inverting selections, conditional formatting can help you visually distinguish between different sets of data. By applying a specific format to a range of cells based on a condition, you can indirectly select cells that do not meet the condition. For example, you can format cells that contain a specific value, and then use the "Find" feature to select all cells with that format, effectively inverting your initial selection.
Method 4: Using Formulas and the "Select" Function
In some cases, using formulas in combination with the "Select" function in VBA can help you achieve the inversion of a selection. For instance, you can write a formula to identify cells that do not match a certain criterion and then use VBA to select those cells. This method requires a bit of creativity and knowledge of both Excel formulas and VBA programming.
Method 5: Manual Selection and Inversion

The most straightforward, though sometimes cumbersome, method to invert a selection is to manually select the cells you want. If you have a small dataset or a simple pattern to your data, you can select all cells in your worksheet (Ctrl+A) and then hold Ctrl while clicking on the cells or ranges you want to deselect. This method is useful for small, one-off tasks but can become impractical with larger datasets.
Benefits of Inverting Selections in Excel
Inverting selections in Excel offers several benefits, including the ability to apply changes to a large dataset while excluding specific ranges, which can be particularly useful for formatting, data analysis, and formula application. It also enhances your ability to work efficiently with large spreadsheets, reducing the time spent on selecting and deselecting cells manually.
Common Challenges and Solutions
One common challenge when inverting selections is accidentally deselecting cells that should remain selected. To avoid this, it's crucial to carefully plan your selection and inversion process. Another challenge is dealing with non-contiguous selections, which can sometimes complicate the inversion process. Using VBA macros or the "Go To Special" feature can often provide a solution to these challenges.
Excel Selection Image Gallery


What is the quickest way to invert a selection in Excel?
+The quickest way is often using the "Go To Special" feature, as it provides a direct method to invert a selection without needing to use VBA or other complex methods.
Can I use keyboard shortcuts to invert a selection?
+While there isn't a direct keyboard shortcut to invert a selection, you can use Ctrl+A to select all cells and then hold Ctrl while clicking on the cells you want to deselect, effectively inverting your selection.
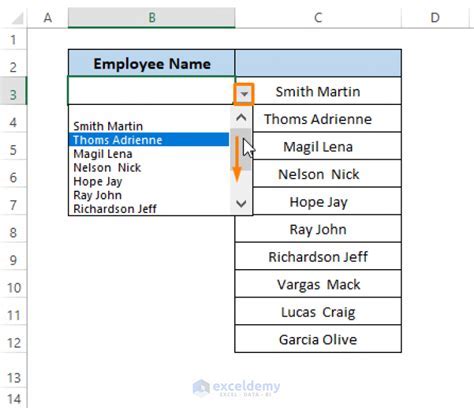
How do I select non-contiguous cells in Excel?
+To select non-contiguous cells, hold the Ctrl key while clicking on the cells or ranges you want to select. This allows you to select cells that are not next to each other.
In conclusion, mastering the art of inverting selections in Excel can significantly enhance your productivity and efficiency when working with spreadsheets. Whether you're a professional analyst, a student, or simply someone who uses Excel for personal projects, being able to quickly and accurately select and manipulate data is a valuable skill. By understanding and applying the methods outlined above, you can improve your workflow, reduce errors, and unlock the full potential of Excel for your data analysis and management needs. We invite you to share your experiences, tips, and questions about inverting selections in Excel in the comments below, and don't forget to share this article with anyone who might benefit from these powerful techniques.