Intro
Creating a drop-down date list in Excel can greatly simplify data entry and reduce errors when working with dates. This feature is especially useful in various applications, such as scheduling, project management, and data analysis. By incorporating a drop-down list of dates, users can quickly select the desired date from a predefined list, ensuring consistency and accuracy in their spreadsheets.
The importance of using drop-down dates in Excel cannot be overstated. It enhances user experience by providing an intuitive way to input dates, which is particularly beneficial when dealing with large datasets or when multiple users are collaborating on a spreadsheet. Moreover, it helps in maintaining data integrity by limiting the input to a specific range or format of dates, thereby reducing the likelihood of manual entry errors.
In many professional settings, the ability to efficiently manage and analyze date-related data is crucial. For instance, in project planning, being able to easily select start and end dates from a drop-down list can streamline the process of creating project timelines and scheduling tasks. Similarly, in sales or customer service applications, drop-down dates can be used to track orders, appointments, or follow-up actions, making it easier to organize and prioritize tasks based on deadlines.
Benefits of Using Drop-Down Dates in Excel
The benefits of incorporating drop-down dates in Excel spreadsheets are multifaceted. Firstly, they improve data accuracy by minimizing the potential for human error. When users manually type dates, there's a risk of entering incorrect formats or dates that are outside the intended range. Drop-down lists eliminate this risk by only allowing the selection of predefined dates. Secondly, they enhance user efficiency. By providing a quick and easy way to select dates, drop-down lists save time and reduce the frustration associated with manual data entry. Lastly, they contribute to better data analysis and reporting. With consistent and accurate date formats, analyzing trends, creating schedules, and generating reports become more straightforward and reliable.
Implementing Drop-Down Dates
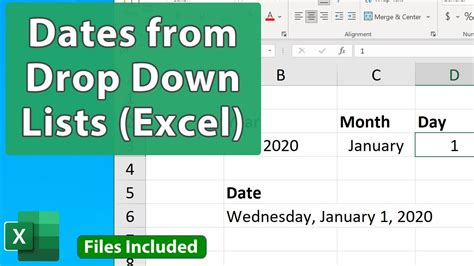
To implement a drop-down date list in Excel, users can follow a series of straightforward steps. The first step involves preparing the list of dates that will appear in the drop-down menu. This list should be placed in a separate range of cells, ideally in a column, and should include all the dates that users might need to select. The next step is to select the cell where the drop-down list will be displayed and then navigate to the "Data" tab on the Excel ribbon. From there, users can access the "Data Validation" tool, which allows them to specify the type of data that can be entered into a cell, including the option to create a drop-down list from a range of cells.Steps to Create a Drop-Down Date List
- Prepare the Date List: Start by listing all the dates you want to include in the drop-down menu in a column. Ensure the dates are in a consistent format to avoid any confusion or errors.
- Select the Cell: Choose the cell where you want the drop-down list to appear. This could be any cell in your worksheet where you want users to select a date.
- Access Data Validation: Go to the "Data" tab in the Excel menu, find the "Data Tools" group, and click on "Data Validation."
- Specify the Validation Criteria: In the "Data Validation" dialog box, under the "Settings" tab, select "List" from the "Allow" dropdown menu.
- Reference the Date List: In the "Source" field, enter the range of cells containing your list of dates. You can do this by typing the range (e.g.,
$A$1:$A$10) or by selecting the range with your mouse. - Apply the Validation: Click "OK" to apply the data validation. The cell you selected will now display a drop-down arrow, and when clicked, it will show the list of dates you prepared.
Customizing the Drop-Down List
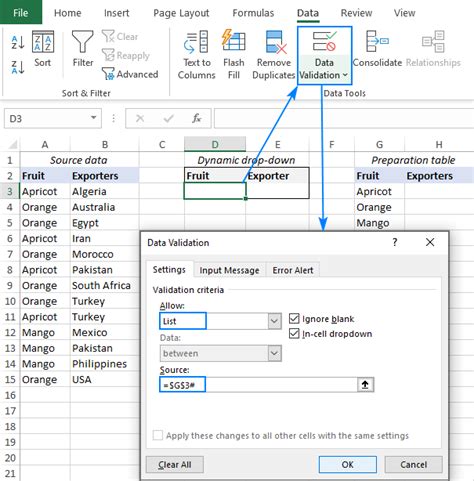
After creating the drop-down date list, users may want to customize it further to better suit their needs. This can include adjusting the list's appearance, adding or removing dates, or even linking the list to other worksheets or workbooks. For instance, if the list of dates is subject to change, users might want to create a dynamic range that automatically updates the drop-down list when new dates are added or old ones are removed. This can be achieved using Excel's named ranges feature or by utilizing more advanced techniques such as pivot tables or macros.Advanced Customization Techniques

- Dynamic Date Ranges: Use named ranges or Excel formulas like
OFFSETandCOUNTAto create dynamic ranges that adjust automatically when the list of dates changes. - Conditional Formatting: Apply conditional formatting to highlight specific dates in the drop-down list, such as weekends, holidays, or important deadlines.
- Data Validation Rules: Combine data validation with other rules, such as restricting input to specific days of the week or ensuring that selected dates fall within a certain range.
Practical Applications
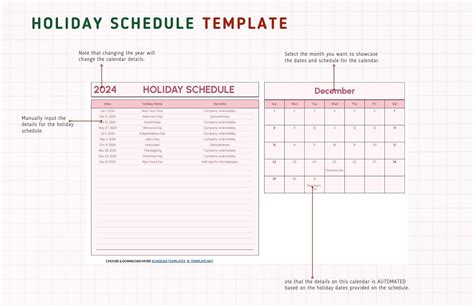
The practical applications of drop-down dates in Excel are vast and varied. In scheduling and project management, they can be used to assign tasks or deadlines. In data analysis, they can help filter datasets by specific date ranges. Even in simple applications like tracking personal appointments or birthdays, drop-down dates can make data entry and management more efficient.Real-World Examples

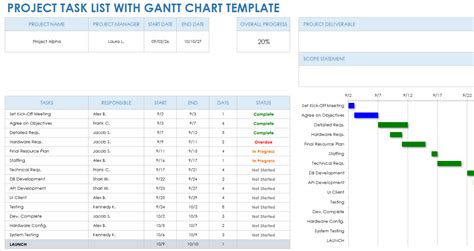
- Project Scheduling: Use drop-down dates to select start and end dates for projects or tasks, making it easier to create Gantt charts or track progress.
- Sales Tracking: Implement drop-down dates to record order dates, delivery dates, or follow-up actions, facilitating the analysis of sales trends over time.
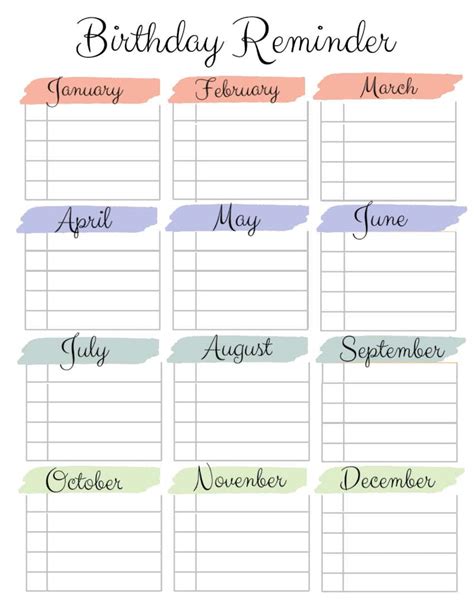
- Event Planning: Utilize drop-down dates to schedule events, appointments, or meetings, ensuring that all stakeholders are on the same page regarding timings and deadlines.
Gallery of Drop-Down Date Examples
Drop-Down Date Image Gallery

Frequently Asked Questions
How do I create a drop-down list of dates in Excel?
+To create a drop-down list of dates, prepare your list of dates, select the cell where you want the list to appear, go to the Data tab, click on Data Validation, select List, and reference the range of your date list.
Can I customize the appearance of the drop-down date list?
+Yes, you can customize the drop-down list by using conditional formatting to highlight specific dates, or by adjusting the font and color of the list through Excel's formatting options.
How do I make the drop-down date list dynamic?
+To make the drop-down date list dynamic, you can use named ranges or formulas like OFFSET and COUNTA to create a range that automatically updates when the list of dates changes.
In conclusion, incorporating drop-down dates into Excel spreadsheets is a powerful way to enhance data entry efficiency, accuracy, and analysis. By understanding how to create, customize, and apply drop-down date lists, users can unlock a range of benefits that improve their overall Excel experience. Whether for personal, professional, or educational use, mastering the use of drop-down dates can significantly impact how effectively and productively one works with date-related data in Excel. We invite you to share your experiences or ask questions about using drop-down dates in Excel, and to explore more articles and tutorials on optimizing your spreadsheet skills.