Intro
The world of data analysis and management is a complex one, filled with numerous tools and techniques designed to make our lives easier. Among these tools, Microsoft Excel stands out as a powerhouse of data manipulation and analysis. One of the key features that make Excel so powerful is its ability to validate data, ensuring that the information entered into a spreadsheet is accurate, consistent, and useful. In this article, we'll delve into the importance of data validation in Excel, its benefits, and provide five essential tips on how to use Excel validation effectively.
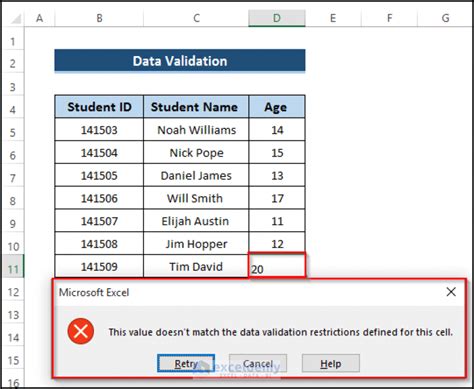
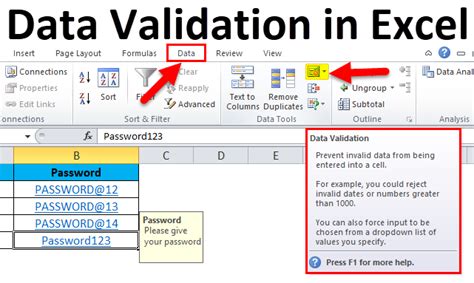
Data validation is a critical aspect of spreadsheet management. It helps in preventing errors, ensuring data consistency, and making data analysis more reliable. By controlling what can be entered into a cell or a range of cells, users can avoid common mistakes such as typing errors, incorrect formats, and inappropriate values. This feature is especially useful in collaborative environments where multiple users may be inputting data into the same spreadsheet.
The benefits of using Excel validation are numerous. It improves data quality, reduces errors, and saves time that would otherwise be spent correcting mistakes or searching for incorrect data entries. Moreover, validated data enhances the reliability of analyses and reports generated from the spreadsheet, leading to better decision-making. With the importance of data validation established, let's dive into our five Excel validation tips to help you master this essential skill.
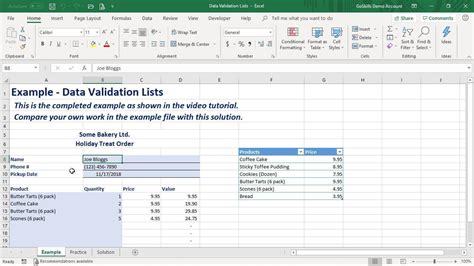
Understanding Excel Validation Basics
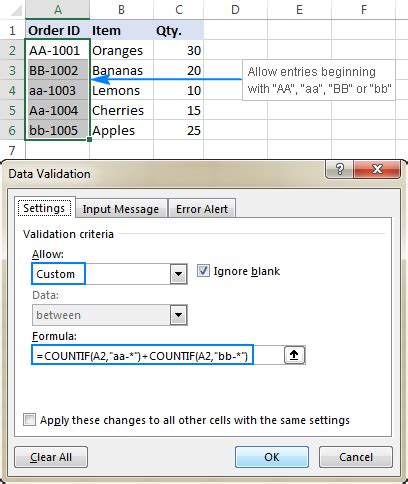
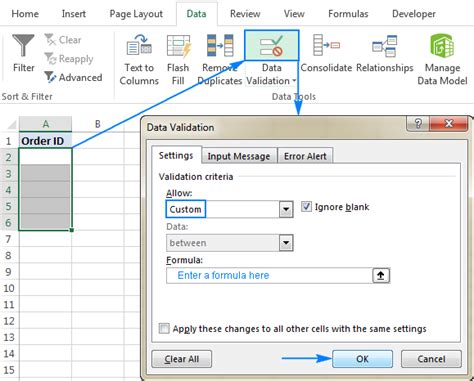
Using Custom Validation Formulas

Steps for Implementing Custom Formulas
- Select the cell or range of cells you want to apply the validation to.
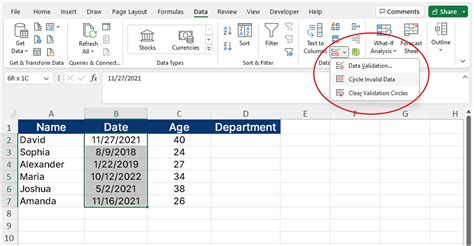
- Go to the Data tab and click on Data Validation.
- In the Data Validation dialog box, under the Settings tab, select "Custom" from the Allow drop-down menu.
- Enter your custom formula in the Formula box. For example, to ensure a value in cell A1 is greater than 10, you would enter "=A1>10".
- Click OK to apply the validation.
Validating Data Based on Other Cells
Example of Dynamic Validation
Suppose you have a survey where you ask if a respondent is over 18 years old. If they answer "yes", you want to ask for their age. You can set up validation so that the age field is only required if the respondent has indicated they are over 18. This involves using an IF formula in your validation rule to check the response to the age question and apply the validation accordingly.
Displaying Custom Error Messages

Benefits of Custom Error Messages
- They provide clear and specific feedback to the user, reducing confusion.
- They can offer suggestions on how to correct the input, improving user experience.
- They can be tailored to fit the context and tone of your application or spreadsheet.
Applying Validation to Multiple Cells

Tips for Selecting Multiple Cells
- Use the Ctrl key to select non-adjacent cells or ranges.
- Use the Shift key to select a range of adjacent cells.
- To select an entire column, click on the column header.
Excel Validation Gallery


What is the purpose of data validation in Excel?
+Data validation in Excel is used to control the type of data or the values that users enter into a cell. It helps in preventing errors, ensuring data consistency, and making data analysis more reliable.
How do I apply data validation to a cell in Excel?
+To apply data validation, select the cell, go to the Data tab, click on Data Validation, and then select the type of validation you want to apply from the Allow box. You can choose from several options such as whole numbers, decimal numbers, dates, etc., or use a custom formula for more complex rules.
Can I apply the same validation rule to multiple cells at once?
+Yes, Excel allows you to apply the same validation rule to multiple cells or an entire column. Simply select all the cells you want to apply the validation to and go through the data validation process as you normally would.
In conclusion, mastering Excel validation is a vital skill for anyone working with spreadsheets, whether for personal, academic, or professional purposes. By applying the tips outlined in this article, you can significantly improve the accuracy and reliability of your data, streamline your workflow, and enhance your overall productivity. Remember, practice makes perfect, so don't hesitate to experiment with different validation rules and formulas to become more proficient in using this powerful Excel feature. If you have any questions or would like to share your own tips on using Excel validation, please don't hesitate to comment below. Your feedback and insights are invaluable in helping us create a community of Excel enthusiasts who continuously learn and grow together.