Intro
Discover 5 ways to create Excel Yes No dropdowns, enhancing data validation and conditional formatting with dropdown lists, data validation rules, and formulas.
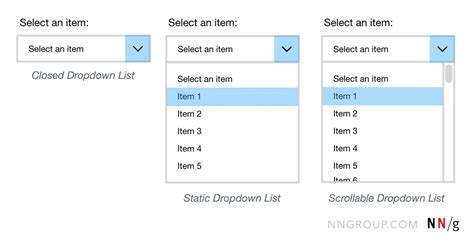
The importance of data validation in Microsoft Excel cannot be overstated. One of the most useful features in this regard is the ability to create dropdown lists that limit user input to specific options, such as "Yes" or "No". This feature helps in maintaining data consistency and reducing errors. In this article, we will explore five ways to create a Yes/No dropdown in Excel, each with its unique application and benefits.
When working with datasets that require binary choices, such as indicating whether a task is completed or a product is in stock, a Yes/No dropdown can be incredibly useful. It not only simplifies data entry but also makes it easier to analyze and filter data based on these binary inputs. Before diving into the methods, it's essential to understand the context in which these dropdowns can be applied, from simple data collection to complex data analysis and reporting.
The use of Yes/No dropdowns in Excel is not limited to basic data entry. It can also be integrated with other Excel functions and features, such as conditional formatting, filtering, and pivot tables, to create dynamic and interactive spreadsheets. This versatility makes understanding how to create and utilize Yes/No dropdowns a valuable skill for anyone working with Excel, whether for personal, academic, or professional purposes.
Method 1: Using Data Validation for a Simple Yes/No Dropdown

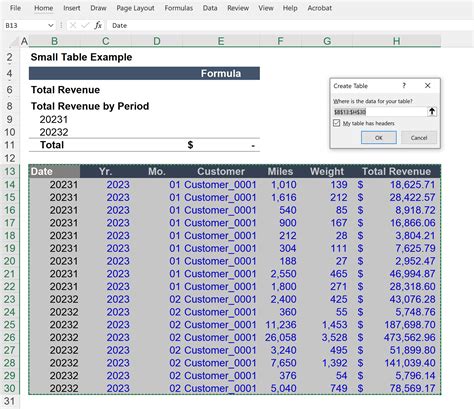
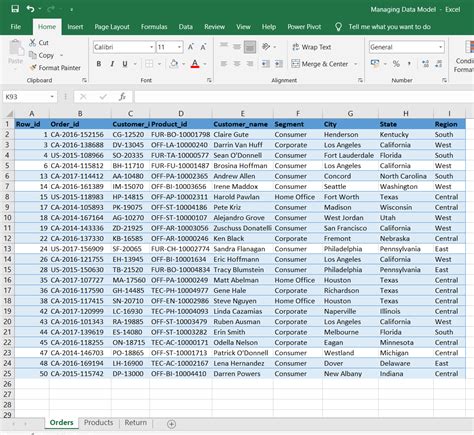
Method 2: Using a Table for Dynamic Yes/No Dropdown

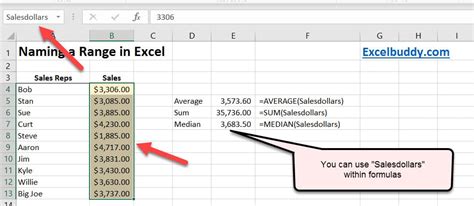
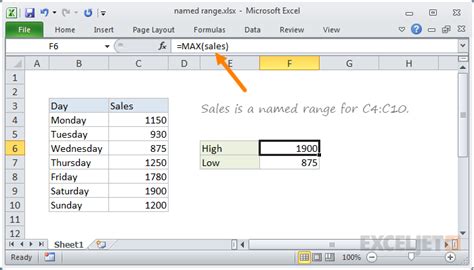
Method 3: Utilizing Named Ranges for Easy Maintenance
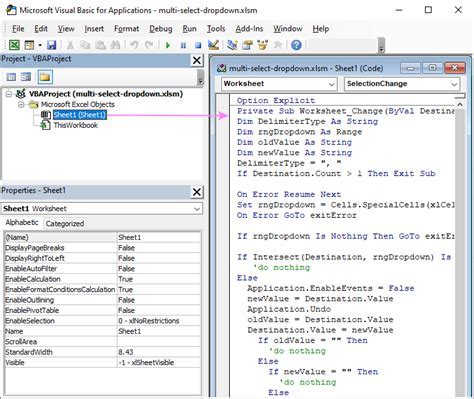
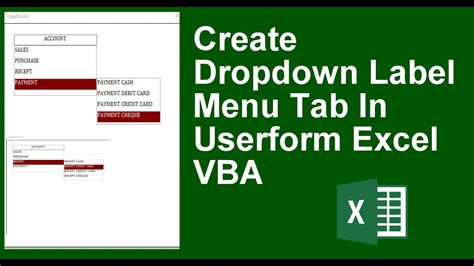
Method 4: Creating a Yes/No Dropdown with VBA
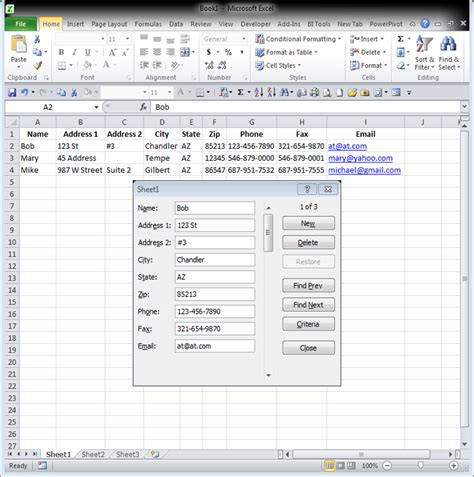
Method 5: Using Excel Forms for Interactive Yes/No Inputs

Yes/No Dropdown Image Gallery


How do I apply data validation to an entire column in Excel?
+To apply data validation to an entire column, select the column, go to the "Data" tab, click on "Data Validation", and set your validation rules. If you want the validation to apply to the entire column dynamically, even when new data is added, consider using a table or named range for your validation source.
Can I use Yes/No dropdowns in Excel formulas?
+Yes, you can use the values from Yes/No dropdowns in Excel formulas. For example, if you have a cell with a Yes/No dropdown, you can use an IF statement to perform different actions based on whether the cell contains "Yes" or "No". The syntax would be something like =IF(A1="Yes", "Action for Yes", "Action for No").
How do I make my Yes/No dropdown case-insensitive?
+To make your Yes/No dropdown case-insensitive, you can modify your data validation or formulas to treat "yes", "Yes", "YES", etc., as the same input. This can be achieved by using the LOWER or UPPER function in your formulas, e.g., =IF(LOWER(A1)="yes", "Action for Yes", "Action for No").
In conclusion, creating a Yes/No dropdown in Excel can significantly enhance your data management and analysis capabilities. Whether you're working with simple datasets or complex spreadsheets, understanding the different methods for creating these dropdowns can help you streamline your workflow and make more informed decisions. We invite you to share your experiences with Yes/No dropdowns in Excel and how you've utilized them in your projects. Your insights can help others explore new ways to leverage this feature for more efficient and effective data handling.