Intro
Learn how to print addresses on envelopes from Excel using mail merge, labels, and templates, streamlining your mailing process with efficient data management and formatting techniques.
Printing addresses on envelopes from Excel can be a convenient and efficient way to manage your mailing lists. With the help of Excel and a few simple steps, you can easily print addresses on envelopes, saving you time and effort. In this article, we will explore the importance of printing addresses on envelopes from Excel and guide you through the process.
Printing addresses on envelopes from Excel is a valuable skill for anyone who needs to send out large quantities of mail, such as businesses, organizations, or individuals. It can help you to personalize your mail, make it more professional, and increase the chances of your mail being delivered to the right person. Moreover, it can also help you to keep track of your mailing list and make it easier to update and manage.
The process of printing addresses on envelopes from Excel involves a few simple steps. First, you need to prepare your Excel spreadsheet by setting up your mailing list in a table format. Then, you need to use the mail merge feature in Microsoft Word to connect your Excel spreadsheet to a Word document. Finally, you can print your envelopes using a printer and envelope templates.
Preparing Your Excel Spreadsheet
To print addresses on envelopes from Excel, you need to prepare your Excel spreadsheet first. Here are the steps to follow:
- Open your Excel spreadsheet and set up your mailing list in a table format.
- Make sure that each column in your table corresponds to a field in your mailing list, such as name, address, city, state, and zip code.
- Use the header row to label each column, and make sure that the data is formatted correctly.
- Save your Excel spreadsheet as a CSV file or an Excel file, depending on your preference.
Setting Up Your Mailing List
To set up your mailing list, you need to create a table with the following columns:- Name
- Address
- City
- State
- Zip Code
- Country
You can add more columns if you need to, such as company name, title, or phone number. Make sure that each column is labeled correctly and that the data is formatted consistently.
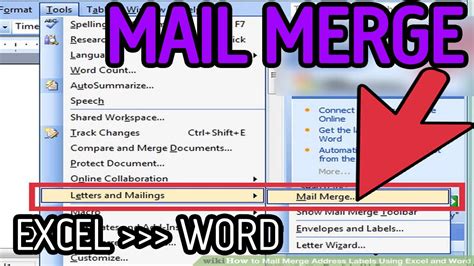
Using Mail Merge in Microsoft Word
Once you have prepared your Excel spreadsheet, you can use the mail merge feature in Microsoft Word to connect your spreadsheet to a Word document. Here are the steps to follow:
- Open Microsoft Word and create a new document.
- Click on the "Mailings" tab and select "Select Recipients" from the "Start Mail Merge" group.
- Choose "Use an existing list" and select your Excel spreadsheet from the file dialog box.
- Click "Open" to connect your spreadsheet to the Word document.
- Use the "Insert Merge Field" button to insert the fields from your spreadsheet into the Word document.
Inserting Merge Fields
To insert merge fields, you need to click on the "Insert Merge Field" button and select the field you want to insert. You can insert the following fields:- Name
- Address
- City
- State
- Zip Code
- Country
You can also use the "Insert Merge Field" button to insert other fields, such as company name, title, or phone number.
Printing Envelopes

Once you have set up your mail merge, you can print your envelopes using a printer and envelope templates. Here are the steps to follow:
- Click on the "Mailings" tab and select "Finish & Merge" from the "Finish" group.
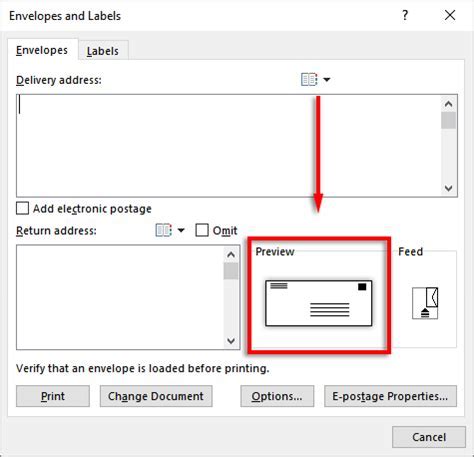
- Choose "Edit Individual Documents" to preview your envelopes.
- Click "OK" to print your envelopes.
You can also use the "Print" button to print your envelopes directly from the Word document.
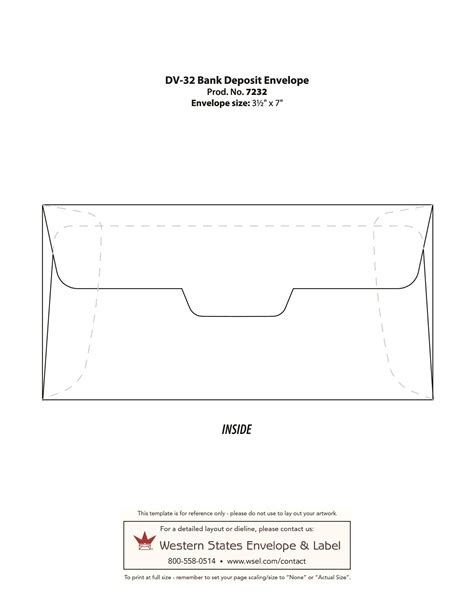
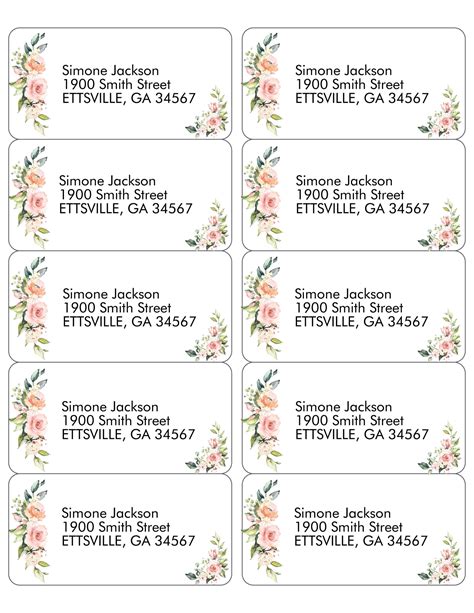
Using Envelope Templates
To use envelope templates, you need to select the template you want to use and click "OK". You can choose from a variety of templates, including:- Standard envelope template
- Window envelope template
- Catalog envelope template
You can also create your own custom template using the "Envelope" feature in Microsoft Word.
Tips and Tricks

Here are some tips and tricks to help you print addresses on envelopes from Excel:
- Use a consistent format for your mailing list to ensure that the data is formatted correctly.
- Use the "Mail Merge" feature in Microsoft Word to connect your Excel spreadsheet to a Word document.
- Use the "Insert Merge Field" button to insert the fields from your spreadsheet into the Word document.
- Use envelope templates to print your envelopes quickly and efficiently.
- Preview your envelopes before printing to ensure that the data is formatted correctly.
Common Mistakes to Avoid
Here are some common mistakes to avoid when printing addresses on envelopes from Excel:- Not using a consistent format for your mailing list.
- Not connecting your Excel spreadsheet to a Word document using the "Mail Merge" feature.
- Not inserting the fields from your spreadsheet into the Word document using the "Insert Merge Field" button.
- Not using envelope templates to print your envelopes.
- Not previewing your envelopes before printing.
Printing Addresses on Envelopes Image Gallery

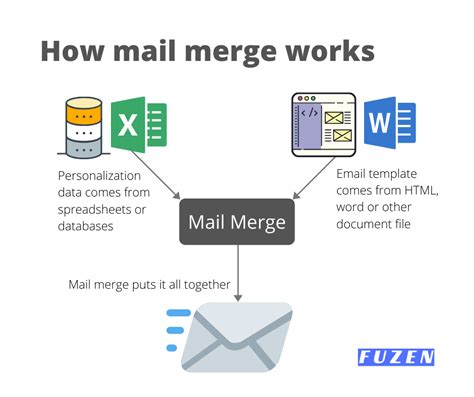


What is mail merge?
+Mail merge is a feature in Microsoft Word that allows you to connect your Excel spreadsheet to a Word document and print addresses on envelopes.
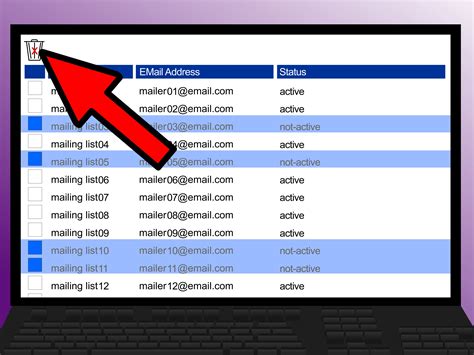
How do I set up my mailing list in Excel?
+To set up your mailing list in Excel, you need to create a table with columns for name, address, city, state, and zip code. You can also add more columns if you need to.
Can I use envelope templates to print my envelopes?
+Yes, you can use envelope templates to print your envelopes. Microsoft Word provides a variety of envelope templates that you can use to print your envelopes quickly and efficiently.
How do I preview my envelopes before printing?
+To preview your envelopes before printing, you need to click on the "Finish & Merge" button and select "Edit Individual Documents". This will allow you to preview your envelopes and make any necessary changes before printing.
Can I use mail merge to print address labels?
+Yes, you can use mail merge to print address labels. Microsoft Word provides a variety of label templates that you can use to print address labels quickly and efficiently.
In conclusion, printing addresses on envelopes from Excel can be a convenient and efficient way to manage your mailing lists. By following the steps outlined in this article, you can easily print addresses on envelopes using the mail merge feature in Microsoft Word. Remember to use a consistent format for your mailing list, connect your Excel spreadsheet to a Word document using the "Mail Merge" feature, and use envelope templates to print your envelopes quickly and efficiently. With these tips and tricks, you can save time and effort and make your mailing process more efficient. We hope this article has been helpful in guiding you through the process of printing addresses on envelopes from Excel. If you have any further questions or need more information, please don't hesitate to comment or share this article with others.