Intro
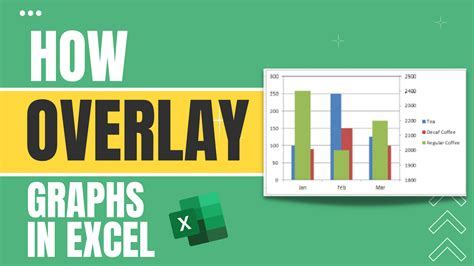
Learn to overlay two graphs in Excel, combining charts and plots with ease. Master data visualization techniques, merging multiple datasets, and customizing graph layouts for insightful analysis and presentation.
When working with data in Excel, it's often necessary to visualize and compare different sets of information. One effective way to do this is by overlaying two graphs, allowing you to see the relationships and trends between the data points more clearly. This technique is particularly useful in financial analysis, scientific research, and business intelligence, where understanding the interactions between different variables is crucial. In this article, we'll delve into the importance of overlaying graphs, the steps to achieve this in Excel, and provide practical examples to illustrate its applications.
Overlaying graphs can significantly enhance your data analysis capabilities. By placing two or more graphs over each other, you can directly compare the trends, patterns, and correlations between different datasets. This visual comparison can reveal insights that might be obscured when viewing the graphs separately. For instance, in financial analysis, overlaying the stock prices of two companies can help identify how their performances correlate over time, providing valuable information for investment decisions.
The process of overlaying graphs in Excel is relatively straightforward and can be adapted to various types of charts, including line graphs, bar charts, and scatter plots. The key is to ensure that both graphs share a common axis, which could be the x-axis for comparing trends over the same period or the y-axis for comparing values on the same scale. Excel's built-in charting tools make it easy to create and customize graphs, including the option to overlay them.
Why Overlay Graphs in Excel?

Overlaying graphs in Excel is beneficial for several reasons. Firstly, it enables a direct visual comparison of different datasets, which can be more intuitive and revealing than comparing numbers in a spreadsheet. This visual approach can help in identifying patterns, trends, and correlations that might not be immediately apparent from the raw data. Secondly, overlaying graphs can simplify complex data presentations, making it easier to communicate insights and findings to others. This is especially useful in business and academic settings, where clear and concise communication of data analysis results is critical.
Benefits of Graph Overlay
The benefits of overlaying graphs include: - Enhanced data visualization: Combining graphs allows for a more comprehensive understanding of the data. - Improved comparison: Directly comparing datasets reveals relationships and trends more clearly. - Simplified communication: Overlay graphs can convey complex data insights more intuitively.How to Overlay Graphs in Excel
To overlay two graphs in Excel, you first need to create each graph separately. Ensure that the data for both graphs is organized in a way that makes it easy to compare, typically with shared categories or time intervals on the x-axis. Once you have your data, follow these steps:
- Select the data range for the first graph, including headers.
- Go to the "Insert" tab and choose the appropriate chart type (e.g., line graph, bar chart).
- Customize the chart as needed (title, axis labels, legend).
- For the second graph, select its data range and insert a new chart of the same type as the first.
- Right-click on the second chart and select "Format Data Series."
- In the format dialog, under "Series Options," choose "Secondary Axis" if you want the second graph to have its own y-axis, or adjust other settings as necessary.
- To overlay the graphs, you can either move the second chart on top of the first manually or use the "Chart Tools" to customize the layout and appearance.
Customizing Overlay Graphs
Customization is key to making overlay graphs effective. This includes: - Adjusting colors and line styles to distinguish between datasets. - Ensuring that axis scales are appropriate for comparison. - Adding labels and annotations to highlight key points or trends.Practical Applications of Overlaying Graphs

Overlaying graphs has numerous practical applications across various fields. In finance, it can be used to compare stock prices, trading volumes, or economic indicators over time. In science, overlaying graphs can help researchers visualize and compare experimental data, such as temperature changes, population growth, or chemical reactions. In business, it's useful for comparing sales trends, market shares, or customer engagement metrics.
Examples of Overlay Graphs in Use
Examples include: - Financial analysis: Comparing the daily stock prices of two companies. - Scientific research: Overlaying temperature and precipitation data to study climate patterns. - Business intelligence: Comparing sales figures of different products over the same period.Challenges and Limitations
While overlaying graphs is a powerful tool for data analysis, there are challenges and limitations to consider. One of the main challenges is ensuring that the graphs are scaled appropriately for comparison. If the scales of the two graphs are very different, it can be difficult to interpret the results. Additionally, overlaying too many graphs can make the chart confusing and difficult to read, diminishing its effectiveness.
Best Practices for Overlay Graphs
Best practices include: - Limiting the number of overlays to maintain clarity. - Using clear and distinct visual elements (colors, shapes) for each dataset. - Carefully selecting the axis scales to facilitate meaningful comparisons.Advanced Techniques for Overlaying Graphs
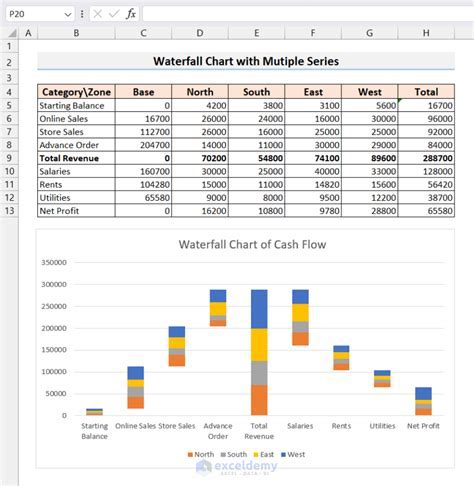
For more complex data analysis, Excel offers advanced techniques for overlaying graphs. These include using pivot charts, which allow for dynamic data summarization and filtering, and creating combo charts, which can combine different chart types (e.g., columns and lines) to represent different datasets in a single graph. Additionally, Excel's Power BI integration enables more sophisticated data visualization and business intelligence capabilities.
Using Pivot Charts for Overlay Graphs
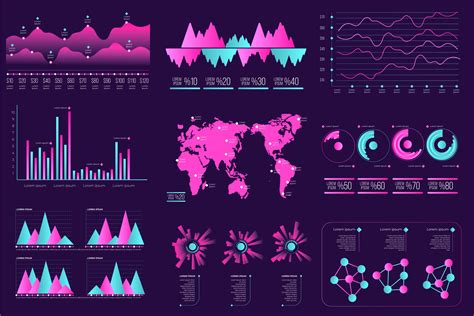
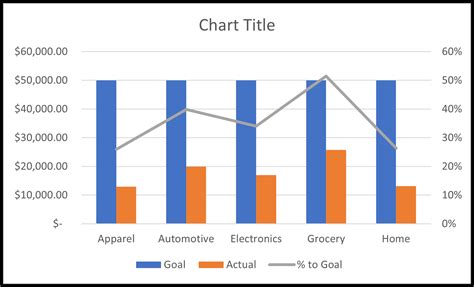
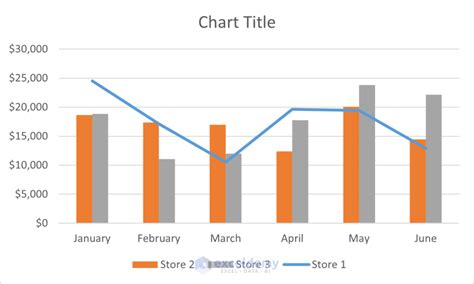
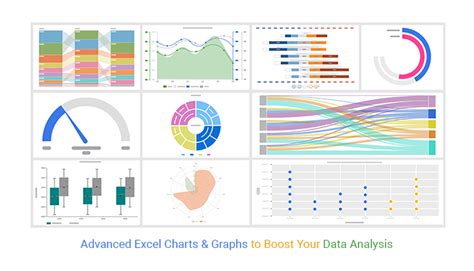
Pivot charts offer the flexibility to: - Dynamically change the data being displayed. - Filter data based on specific conditions. - Create interactive dashboards for exploratory data analysis.Gallery of Overlay Graph Examples
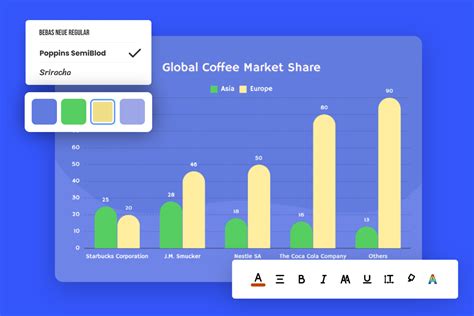
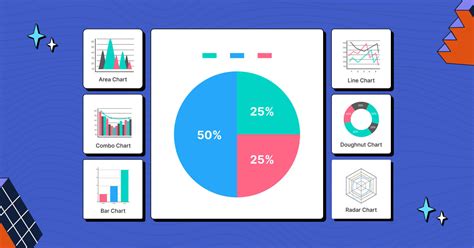
Overlay Graph Image Gallery


Frequently Asked Questions
What is the purpose of overlaying graphs in Excel?
+The purpose is to visually compare different datasets, revealing trends, patterns, and correlations that might not be apparent from separate graphs.
How do I overlay two graphs in Excel?
+First, create each graph separately, then adjust the chart settings to overlay one graph on the other, ensuring they share a common axis for comparison.
What are the benefits of overlaying graphs in data analysis?
+The benefits include enhanced data visualization, improved comparison of datasets, and simplified communication of complex data insights.
In conclusion, overlaying graphs in Excel is a powerful technique for data analysis and visualization. By following the steps and best practices outlined in this article, you can effectively compare different datasets, reveal hidden trends and correlations, and communicate your findings more clearly. Whether you're working in finance, science, business, or any other field, mastering the art of overlaying graphs can take your data analysis to the next level. So, start exploring the capabilities of Excel and discover how overlaying graphs can help you make more informed decisions and drive better outcomes. Feel free to share your experiences with overlaying graphs, ask questions, or suggest topics for future articles in the comments below.