Intro
Master Excel camera tools with 5 expert tips, enhancing spreadsheet photography, data visualization, and image capture using camera shortcuts, snapshot tools, and formula-based imaging techniques.
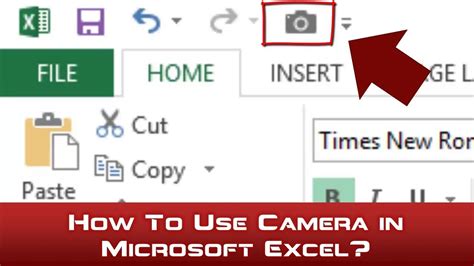
The Excel camera tool is a powerful feature that allows users to capture and reuse screenshots of specific ranges or worksheets within their spreadsheets. This feature can be incredibly useful for creating reports, dashboards, and other visualizations. In this article, we will explore five Excel camera tips to help you get the most out of this tool.
Excel is a widely used spreadsheet software that offers a range of features and tools to help users manage and analyze data. The camera tool is one of the many features that make Excel a powerful and versatile platform. By mastering the camera tool, users can create dynamic and interactive spreadsheets that are easy to understand and share with others.
The camera tool is particularly useful for creating reports and dashboards that need to be updated regularly. By using the camera tool, users can capture screenshots of specific ranges or worksheets and then reuse them in other parts of their spreadsheet. This can save a significant amount of time and effort, especially when working with large and complex datasets.
Understanding the Excel Camera Tool
Benefits of Using the Excel Camera Tool
The Excel camera tool offers a range of benefits, including the ability to create dynamic and interactive spreadsheets, save time and effort, and improve collaboration and communication. By using the camera tool, users can create reports and dashboards that are easy to understand and update, which can be particularly useful for businesses and organizations.Tip 1: Capturing Screenshots with the Camera Tool
Step-by-Step Guide to Capturing Screenshots
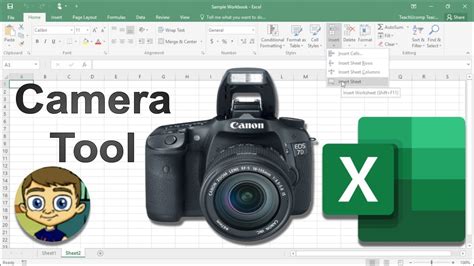
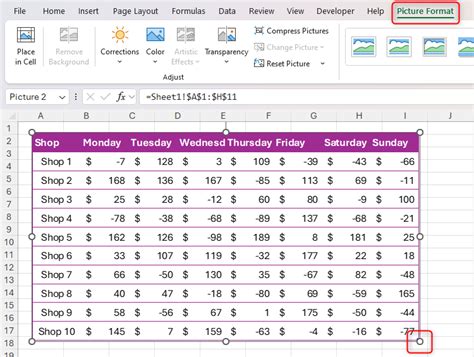
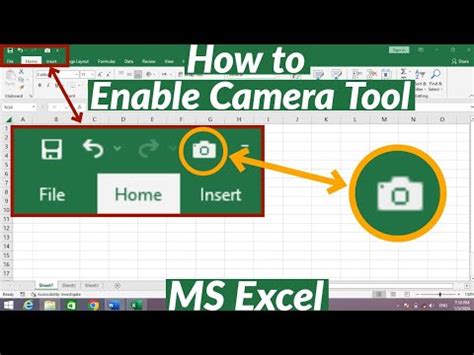
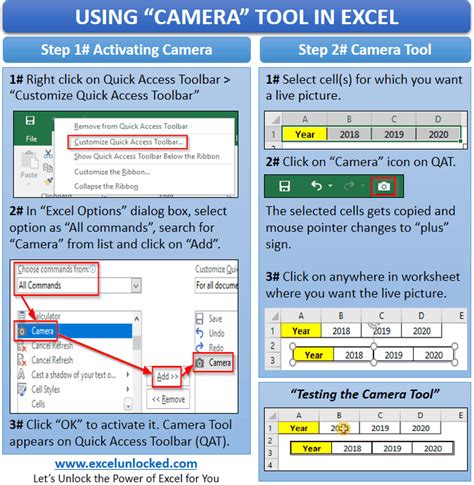
Here is a step-by-step guide to capturing screenshots using the Excel camera tool: * Select the range or worksheet you want to capture * Click on the "Insert" tab in the ribbon * Click on the "Camera" button * The camera tool will create a screenshot of the selected range or worksheetTip 2: Resizing and Formatting Camera Images
Best Practices for Resizing and Formatting Camera Images
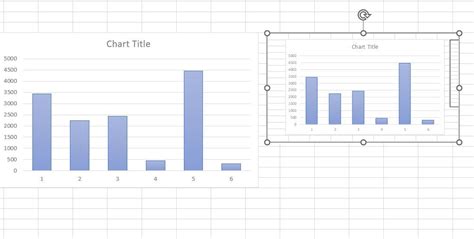
Here are some best practices for resizing and formatting camera images: * Use the resizing handles to adjust the size of the image * Use the "Format" tab in the ribbon to adjust the formatting of the image * Use the "Align" tool to align the image with other objects in the spreadsheetTip 3: Using the Camera Tool with Other Excel Features
Examples of Using the Camera Tool with Other Excel Features
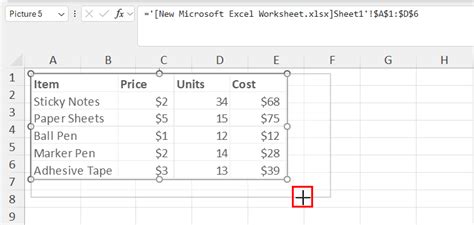
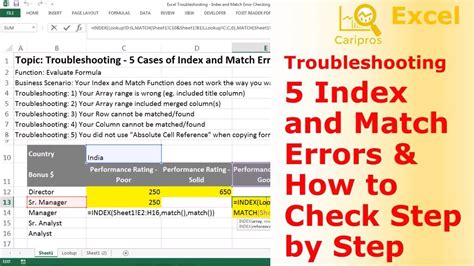
Here are some examples of using the camera tool with other Excel features: * Using the camera tool to capture screenshots of charts and tables * Using the camera tool to create interactive dashboards * Using the camera tool to create dynamic reportsTip 4: Troubleshooting Common Issues with the Camera Tool

Common Issues with the Camera Tool and How to Fix Them
Here are some common issues with the camera tool and how to fix them: * The camera tool is not capturing the correct range or worksheet * The camera tool is not creating a screenshot * The camera tool is experiencing errors or glitchesTip 5: Best Practices for Using the Camera Tool

Additional Best Practices for Using the Camera Tool
Here are some additional best practices for using the camera tool: * Use the camera tool to create dynamic and interactive spreadsheets * Use the camera tool to save time and effort * Use the camera tool to improve collaboration and communicationExcel Camera Image Gallery


What is the Excel camera tool?
+The Excel camera tool is a feature that allows users to capture screenshots of specific ranges or worksheets within their spreadsheets.
How do I use the Excel camera tool?
+To use the Excel camera tool, select the range or worksheet you want to capture and then click on the "Camera" button.
What are the benefits of using the Excel camera tool?
+The Excel camera tool offers a range of benefits, including the ability to create dynamic and interactive spreadsheets, save time and effort, and improve collaboration and communication.
How do I troubleshoot common issues with the Excel camera tool?
+To troubleshoot common issues with the Excel camera tool, check that the camera tool is capturing the correct range or worksheet, and that the camera tool is not experiencing errors or glitches.
What are some best practices for using the Excel camera tool?
+Some best practices for using the Excel camera tool include using the camera tool in conjunction with other Excel features, resizing and formatting camera images, and troubleshooting common issues.
In conclusion, the Excel camera tool is a powerful feature that can help users create dynamic and interactive spreadsheets. By following the tips and best practices outlined in this article, users can get the most out of the camera tool and improve their overall Excel experience. We encourage you to try out the Excel camera tool and explore its many features and benefits. If you have any questions or comments, please don't hesitate to reach out. Share this article with your friends and colleagues who may be interested in learning more about the Excel camera tool.