Intro
Discover 5 easy ways to remove textbox in Excel, including deleting, hiding, and resizing techniques to enhance spreadsheet clarity and organization, using Excel formulas and tools efficiently.
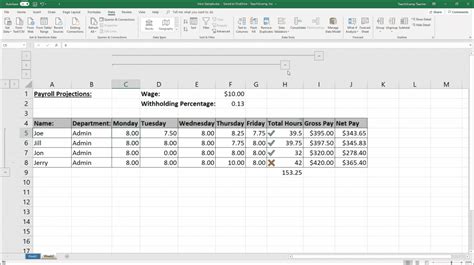
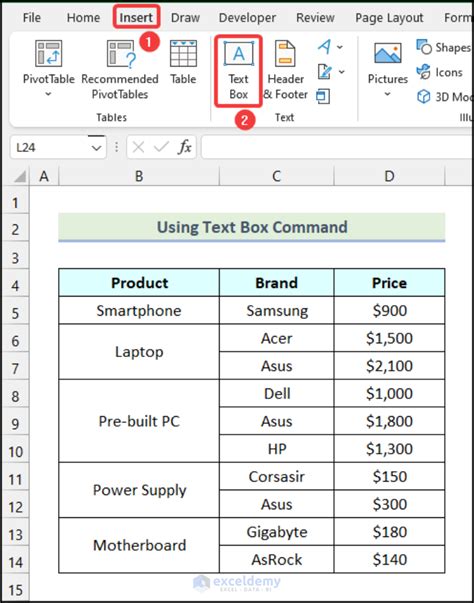
Removing text boxes from Excel can be a necessary step for various reasons, such as cleaning up a spreadsheet, removing unnecessary elements, or preparing a document for printing. Excel offers several methods to delete text boxes, and the approach you choose might depend on your specific needs or the version of Excel you're using. Here's a comprehensive guide on how to remove text boxes from Excel, covering different scenarios and methods.
When working with Excel, text boxes can be useful for adding comments, notes, or other types of text that don't fit neatly into a cell. However, they can also clutter your spreadsheet and make it harder to read or print. Whether you're dealing with a single text box or multiple ones, Excel provides straightforward ways to remove them.
Understanding Text Boxes in Excel
Method 1: Direct Selection and Deletion
Step-by-Step Guide
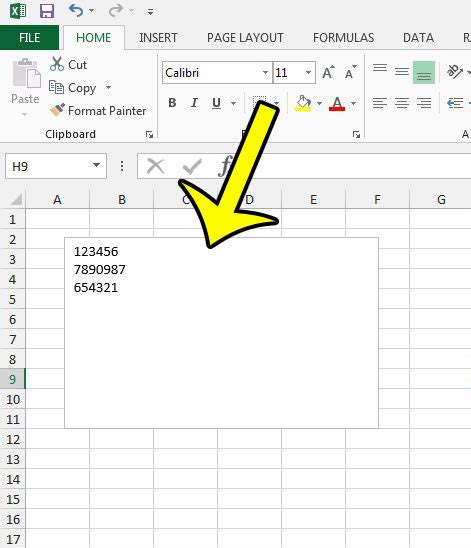
- Click once on the worksheet to deselect any cells. - Click on the border of the text box to select it. You'll know it's selected when you see the sizing handles (small squares) around the text box. - Press the "Delete" key on your keyboard.Method 2: Using the Selection Pane

Steps to Use the Selection Pane
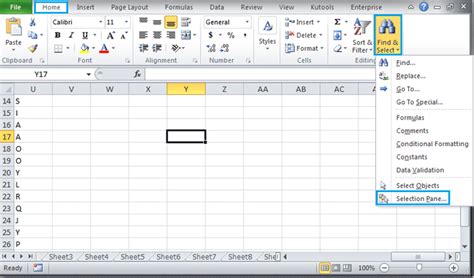
- Go to the "Home" tab in Excel. - Click on the "Find & Select" button in the "Editing" group. - Select "Selection Pane" from the dropdown menu. - In the Selection Pane, find the text box you want to delete. Text boxes are usually named "Text Box 1", "Text Box 2", etc. - Click on the text box's name in the Selection Pane to select it. - Click the "Delete" button at the bottom of the Selection Pane.Method 3: Macro to Remove All Text Boxes
Creating a Macro
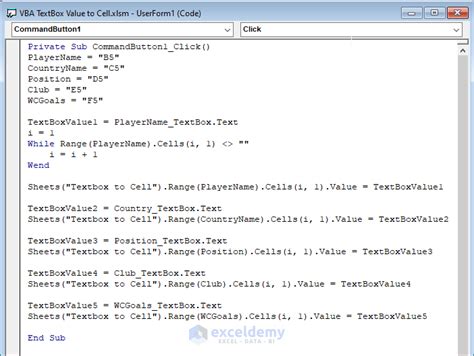
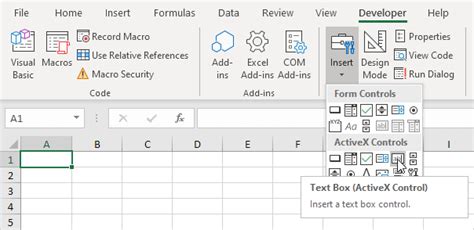
- Press "Alt + F11" to open the Visual Basic for Applications (VBA) editor. - In the VBA editor, insert a new module by right-clicking on any of the objects for your workbook in the "Project" window, then choose "Insert" > "Module". - Paste the following code into the module: ```vb Sub RemoveAllTextboxes() Dim ws As Worksheet For Each ws In ThisWorkbook.Worksheets For Each sh In ws.Shapes If sh.Type = msoTextBox Then sh.Delete End If Next sh Next ws End Sub ``` - Close the VBA editor and return to Excel. - Press "Alt + F8" to open the Macro dialog box. - Select "RemoveAllTextboxes" and click "Run".Method 4: Using Excel's Built-in Tools for Shapes
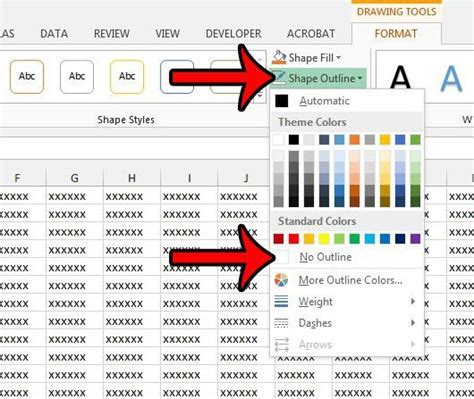
Steps to Remove a Text Box
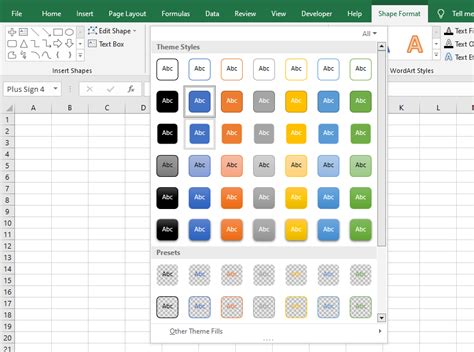
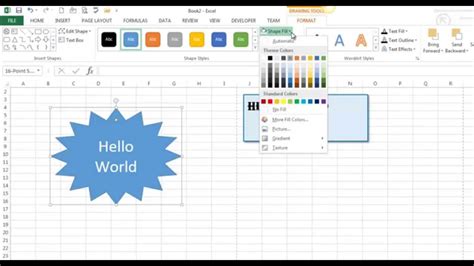
- Select the text box by clicking on its border. - Go to the "Format" tab in the ribbon. - Click on the "Delete" button in the "Arrange" group. - Alternatively, you can right-click on the selected text box and choose "Delete" from the context menu.Method 5: Selecting and Deleting in Excel's Outline View
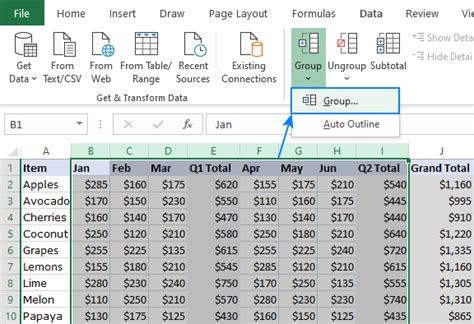
Enabling Outline View
- Go to the "Data" tab. - Click on the "Outline" group and then click on the "Group" and "Ungroup" buttons to see if your text boxes are grouped with other elements. - If they are, you might need to ungroup them first before you can delete the text boxes individually.Excel Textbox Removal Gallery


How do I select a text box in Excel to delete it?
+To select a text box, click on the border of the text box. This will ensure you're selecting the text box as an object, rather than editing its text.
Can I remove all text boxes from my Excel workbook at once?
+Yes, you can use a macro to remove all text boxes from your workbook. This involves creating a small VBA script that iterates through all worksheets and deletes any text boxes found.
How do I prevent text boxes from being deleted accidentally in Excel?
+You can protect your text boxes by locking them and then protecting the worksheet. This will prevent accidental deletion or movement of the text boxes.
In conclusion, removing text boxes from Excel can be accomplished through various methods, each suited to different scenarios and user preferences. Whether you're dealing with a single text box or multiple ones across your workbook, Excel provides the tools and flexibility to manage and remove these objects efficiently. By understanding the different methods available, you can choose the one that best fits your needs and enhance your overall Excel experience. Feel free to share your thoughts on using text boxes in Excel or ask any questions you might have about managing objects in your spreadsheets.